
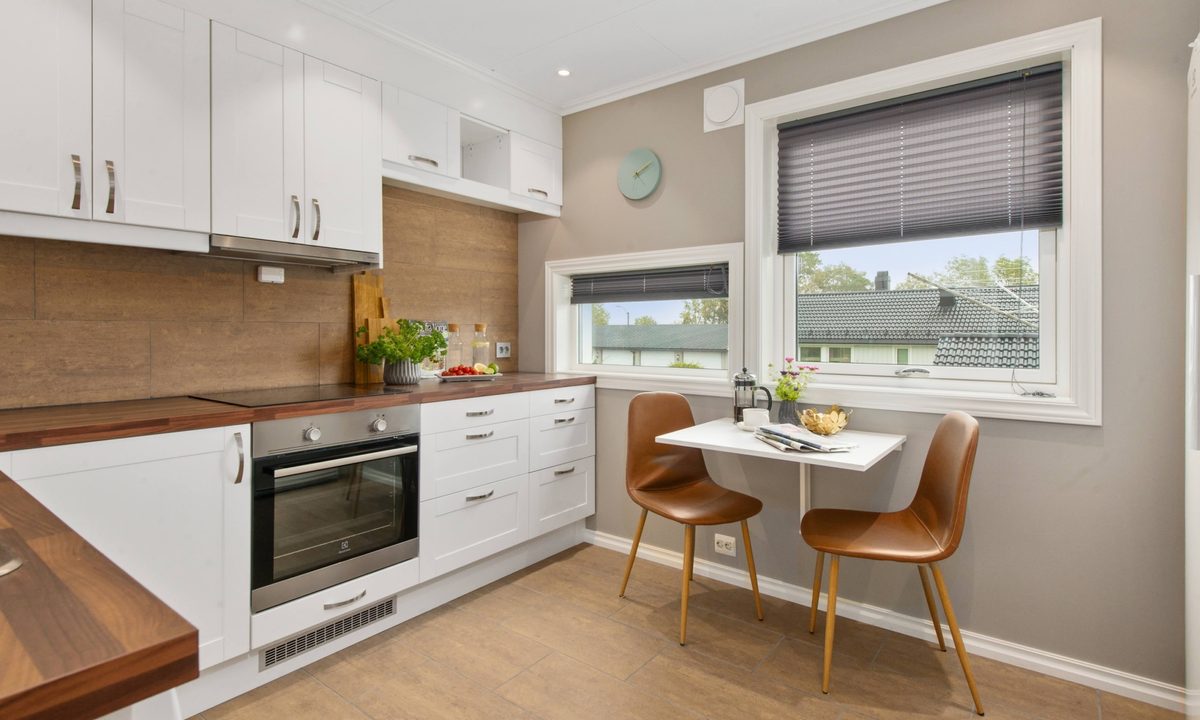
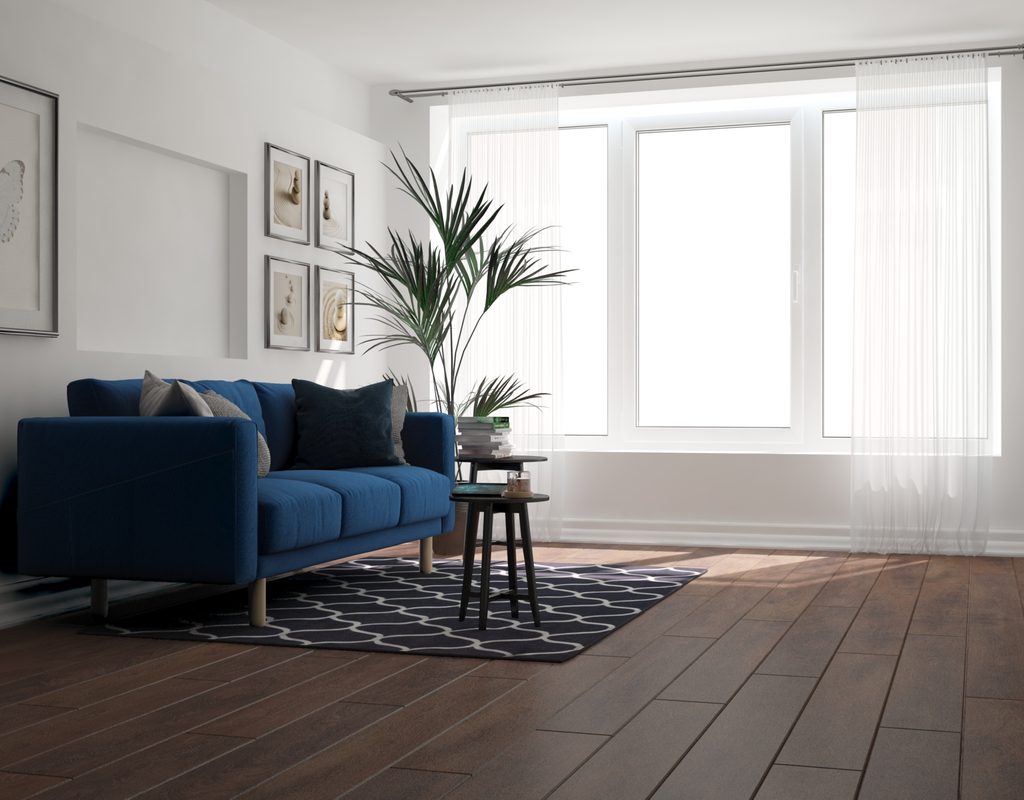
Your home’s floors certainly see a lot of action, whether it’s from accidental spills, energetic pets, or general wear and tear. While natural stone and wood floors are gorgeous, their price point may be out of budget for the average homeowner. That’s why laminate is a popular material for both floors and countertops, giving the appearance of natural materials at a fraction of the cost.
And while it’s far more cost-effective to repair and maintain laminate over natural wood and stone, this synthetic material is far from indestructible. To keep your surfaces in pristine condition, check out the dos and don’ts of cleaning laminate floors.
Understanding laminate floor construction

While it may look like natural wood or stone, laminate flooring is quite different. It’s made with synthetic fiberboard material pressed with a photographic print on the top layer that mimics the appearance of the real thing. The laminate is then coated with melamine resin to give it a bit of shine.
Since this material isn’t real wood or stone, it shouldn’t be cleaned like it is. Some cleaning products used on standard wood floors, for example, will leave streaks, damage, or dullness when used on laminate.
What is the best way to clean a laminate floor?
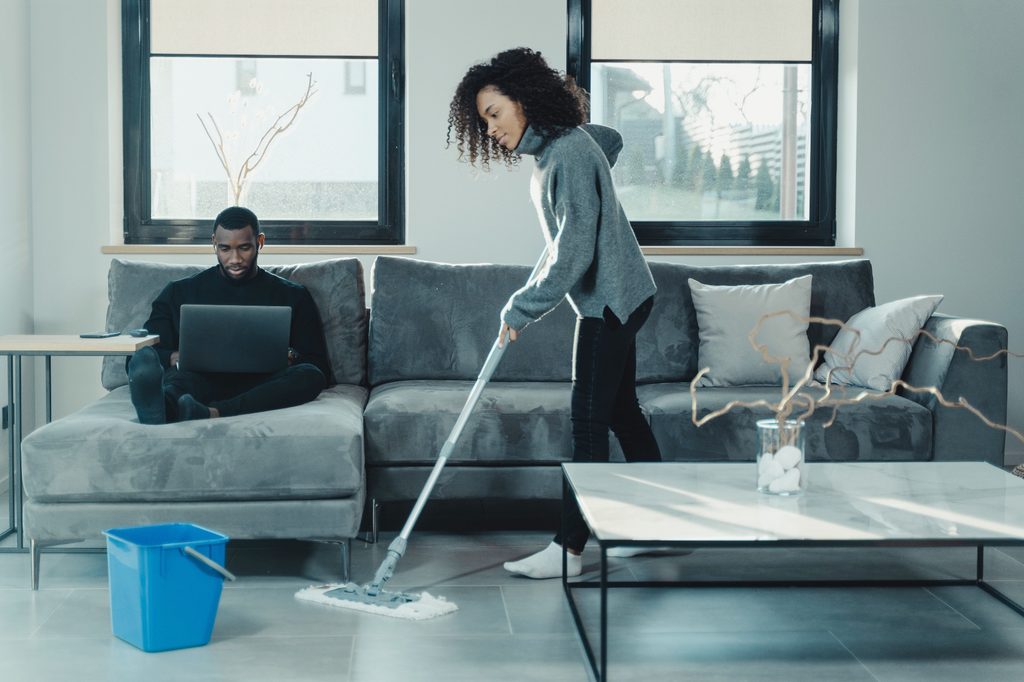
One of the most important things to remember about cleaning laminate floors is that you can’t use harsh cleaners, and you can’t get them too wet. The fiberboard will soak up excess moisture and then warp or crack once dried. Less is more when it comes to laminate, so follow these instructions when cleaning your floors:
- Sweep up any dirt or debris with a broom or a vacuum cleaner.
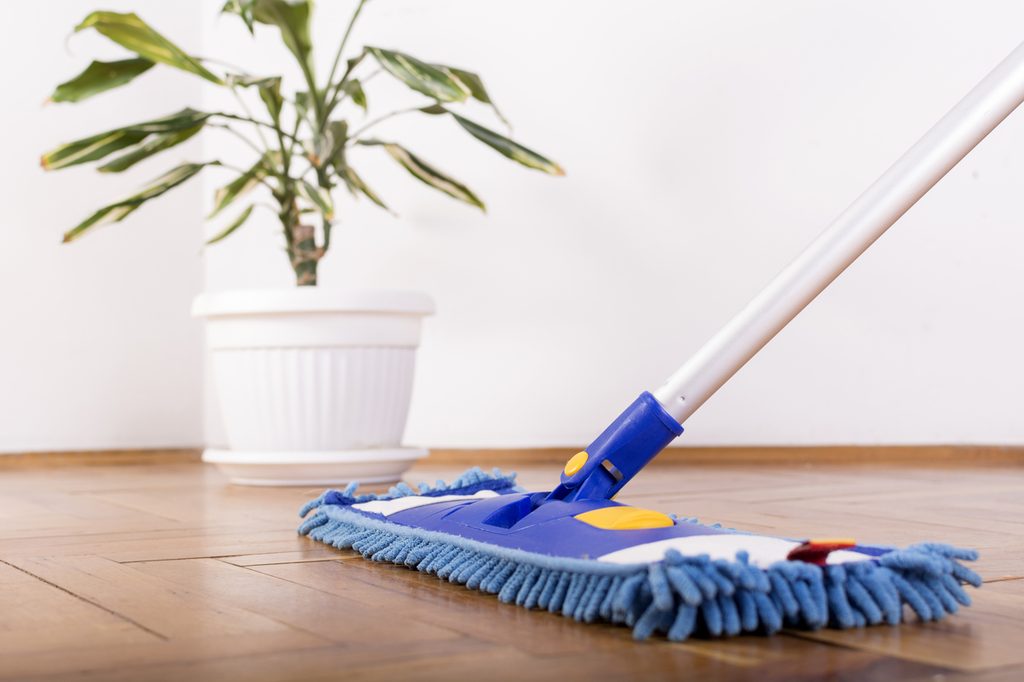
- Grab a washable microfiber mop and wet it with clean water.
- Wring out the mop thoroughly so that it’s just damp.
- Wipe the damp mop over the entire floor, rinsing and wringing it out as needed.
Can you use a Swiffer WetJet on laminate floors?
Swiffer mops are popular for their ease and simplicity, and luckily, these mops are perfect for laminate flooring. They’re soft enough to not damage the flooring and, most importantly, the dispensed cleaning product is controlled, minimal, and mild enough to leave your laminate looking fresh and undamaged.
How do you clean laminate floors so they shine?
When it comes to standard cleaning, a damp microfiber mop or Swiffer does the best job. However, if you want your laminate floors to have that glossy finish, you can occasionally stir up a DIY laminate floor polish to give it a bit of shine.
- Grab a handheld spray bottle and mix two cups of hot water, one tablespoon of vinegar, and two tablespoons of standard vegetable oil. Shake the spray bottle to combine the mixture well.
- Start at one corner of the room and lightly spray a small area of the floor.
- Using a microfiber cloth or mop, rub the mixture around the surface in a circular motion.
- Move on to the next small section and repeat the process until all the flooring is polished.
How to clean laminate floors: The do’s and don’ts
Now that we’ve reviewed some of the best ways to clean and polish your laminate flooring, it’s time to walk through a few more dos and don’ts. We’ll address some common mistakes, like what NOT to use to clean laminate floors, as well as best practices that will keep your floors looking great.
Don’t: Use too much water
Using a mop often introduces too much water to your laminate floors. Before cleaning, make sure the mop is thoroughly wrung out and not dripping.
Don’t: Use harsh chemicals or rough cleaning tools
The printed top layer of your laminate flooring can easily become scratched and damaged. Avoid using harsh cleaners with bleach or ammonia, as these will cause discoloration and other damage. Don’t use scrub brushes or rough mop heads either since these can also scratch the material.
Don’t: Use fabric softener on your washable mop
If you’re using a machine-washable microfiber mop head, skip the fabric softener when washing it. Otherwise, residue on the mop’s fibers will transfer to the flooring and leave it looking dull and dingy.
Do: Clean up messes immediately
Since water will soak into the laminate material and damage it, it’s important to clean up spilled drinks or other liquids right away. It’s also important to keep laminate floors free of debris. Simply walking over small pebbles and dirt can quickly scratch and damage the flooring.
Do: Use natural or mild soaps for more cleaning power
If you need a bit more of a punch than just a wet mop, use a mild soap to avoid damaging the surface layer. Dish soaps are a good option as they’re gentle but clean thoroughly.
Do: Protect your laminate floors appropriately
Since they’re at risk of scratches, protect your laminate floors from damage caused by furniture, pets, or people.
- Use furniture pads under couches and end tables to prevent scratches when they’re moved.
- Place welcome mats at entry doors to prevent dirt and debris from entering the home.
- Trim your pets’ nails to avoid scratches when they run around.
Do: Use soft bristled brooms and microfiber cloths
Laminate flooring is a great substitute for natural stone and wood floors, but keeping it clean and in good condition requires some good cleaning habits and a lot of diligence. By following this guide, your laminate floors will look clean, polished, and classy for years to come.


