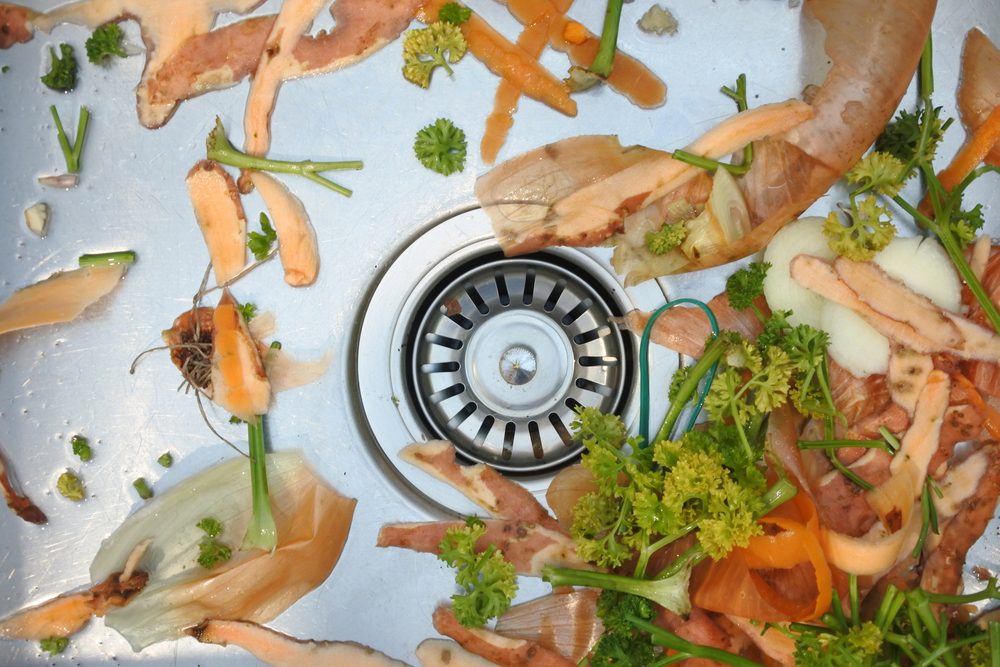
Deep cleaning your kitchen sink and the drain may not be at the top of your to-do list, but after days of tossing in dirty pots and pans, lots of handwashing, and rogue scraps of food landing in the sink, things can get pretty gross. The normal day-to-day use of your kitchen can cause a buildup in your sink’s drain that may make your entire kitchen pretty smelly, and no one wants that.
So skip lighting candles to mask the smell and give your sink a little extra attention. When it’s time to clean your kitchen, don't forget the drain — you can sanitize and clean your kitchen sink drain with products that you probably already have around your home. Keep reading to find out how to clean the kitchen sink drain.

Clean the surface of the sink
Step 1: Clear the sink of any dishes and food scraps.
Step 2: Make a paste by mixing baking soda and water. Then, put on your rubber gloves because it’s time to start scrubbing.
Step 3: Add the paste to the nonabrasive scrubber brush, and scrub all of the surface stains in your sink.
For really tough stains, you can add a layer of the baking soda paste, let it sit for a minute, and then add a splash of white vinegar.
Step 4: Give the entire sink a white vinegar rinse.
However, if you have a concrete or porcelain sink, you’ll want to skip the vinegar. Instead, use a mild dish soap and warm water. If you have a white sink, break out the hydrogen peroxide and skip the vinegar to treat tough stains.

Clean the other parts of the sink
Step 1: Using a smaller brush or soft toothbrush, scrub the other parts of the sink with a vinegar and water mixture or dish soap and water.
Step 2: Scrub the faucet, spray nozzle, sink strainer, and around the outside of the sink.
For tougher stains, use the baking soda mixture.
Step 3: If you have lime buildup from the minerals in your tap water on or around your sink, add a spoonful of vinegar to the soap and water mixture and scrub.

Disinfect the sink
Disinfect the sink by filling a spray bottle with a vinegar and water mixture and spraying the entire sink surface. If your sink isn’t vinegar-safe, warm water and an antibacterial soap mixture work as a disinfectant.
Tackle the drain
Step 1: If you have a disposal, start by turning off the power.
This will keep your hands safe while you clean and prevent any accidents. You’re trying to clean up a mess, not make one. To turn off the disposal, unplug the appliance from the outlet under the sink or shut off the breaker from your home’s breaker box. If you don’t have a disposal, jump to step 5.
Step 2: Using soap or the baking soda mixture, scrub the baffle.
This is the rubber around the drain, which can hold plenty of mold, mildew, and germs. Be sure to clean all of the folds and underneath the baffle.
Step 3: Using a flashlight, take a peek down the disposal and make sure that nothing is lodged in your drain.
If you can spot pieces of food that the disposal can’t break up or other large items, use tongs to pull those items out. Never put your hands down the disposal, even if it is turned off.
Step 4: Drop a handful of ice cubes into the drain and follow up with half a cup of salt.
Turn the power back on to the disposal and let it run for about a minute with cool water from the faucet running.
Step 5: Pour half a cup of baking soda and a cup of vinegar into the drain and let it fizz and interact for 15 minutes.
Step 6: Run the water again and turn on the disposal (if you have one) for one final clean.
If you don’t have a disposal, just be sure you let the water run long enough to clean out the mixture, wipe away any debris that rises to the surface, and disinfect the sink one final time.
Step 7: To leave your sink disposal with a fresh scent, toss in some orange or lemon peels and let the disposal grind up the citrus.
To prevent smells and build-up in the future, clean the drain every two weeks. If the drain needs an emergency cleaning between deep cleans, toss in the ice and salt combo for the disposal and the baking soda and vinegar for a drain without a disposal.
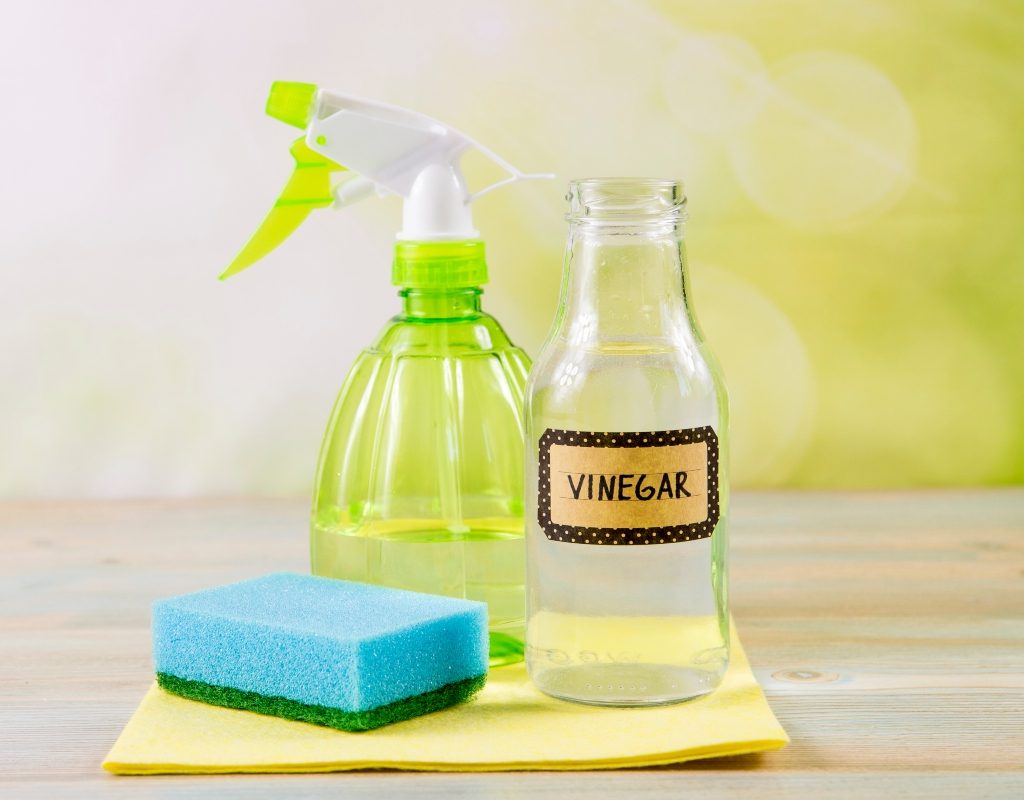
While there are plenty of kitchen cleaners on the market and products designed to clean drains and disposals, household items like ice, baking soda, vinegar, and salt will tackle the grime, mess, and smell in your sink better than any harsh chemicals. So before you head to the cleaning aisle, check your pantry to get your kitchen sink clean.


