
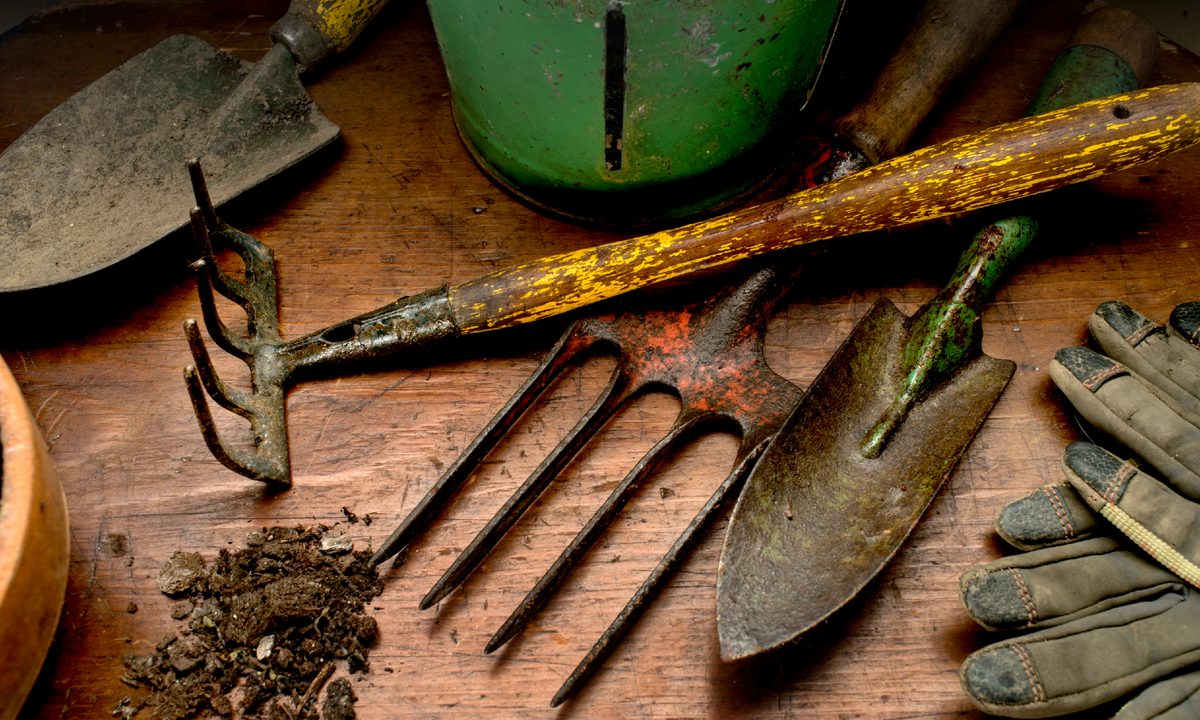
Gardening is a rewarding hobby that benefits the gardener and the planet. Gardening can help you relax, is a form of exercise, and gets you outdoors, which are all good things. Whether you grow flowers or vegetables, have a large backyard garden or small garden box on your apartment balcony, when you start to think about the warmer weather, gardening comes to mind. But if you open your shed or toolbox and find your gardening tools in bad shape from last season, don’t worry. We have an easy guide to cleaning your garden tools so you can move on to the fun parts.
What's the best way to clean garden tools?
The best way to clean your garden tools depends on how well you take care of them. If your tools are dirty from last season, this task may take longer. Ideally, it would be best to keep up with cleaning your tools by doing it after each use.
Step 1: Use your garden hose to wash away any dirt on the tools. Use a putty knife or plastic scraper to remove caked-on dirt or soil.
Step 2: To help remove any stubborn soil or residual oils from plants and roots, fill a bucket with hot water and add a bit of dish soap (about half a teaspoon per gallon of water). Add the tools that need a soak, and let them sit for about 20 minutes.
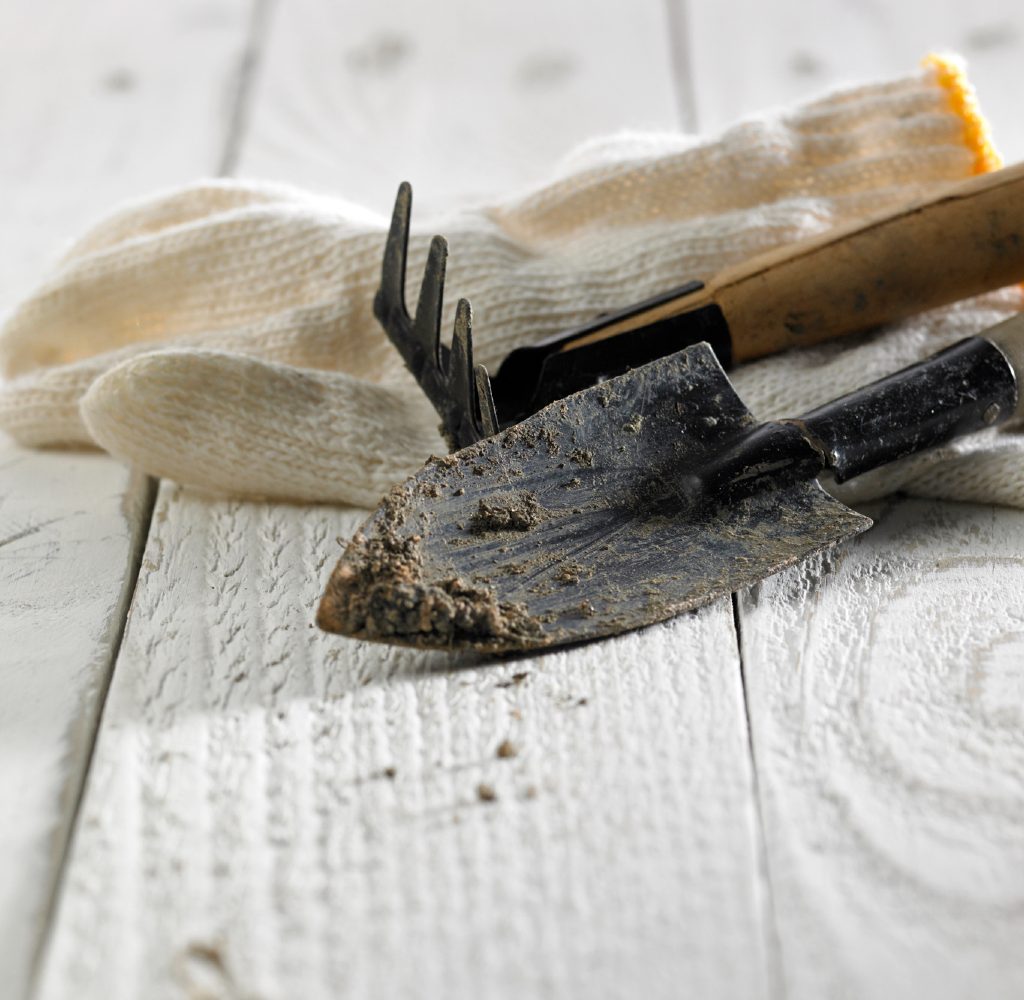
Step 3: Inspect each tool for rust. If you find any, use steel wool or a wire brush to remove the rust spots. Applying a few drops of vegetable oil will help loosen the rust while you scrub.

How do you restore garden tools?
If it seems like your garden tools are past their prime, don't throw them out hastily. You can remove rust and restore many tools rather than tossing them and buying new ones. And if you really love that spade, it may be hard to find another one just like it. Follow the steps below before heading to the hardware store.
Step 1: Soak the rusty tools overnight in a mixture of half water, half white vinegar.
Step 2: Use steel wool or a wire brush to remove the rust spots. Applying a few drops of vegetable oil will help loosen the rust while you scrub.
Step 3: Once the rust is removed, rinse the tool in warm soapy water and then rinse with clear water.
Step 4: Hang to air dry or dry with a clean cloth, then rub with WD-40 or mineral oil.
There are a few options when it comes to oiling your garden tools — WD-40, mineral oil, or even vegetable oil will do the trick. Ideally, you will have one of these on hand and not have to make a special trip to the store.
How do you clean dirty garden shears?
If you’re an avid gardener, you already know that once you find a pair of garden shears that you like, you don’t ever want to let them go. The problem is that pruners get dull and dirty, thus making them less functional. To freshen up your favorite garden shears, check out the process below.
Step 1: Clean pruners with warm dish soap and water, and if your shears have dried sap on them, use Goo Gone or liquid bleach to remove.
Step 2: If your pruners have rusted, soak them overnight in white vinegar to dissolve the rust.
Step 3: Scrub with a wire brush or steel wool to remove stuck-on dirt and rust. Loosen nuts or even disassemble the pruners to clean more thoroughly between the blades.
Step 4: Rinse pruners with warm, clear water after cleaning off dirt, debris, and rust.
Step 5: Buff the blades with steel wool to take off any remaining rust or sticky sap, and dry with a towel.
Step 6: Sharpen the shears with a diamond file if the blades are dull. Be sure to follow the exact angle of the existing bevel. Run the file from the base to the pointed tip several times to ensure even sharpening.
Step 7: Apply a light coating of WD-40 to the shears for lubrication and protection.
After a long winter, most people are itching to get outside and get active. If you like to garden and can’t wait to dig into the soil, but your garden tools need a little love and care, don’t worry. With a bit of time, a few household items, and some elbow grease, you can have your rusty old garden tools looking shiny and new again in no time. The task will take longer if your tools have been neglected for a while, but that’s OK — it’s a good reason to break the tools out and start thinking about your garden now.


