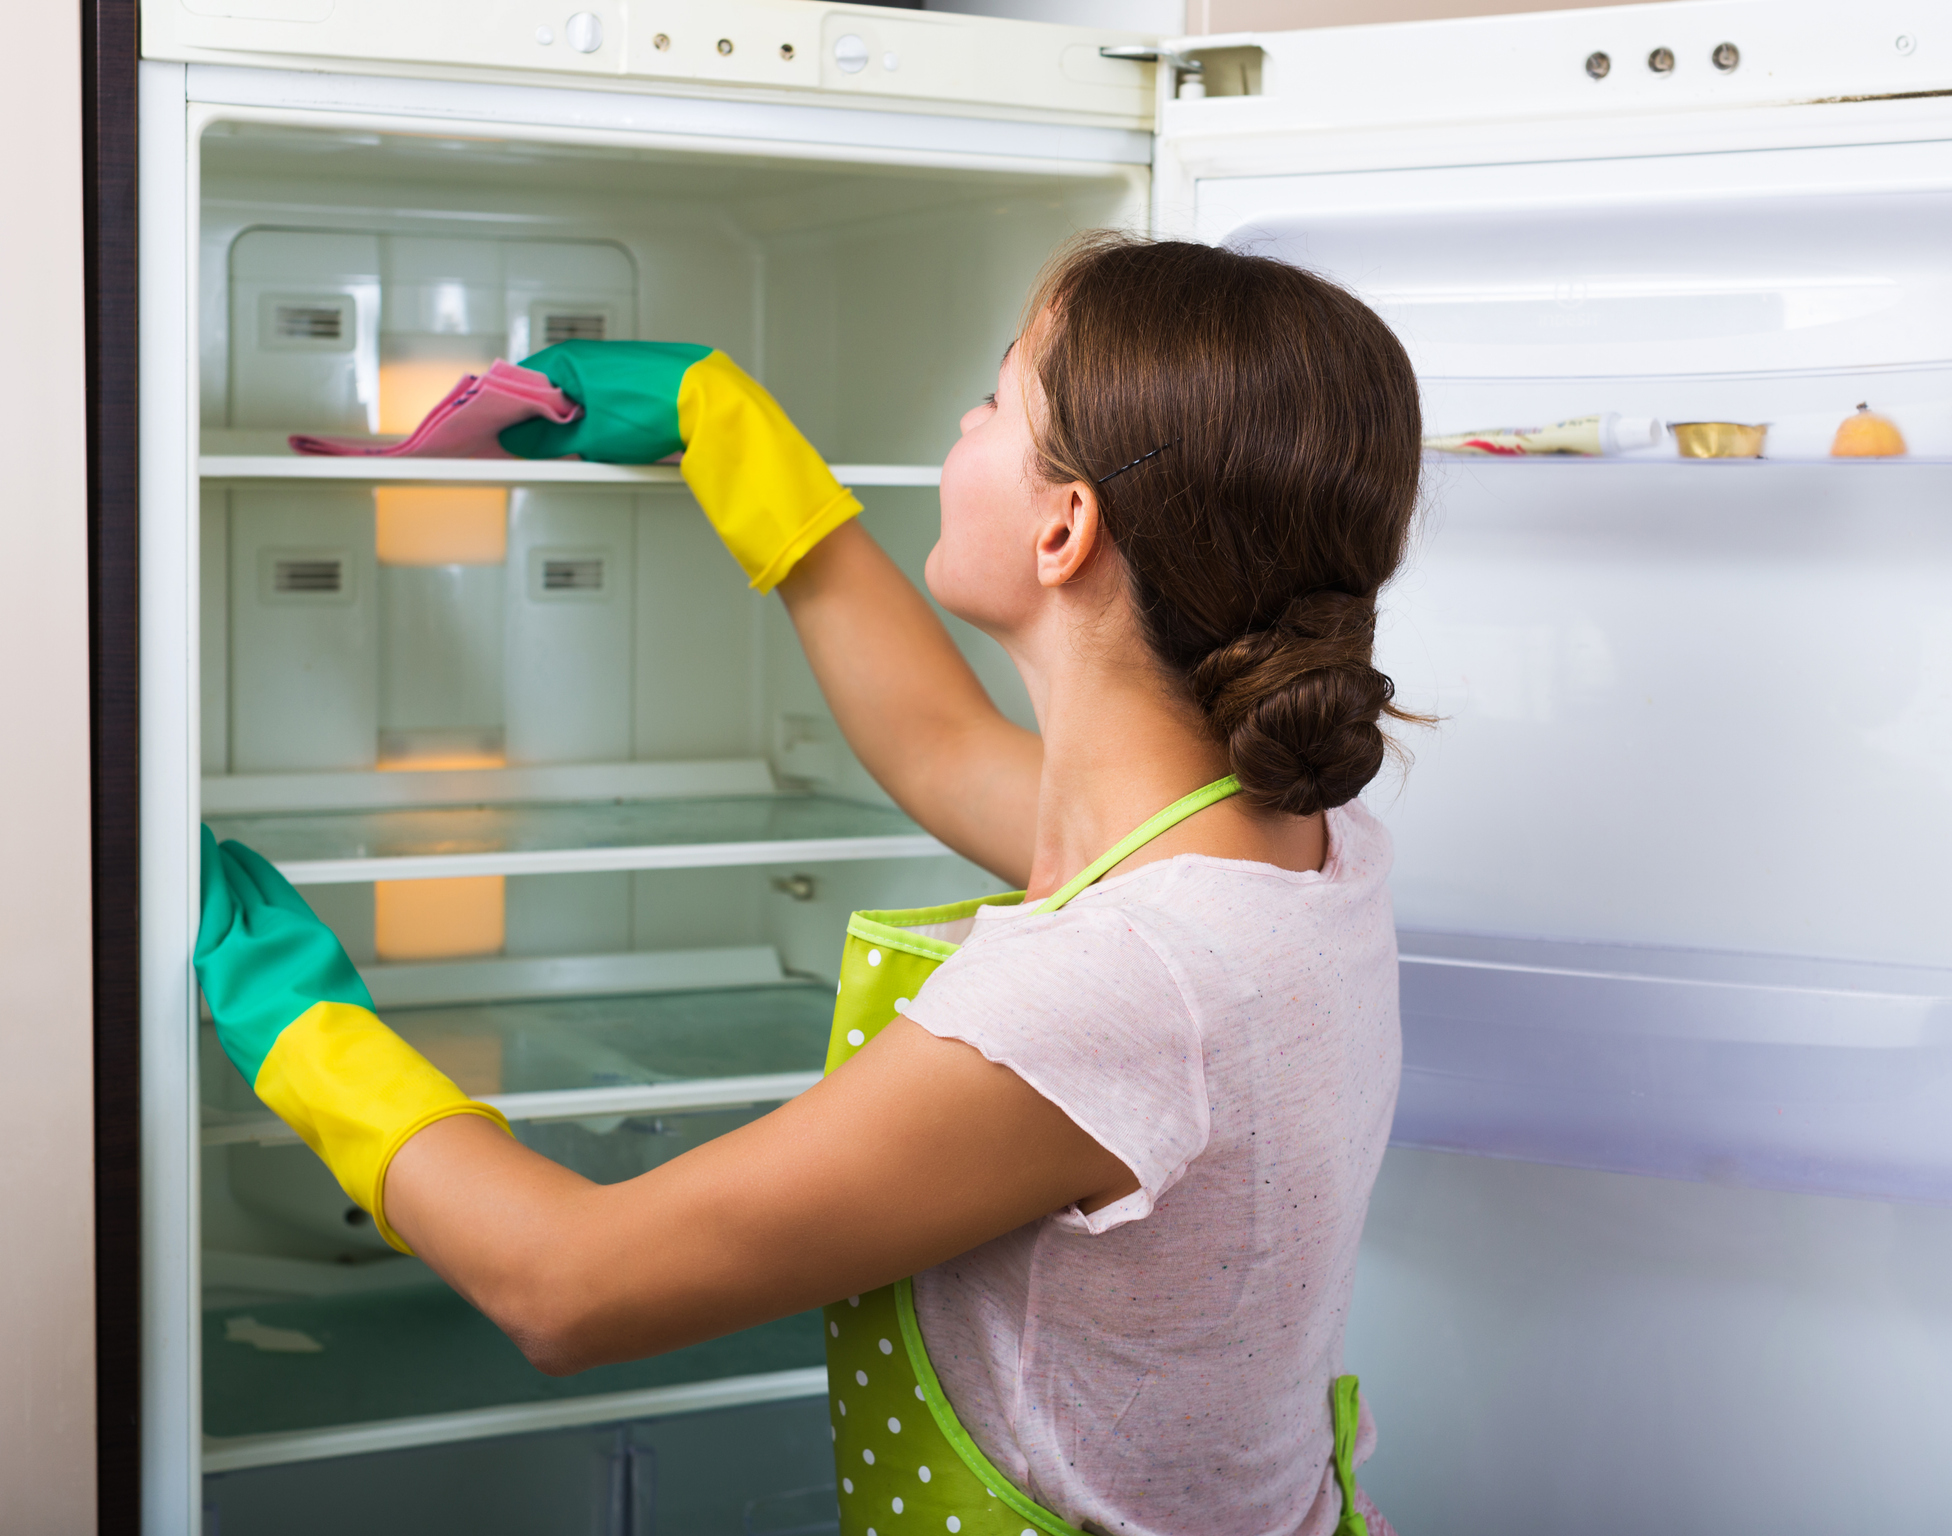
 When you open your refrigerator to get something (or just to stare, we know), are you happy with the way things look? Do you sigh that once again, your fridge is a terrible mess, and it feels like there’s nothing you can do about it?
Fortunately, your refrigerator isn’t a lost cause, no matter how you might feel about it. Use this official list of fridge hacks to handle grime, keep things organized, and finally be pleased with what you see in the fridge — at least, the look of it. We can’t help you find that perfect late-night snack.
1. Use placemats
Spills are gross and difficult to clean without taking everything out. Plastic placemats can help keep minor spills and leans from getting all over your fridge shelves and can help draw the eye into zones if you use different colors. Or use clear for a minimal look.
Tip: You can also invest in disposable shelf liners that are self-adhesive and can be removed periodically. Bob Vila has a few in mind for you to choose from.
2. Activated carbon is your friend
Baking soda can only take you so far with odors. Activated carbon can help keep odors at bay with far greater efficiency than regular baking soda. You can find it at most pet stores and maybe even some of your local big box stores. Store it in a bowl in the back of the fridge so it’s out of the way and change it every month or so (or when you notice more odors than usual).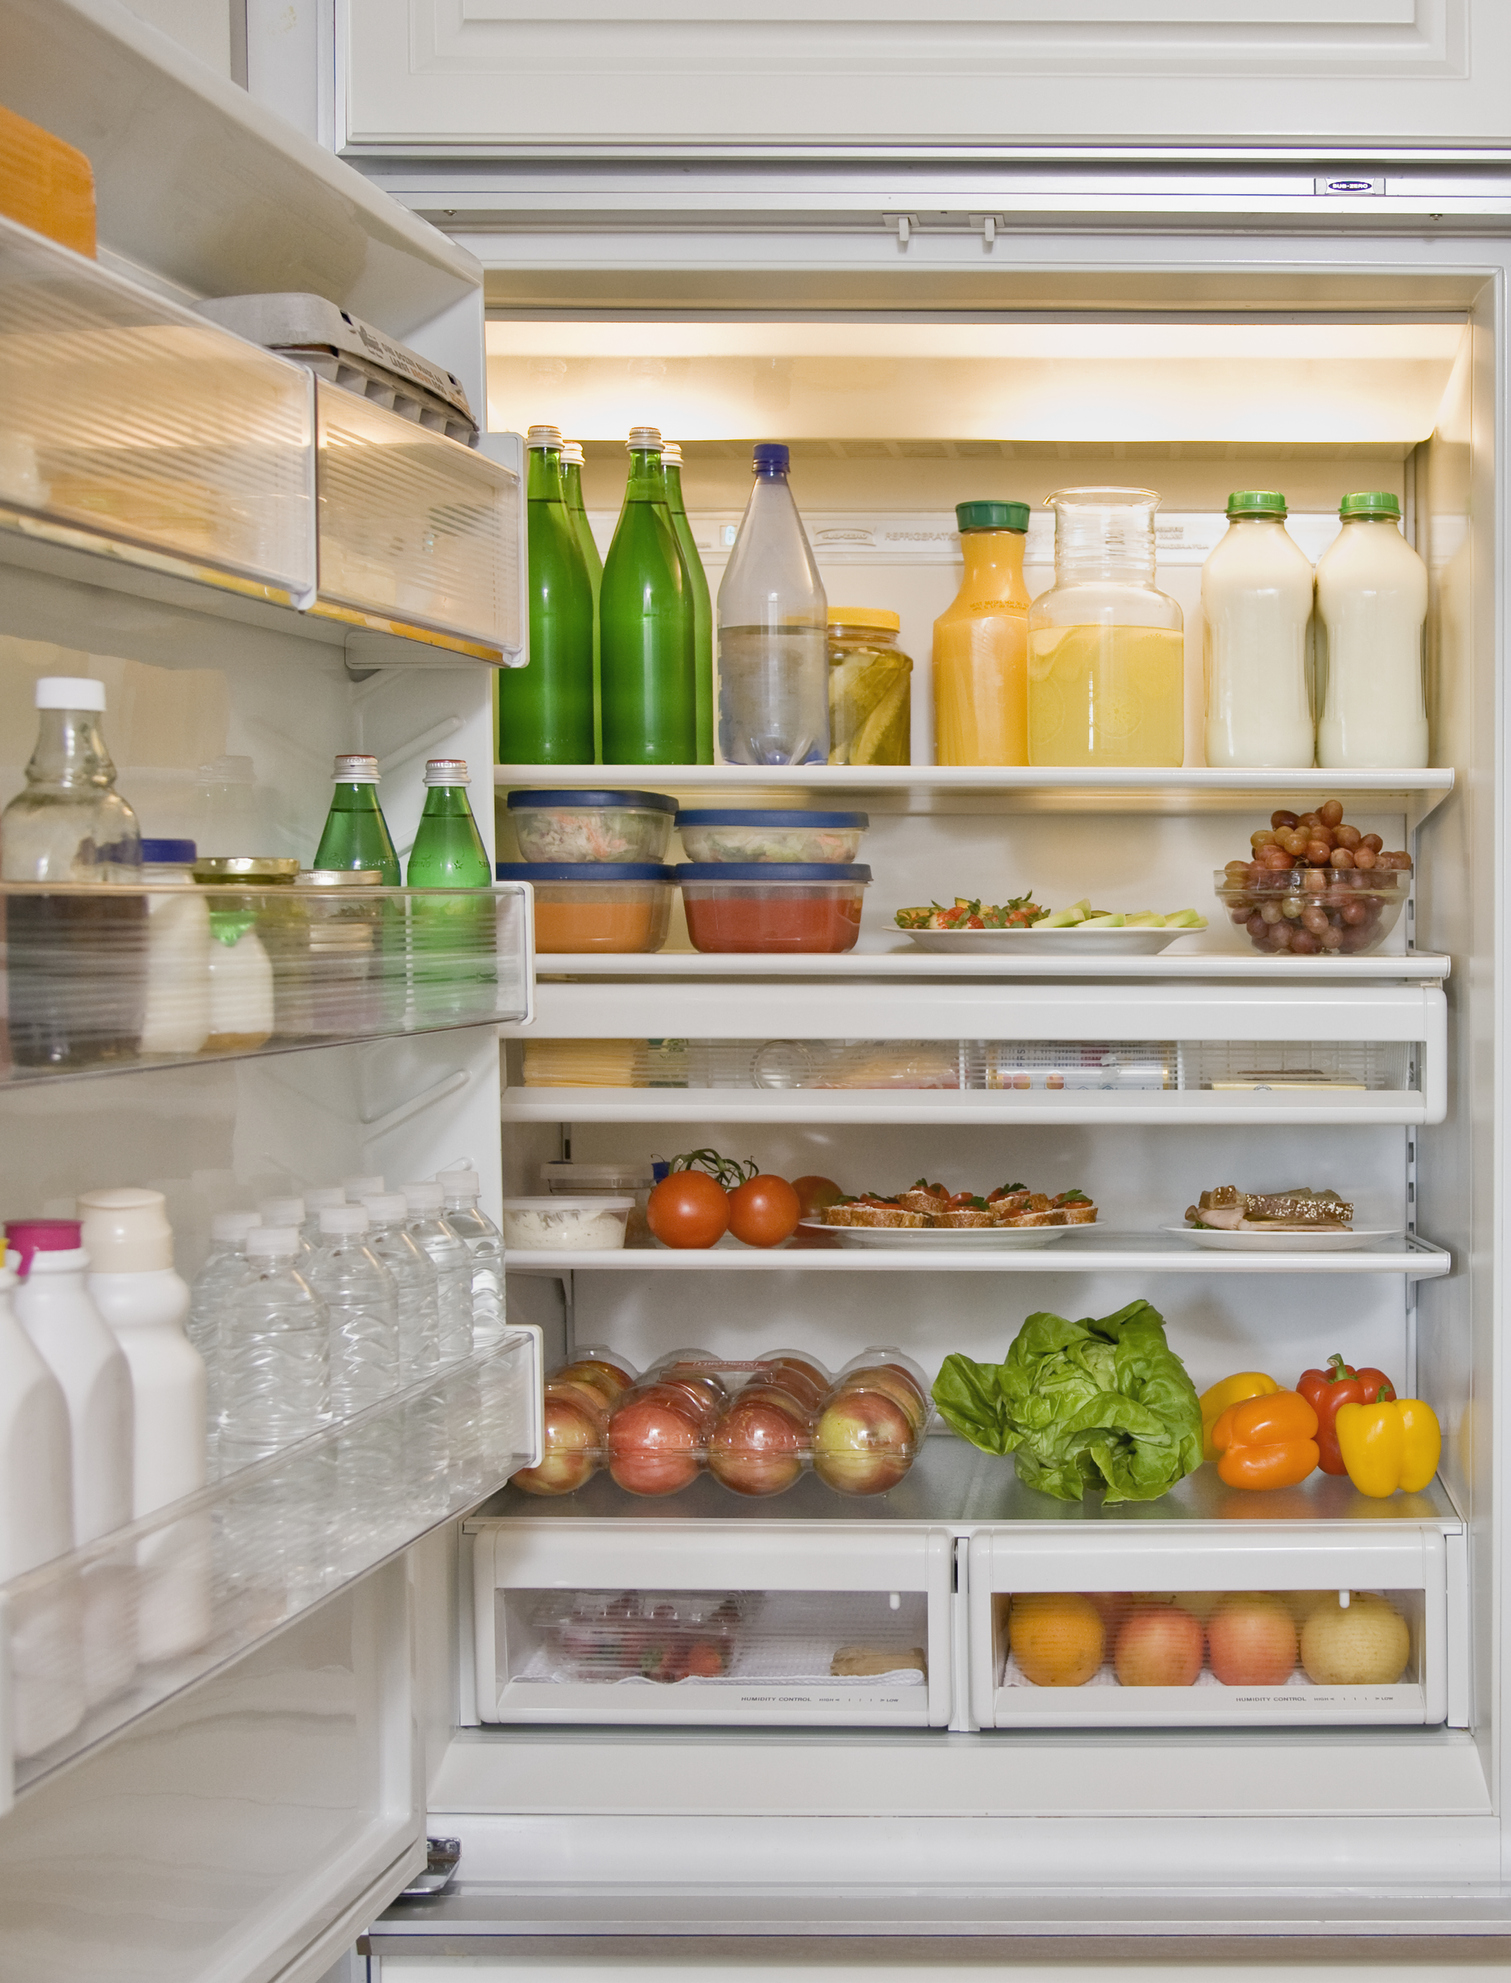
3. Eat-Me-First box
If you’re tired of losing things to spoilage, you might want to consider moving those things to eye level. A box or container that directs the eye to things quickly going bad can help refocus your efforts and prevent things from getting pushed to the back and forgotten. Just keep an eye on the expiration dates and throw things away once they’re too far gone. On the other hand, The Food Network says these foods are okay to eat just past their due date.
4. Lazy Susan
For condiments, bottles, and other fridge staples, a Lazy Susan can make it easier to move things around to get what you need — no more shuffling things around, or worse, dropping jars as you’re moving. A Lazy Susan makes quick work of looking for things and may even cut down on those spoiled jars of food that get lost in the back corner.
5. Get storage boxes
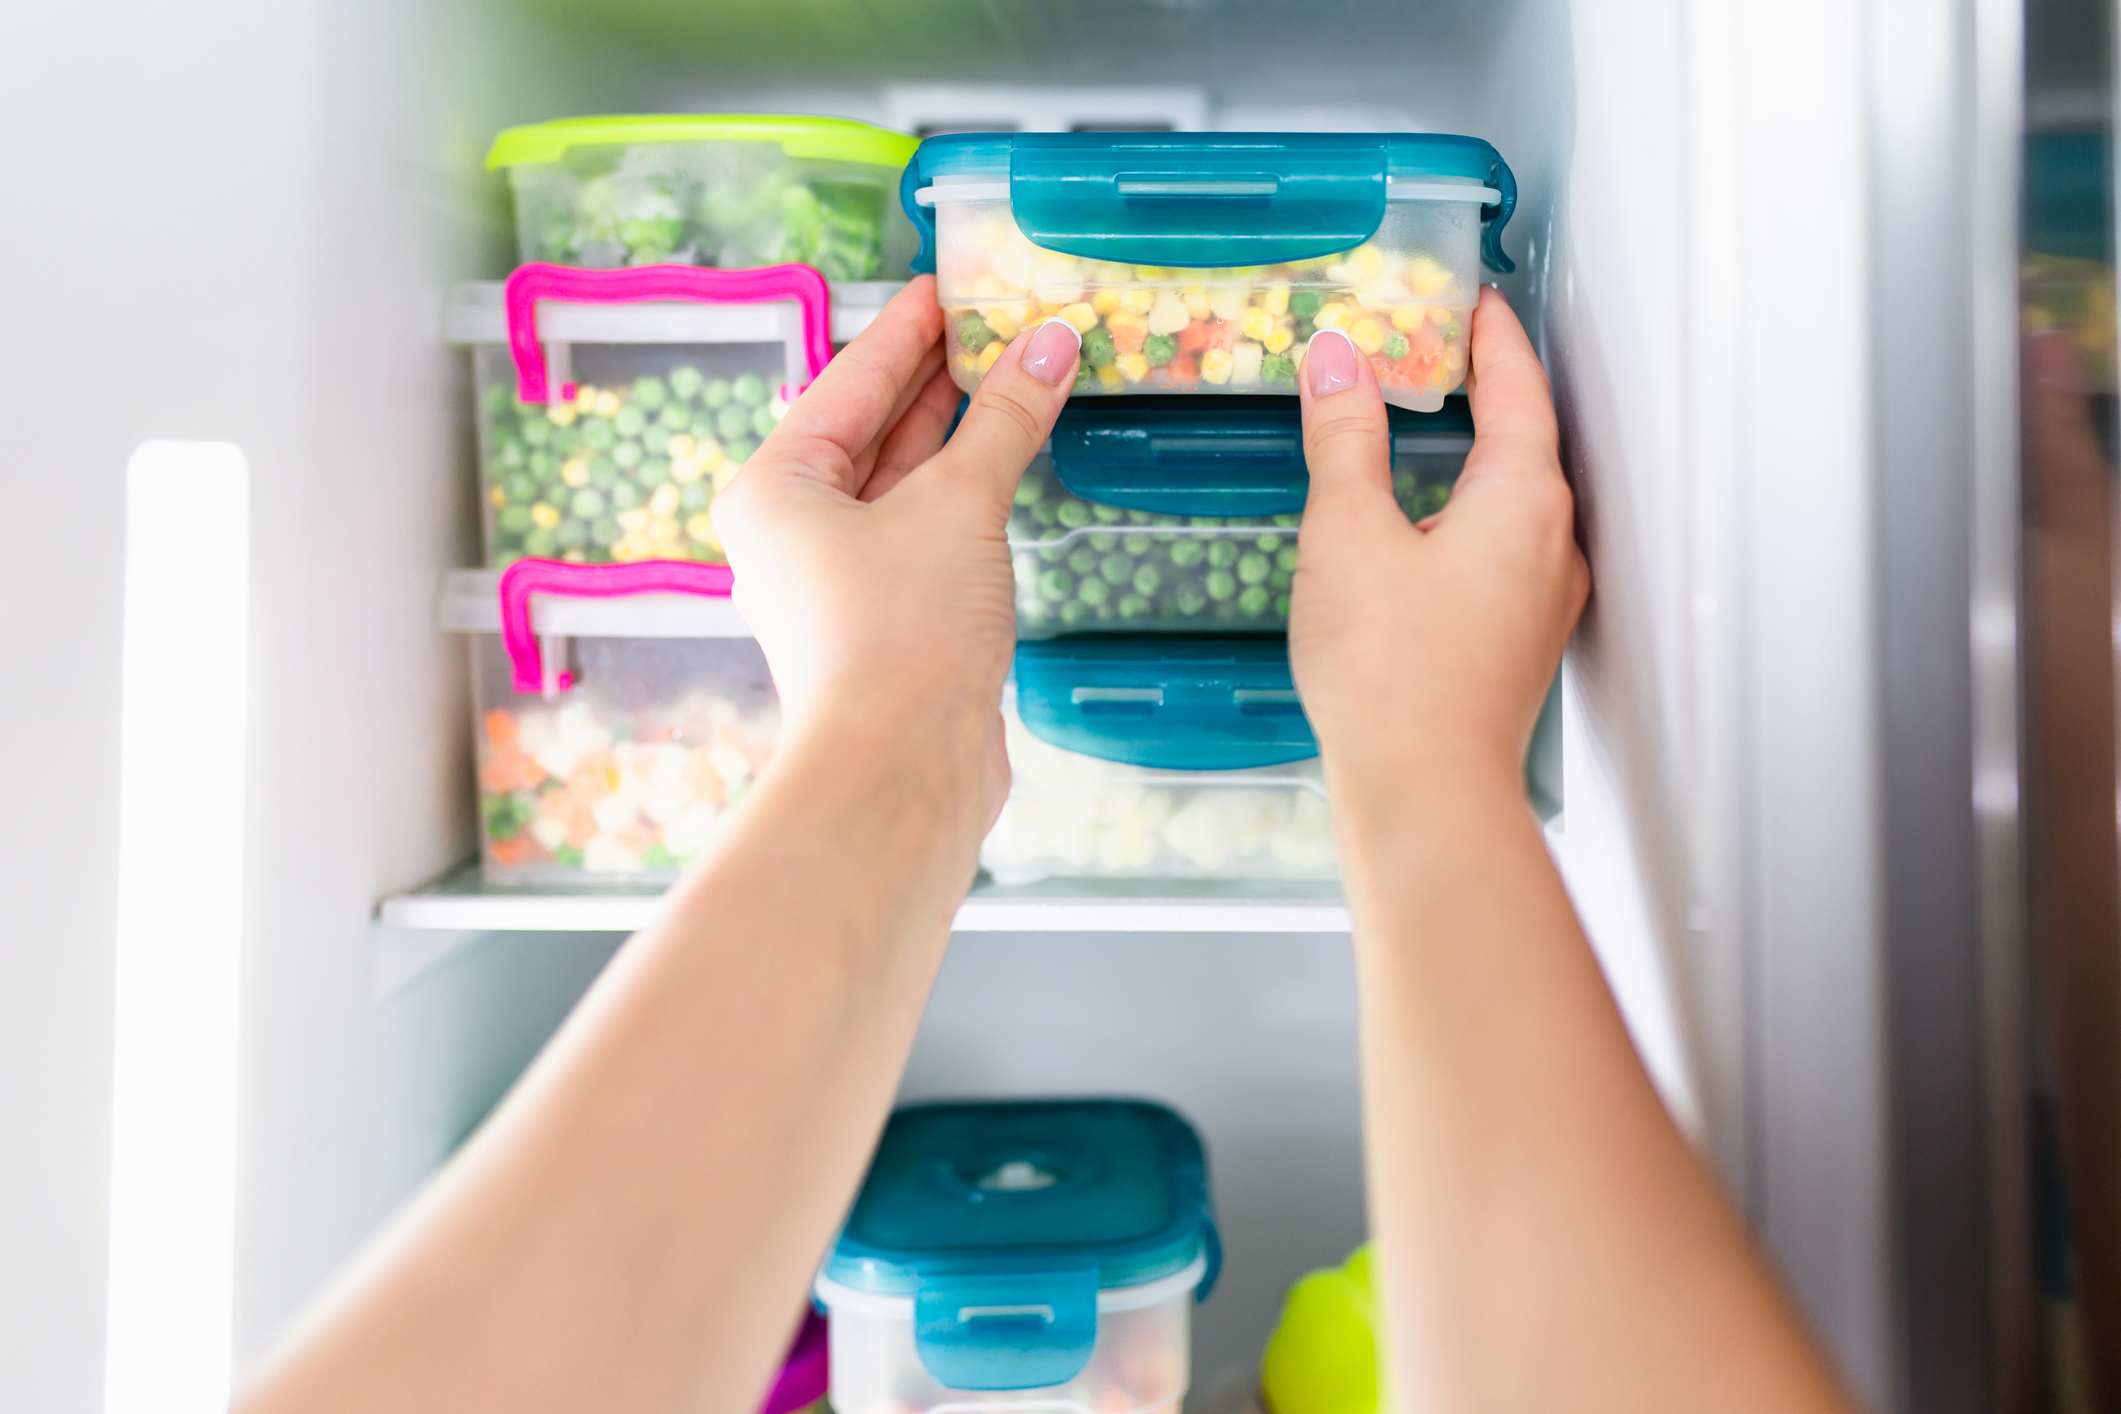
Your spoilage-reducing box isn’t the only box you need. Keeping like things in storage boxes really cuts down on the time you spend looking for items in your fridge and makes it easier to keep up with what you have. You won’t spend nearly as much time trying to rearrange, and everything stays neatly wrangled.
6. Use Mason jars

Greens are notoriously gross in the fridge. Divide up your salad into mason jars to help keep the lettuce fresh, says The Kitchn. Just separate the lettuce from your dressing or leave it out altogether. You can also store herbs cut end down in a bit of water in your mason jar to keep them fresh longer — no need to buy fancy equipment or deal with slime at the bottom of your fridge drawer.
7. Use your dishwasher
Fridge shelves and boxes can come completely out, giving you the chance to clean and sanitize them in the dishwasher. It can be an excellent way to clean shelves that get sticky, hard-to-clean spills, or just refresh your whole fridge once a quarter or so while you’re cleaning it out.
One word of caution: Allow your fridge shelves to come to room temperature before washing them in hot water or turning on the dishwasher, or they might crack.
8. Use labels
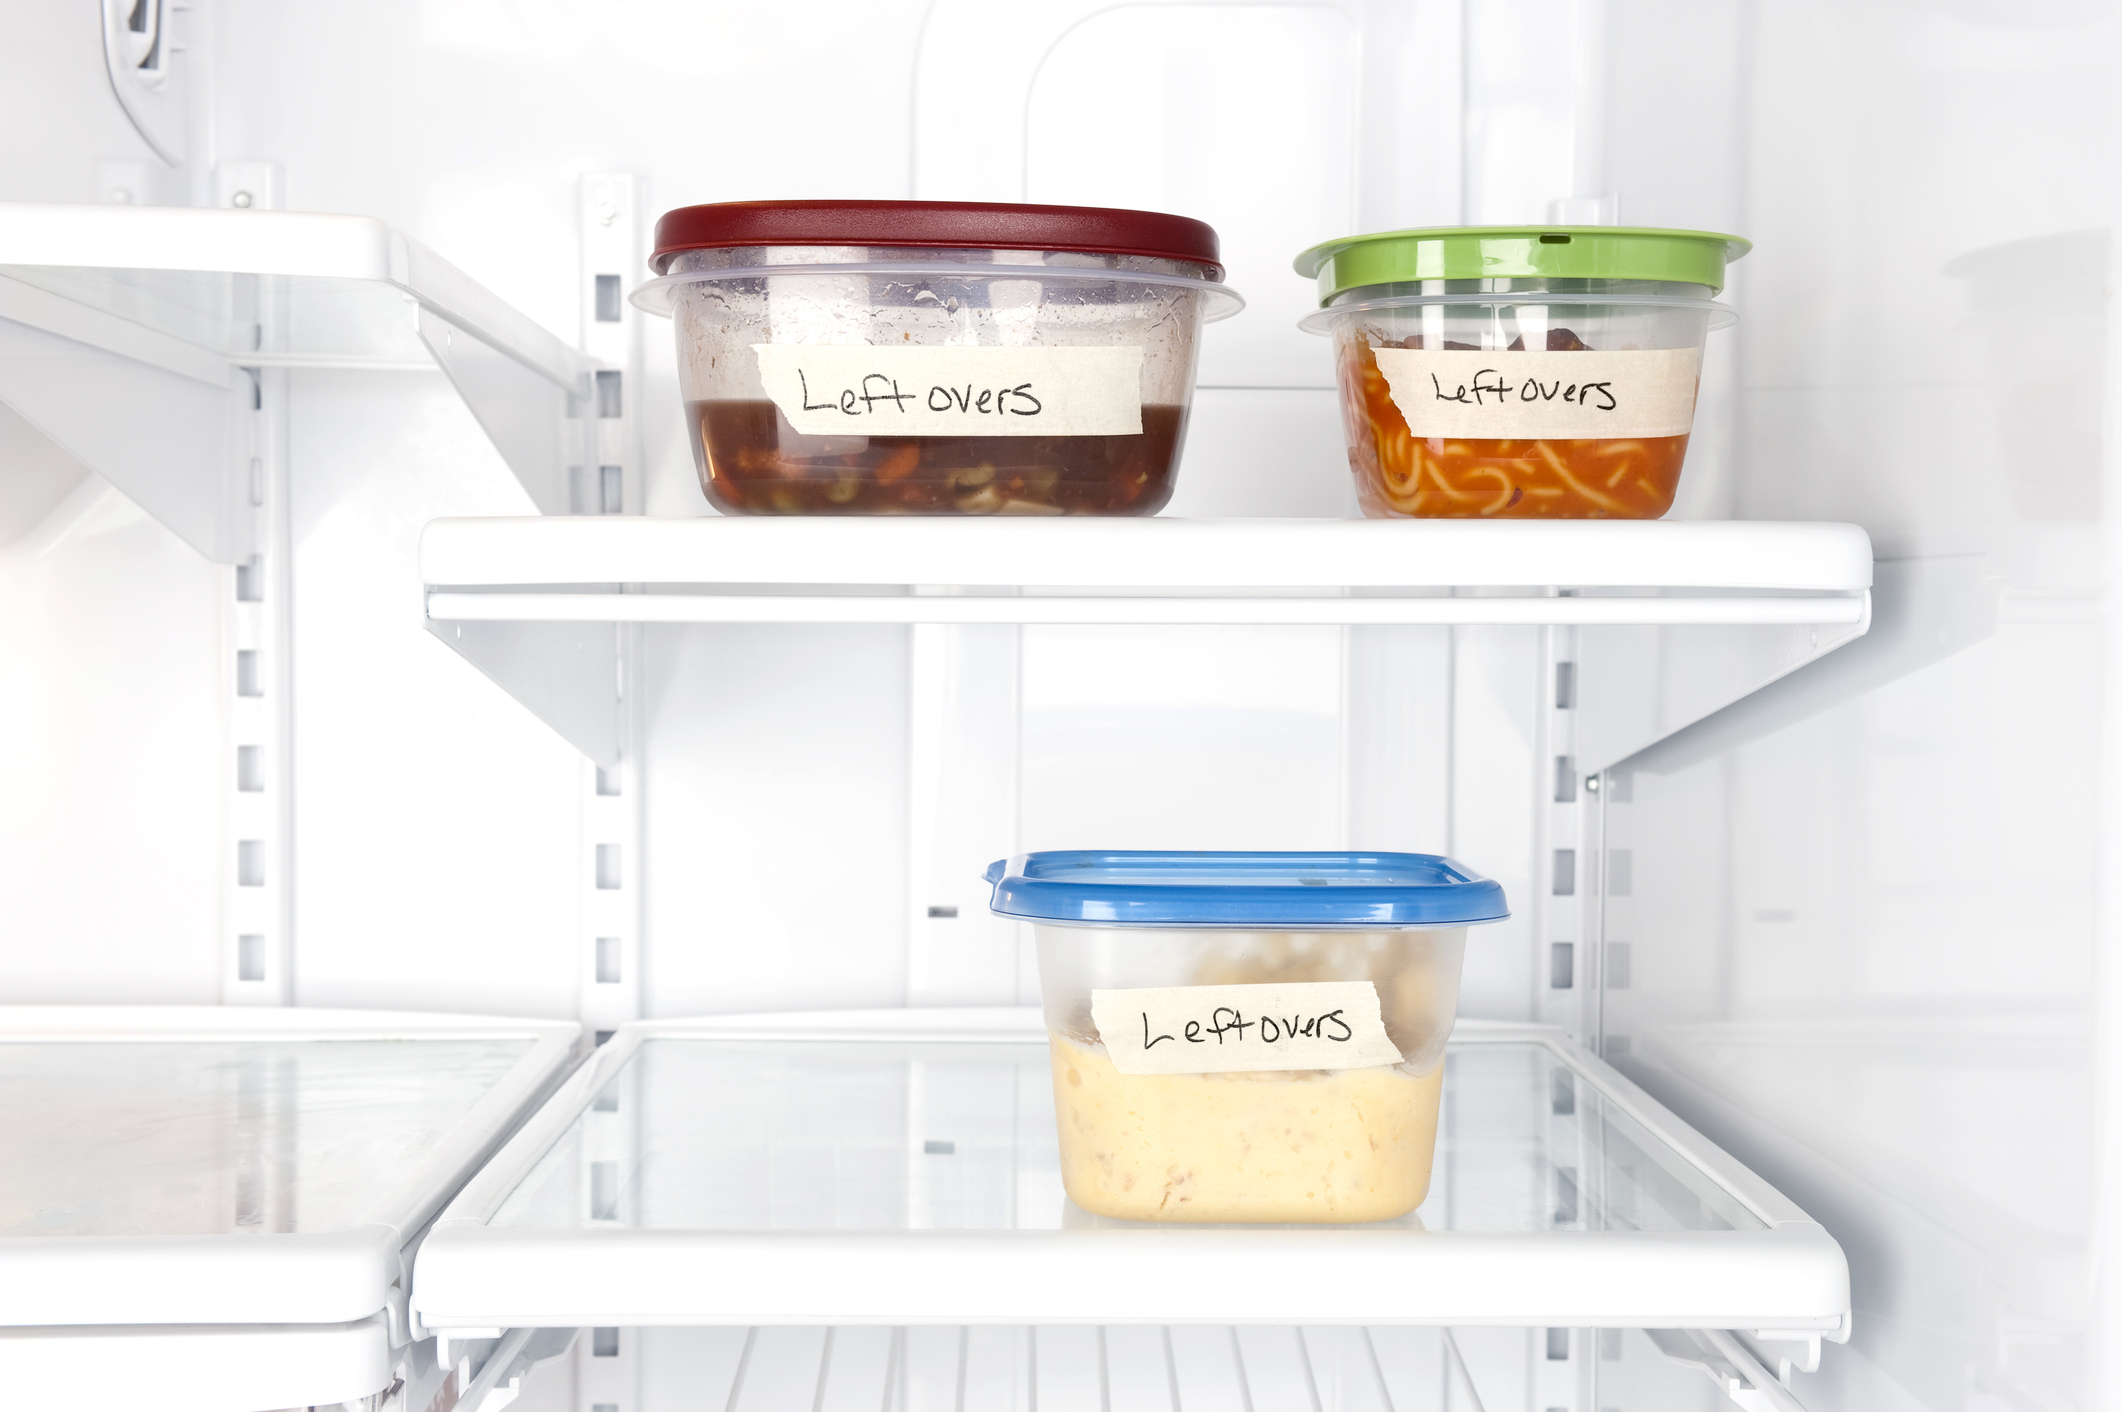
Fridge organization can only take you so far, says HuffPost. You have to follow through with the organization system that you choose. Encourage yourself and everyone in your family to stick to the plan by labeling everything — shelves, boxes, drawers, whatever you need. That way, no one is out of the loop for where things should go, and you can keep up with things you need to restock.
9. Vinegar and water
White vinegar and water can deodorize your fridge and remove any immediate smells while killing any mold or mildew. Even a cold environment can eventually grow bacteria, so it’s essential to clean it out. However, you don’t want to use harsh chemicals because this is the area close to your food.
10. Get those dates
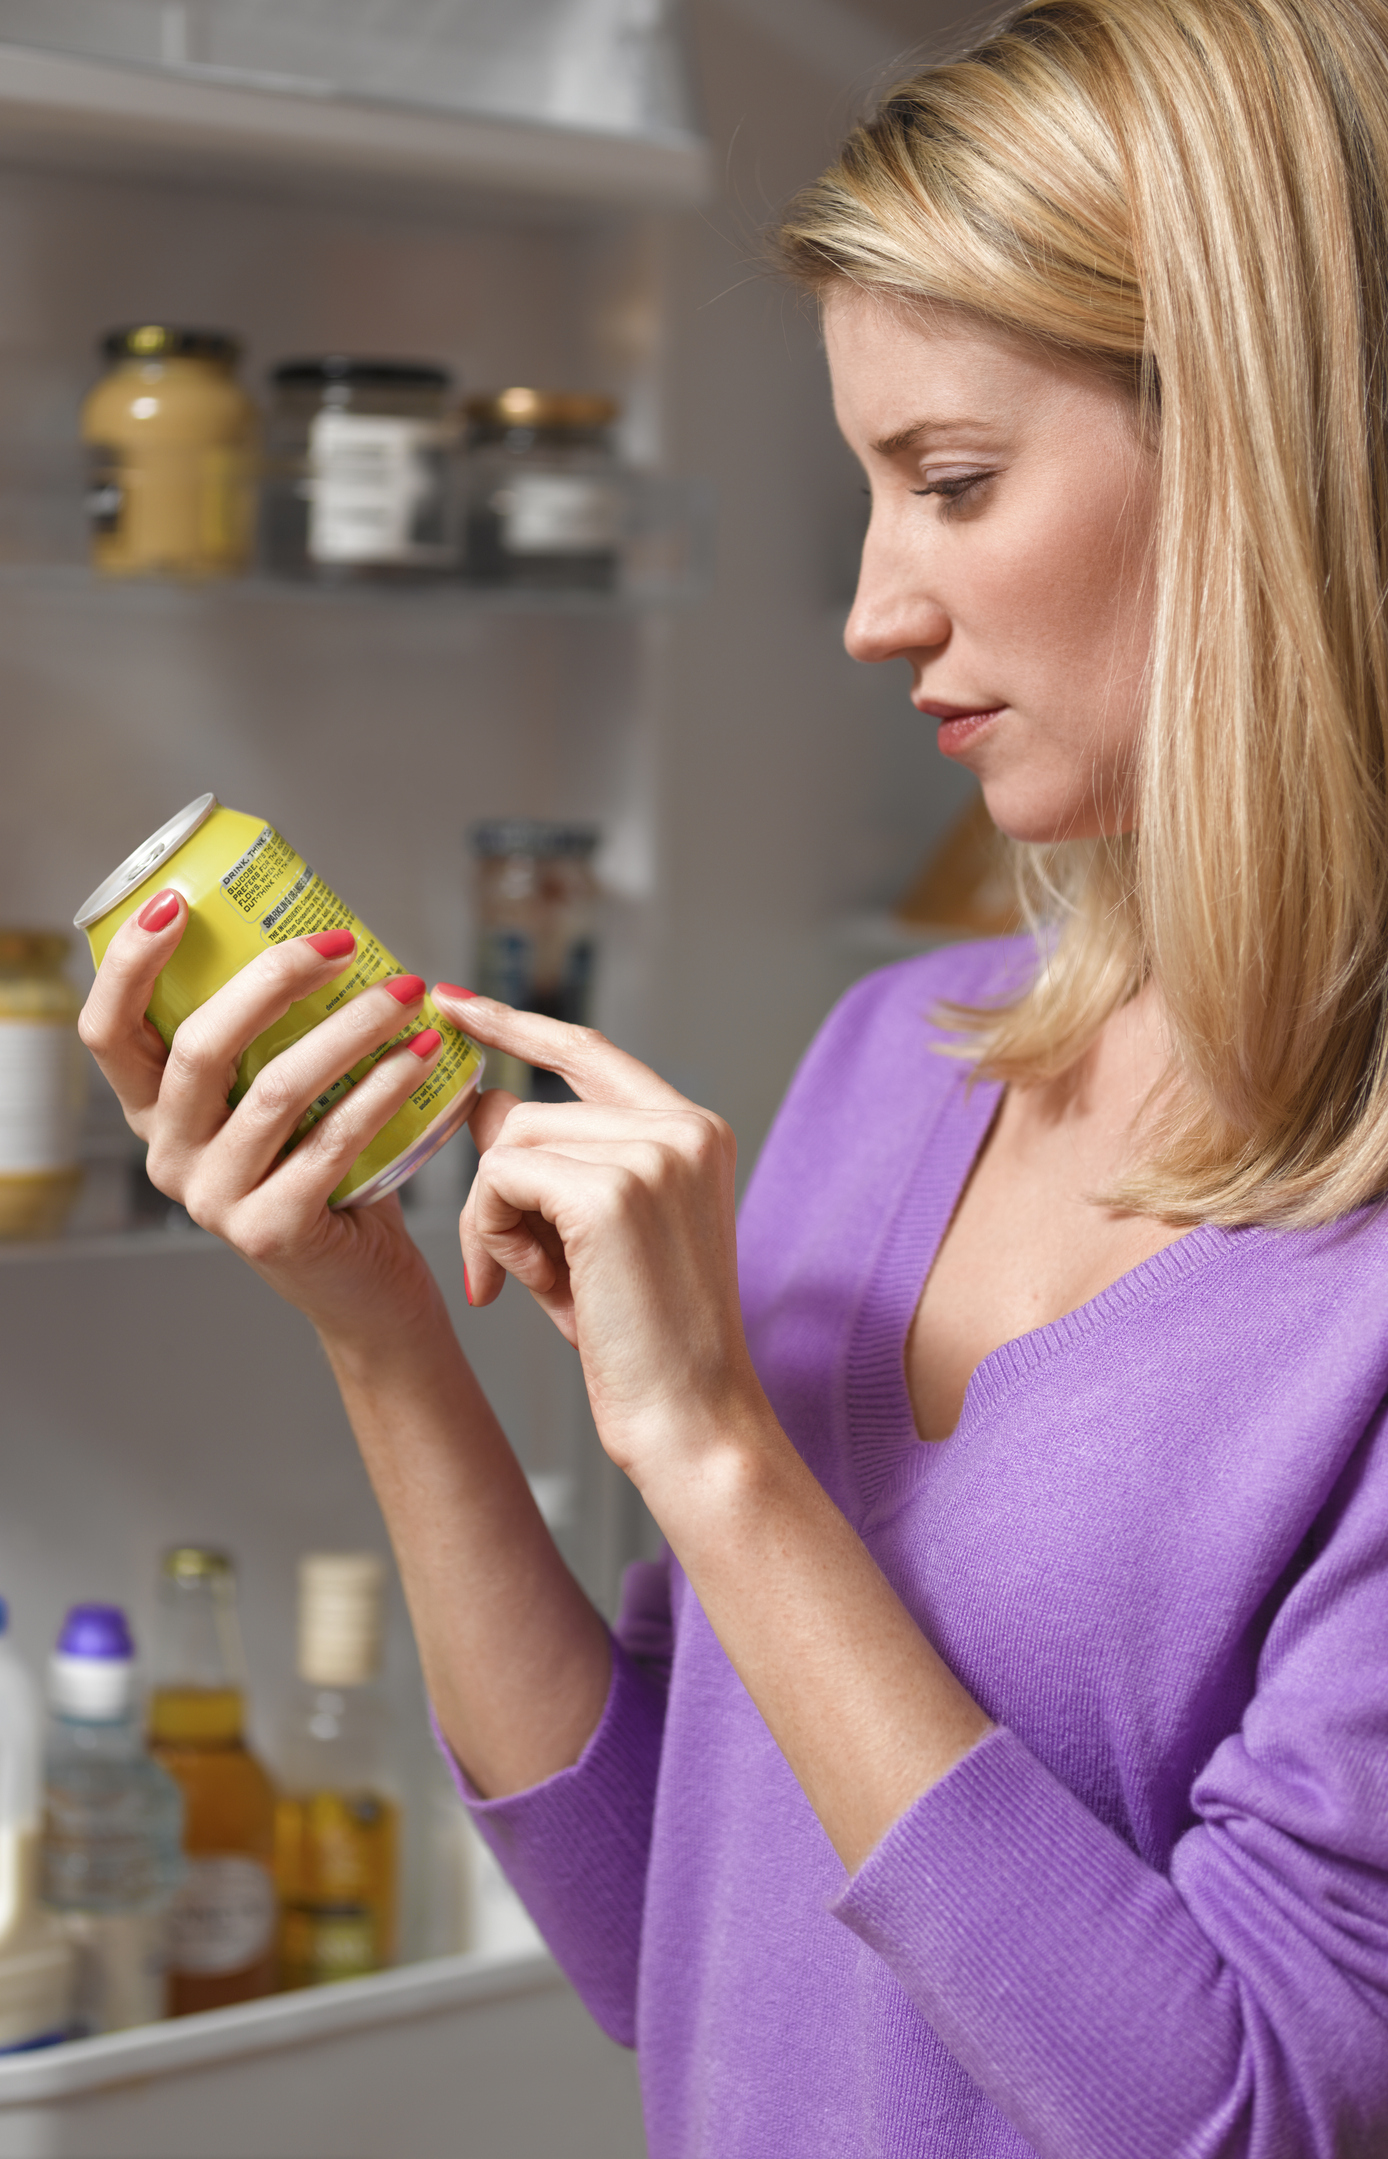
The food you buy has expiration dates, and produce tells you quickly when it’s gone bad. The food you’ve prepared or things like eggs need a date to tell you when you prepared it and roughly how long it has before it’s gone bad. You might also want to label open jars with the date you opened it. Many can go bad more quickly once open, and that expiration date won’t help you much then.
11. Time cleaning it out
Make it a habit to clean out your fridge the night your trash goes out for collection. You can put any food you don’t want right into the garbage to go outside. You won’t be waiting around all week with bags of spoiled food, and tying habits to something else is an excellent way to help the habit stick around for good.
Keeping a clean fridge is in reach
Getting your fridge cleaned out regularly is an excellent way to help keep the habit going. There’s something about a nice, organized refrigerator that could help you make better choices about your food and at least ensure you reduce your food waste.
Whatever hack you choose (or all of them if you’re ambitious), you’ll be one step closer to reaching your goal. A clean, well-organized fridge free of smells is well within reach, but you may need to do a thorough cleaning up-front. Add in these hacks, and you’ve won half your battle with the fridge. Now you just need to decide on that perfect midnight snack.


