
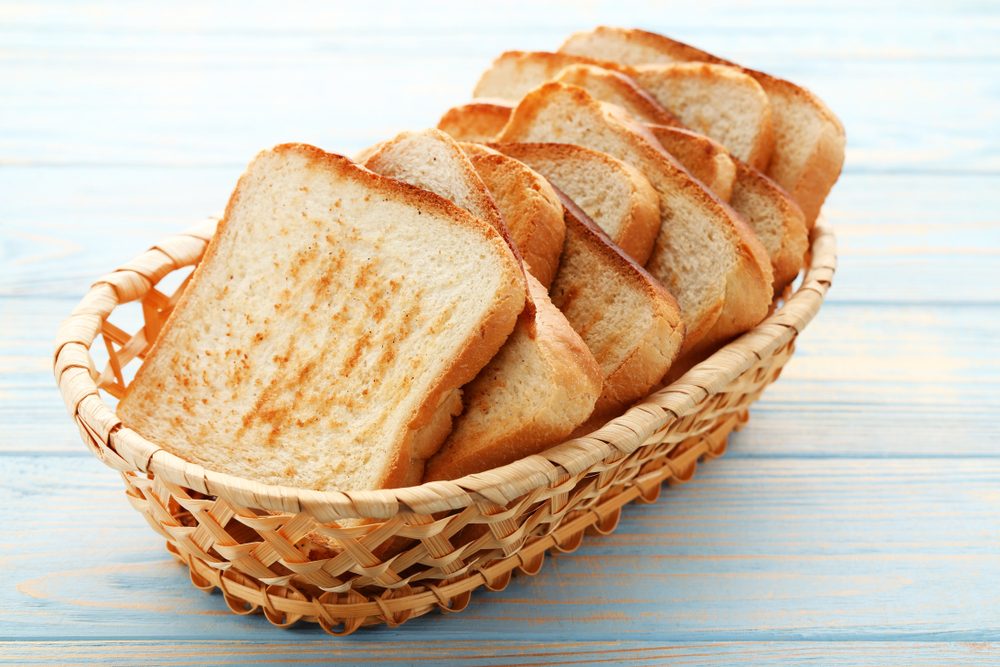
Bread is the crown jewel of any meal. Whether it’s a piece of thick-cut sourdough bread and homemade jam for breakfast or cheesy Texas Toast paired with pasta, you probably get a lot of use out of your toaster. Especially if you use it every day, you may be surprised to hear us tell you it’s time to ditch this long-dominating countertop appliance.
Don’t despair quite yet — breaking up with your toaster doesn’t mean giving up perfectly crispy bread. Instead, try this stovetop hack for the buttery, toasted slices of your dreams.
Why you should ditch your toaster
- It takes up prized counter space. Particularly if your cozy kitchen lacks ample surface area, your countertop is a treasured spot. Keep it as open and clutter-free as possible by removing bulky appliances, like toasters, to give you more prep space.
- It’s difficult to clean. After just a few uses, the inside of your toaster gets pretty caked with charred food pieces and ashes of burnt bread. While you can unplug it to deep clean the inside, it’s certainly not easy.
- It’s not versatile. If you have a multi-function tool that serves as an air fryer, convection oven, and toaster, it should definitely stay in your kitchen. However, classic two or four-slice toasters have just one function, so they certainly aren’t worth all the space they take up.
Why you should pan fry bread instead
Frying your bread gives you more control over the level of doneness, and, after use, you can simply wipe the pan clean. Believe us, you’ll never look back after trying this indulgent toast method.
It results in better tasting toast
When you toast your bread in the toaster, you add your butter or other oil afterward. Here, it often sits on top of the bread, making it a little soggy after a few minutes. Instead, melt a small pad of butter on a pan, then set your bread on top. This method allows the bread to soak up the oil, while the fat produces an unbeatable crispness. Especially for thicker cut bread, this method will give you a satisfying crunch on the outside that leads to a soft and chewy center.
You can get creative with your toast
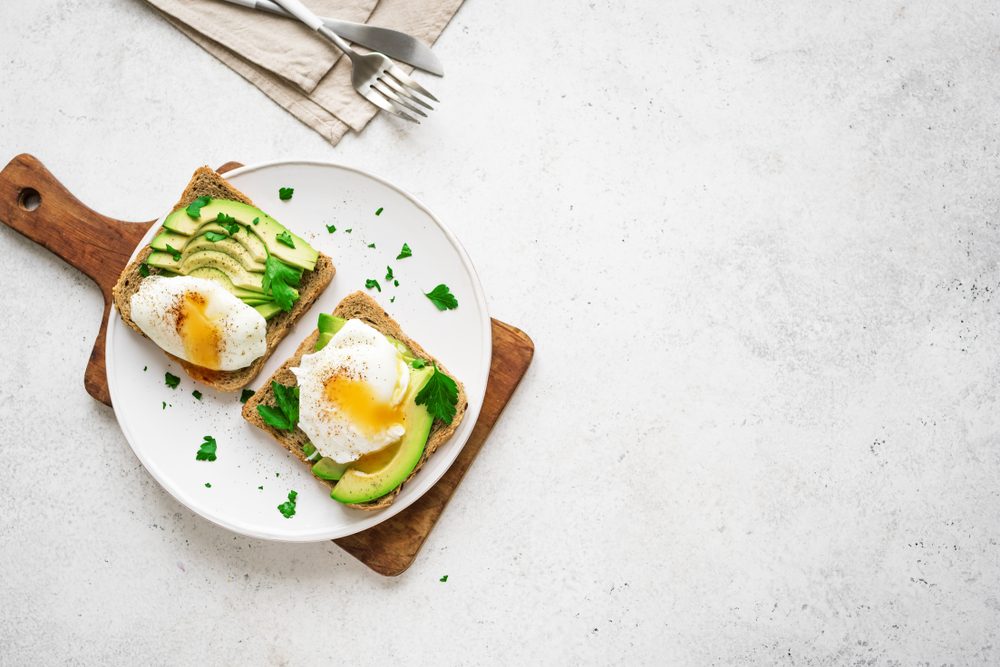
Pan-fried toast is extremely versatile. You can change up the type of fat you use based on what kind of toast you’re in the mood for. If you’re going for a savory flavor profile, use butter or olive oil with a few herbs and spices that pair well with a runny egg. Otherwise, satisfy your sweet tooth and use some coconut oil and a touch of cinnamon. As the oil heats in the pan, the bread absorbs it to really lock in the flavor.
It requires only kitchenware that you already have
You don’t need to go out and buy any new kitchen gadgets or utensils to make the perfect piece of toast. You simply need a skillet and a spatula. With a nonstick skillet, cleaning is as simple as wiping down the surface and leaving it out to dry. There’s no need to unplug or disassemble to keep everything sanitary.
How to pan-fry bread
What you’ll need
- Standard stovetop frying pan with cover
- Spatula
- Bread of your choice
- Fat of your choice (ie. butter or oil)
- Herbs and spices
Cooking directions
- Preheat your skillet to the low setting for thick, dense bread or medium for fluffy, light bread.
- Add butter or oil to the skillet along with herbs or spices like basil, dill, rosemary, thyme, and cinnamon.
- Place the bread in the skillet and let it soak up some of the fat.
- Cover the pan and let the first side of the bread fry for 2 – 3 minutes.
- Uncover the pan and flip the bread, making sure there is sufficient fat left for the second side.
- Re-cover the pan and let the second side fry for 2 – 3 more minutes.
- Remove from heat and add toppings of your choice.
While your tried-and-true toaster has given you perfectly acceptable toast for years, it lacks the versatility needed for up-leveled cooking, and it simply takes up too much precious space in the kitchen. Once you experience the delicacy and ease of pan-fried bread, we bet you’ll want to toss your toaster and never look back.


