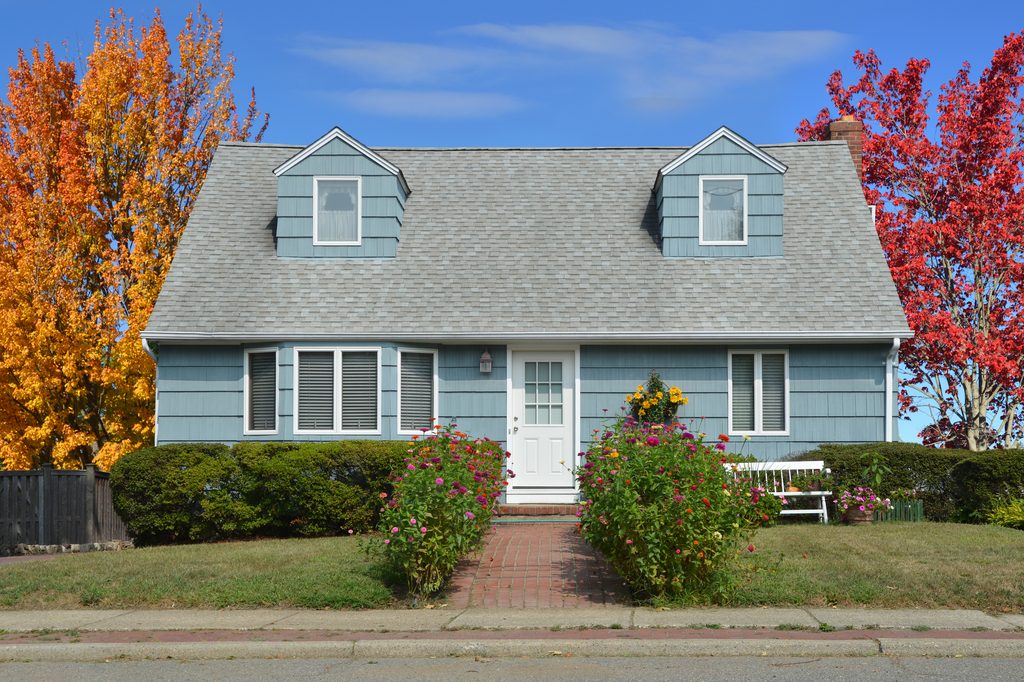
Vinyl siding is a popular choice for homeowners because of its durability and low maintenance. However, over time, you may find that you want to refresh its appearance with a new coat of paint. But can you paint vinyl siding? The short answer is yes, you can. Let’s explore the process of painting vinyl siding, from preparation to application, to help you achieve professional-looking results and boost your home’s curb appeal.
Is painting vinyl siding a good idea?
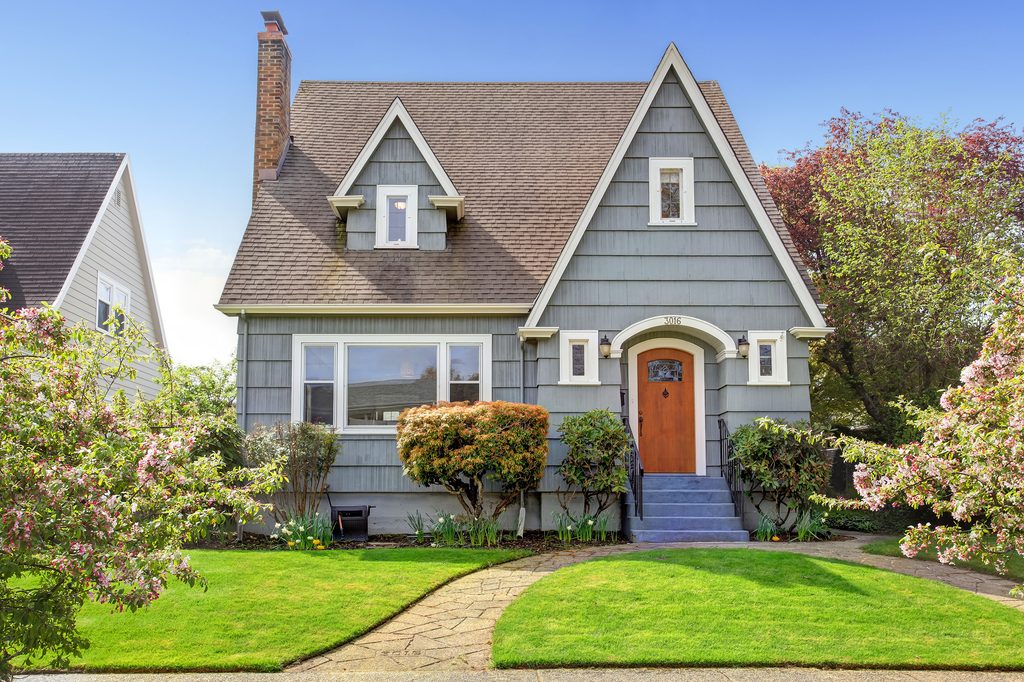
Before diving into the painting process, you’ll want to consider whether painting your vinyl siding is a good idea. While vinyl siding is designed to withstand the elements and maintain its color for many years, it can fade or become discolored over time. Painting your siding not only gives it a fresh new look but also provides an extra layer of protection against the elements.
Tools needed to paint vinyl siding
Before you begin painting, gather the necessary tools and materials. You’ll need:
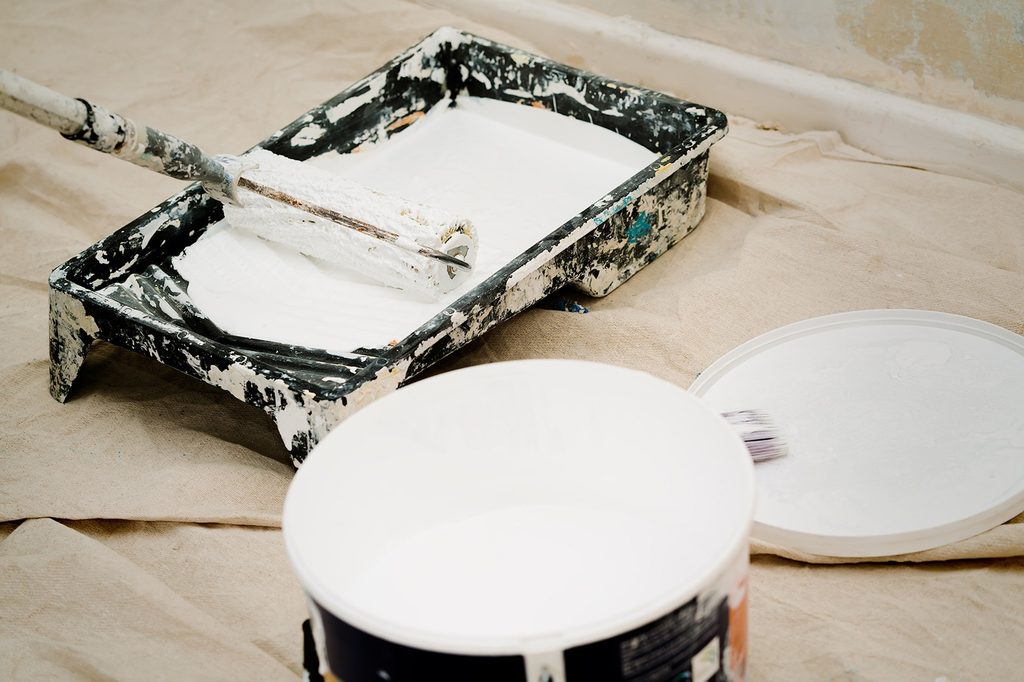
- High-quality exterior paint formulated for vinyl siding
- Paint primer suitable for outdoor use
- Paintbrushes or rollers
- Paint sprayer (optional but recommended for larger surfaces)
- Cleaning solution and a pressure washer or hose
- Sandpaper or a wire brush for removing any loose paint or debris
- Painter’s tape and plastic sheeting to protect surrounding areas from paint splatter
Best way to paint your vinyl siding

Now that you’ve gathered your tools, let’s dive into the best way to paint your vinyl siding.
1. Prep the area
Before you start painting, it’s crucial to prepare the area properly. Begin by covering any nearby surfaces, such as windows, doors, and trim, with plastic sheeting and painter’s tape to protect them from paint drips and splatter. Additionally, consider wearing protective clothing, gloves, and eyewear to shield yourself from paint and debris.
2. Wash your siding first
Next, the surface needs to be cleaned before painting to remove any dirt, debris, mold, or mildew that may have accumulated. Use a cleaning solution specifically designed for vinyl siding, along with a pressure washer or hose to rinse it clean. Allow the siding to dry completely before proceeding to the next step. This ensures proper adhesion of the paint and prevents moisture-related issues down the line.
3. Repair damaged siding
While preparing your siding, take the opportunity to inspect for any damaged or loose pieces. Repair or replace damaged sections to ensure a smooth and uniform surface for painting. This step will help your siding look brand new once you’ve finished painting.
4. Apply primer for outdoor use
Priming is a crucial step when painting vinyl siding. Choose a high-quality primer specifically formulated for outdoor use and apply it evenly to the entire surface. Primer helps the paint adhere better to the siding and provides additional protection against the elements. Be sure to follow the manufacturer’s instructions for proper application and drying times.
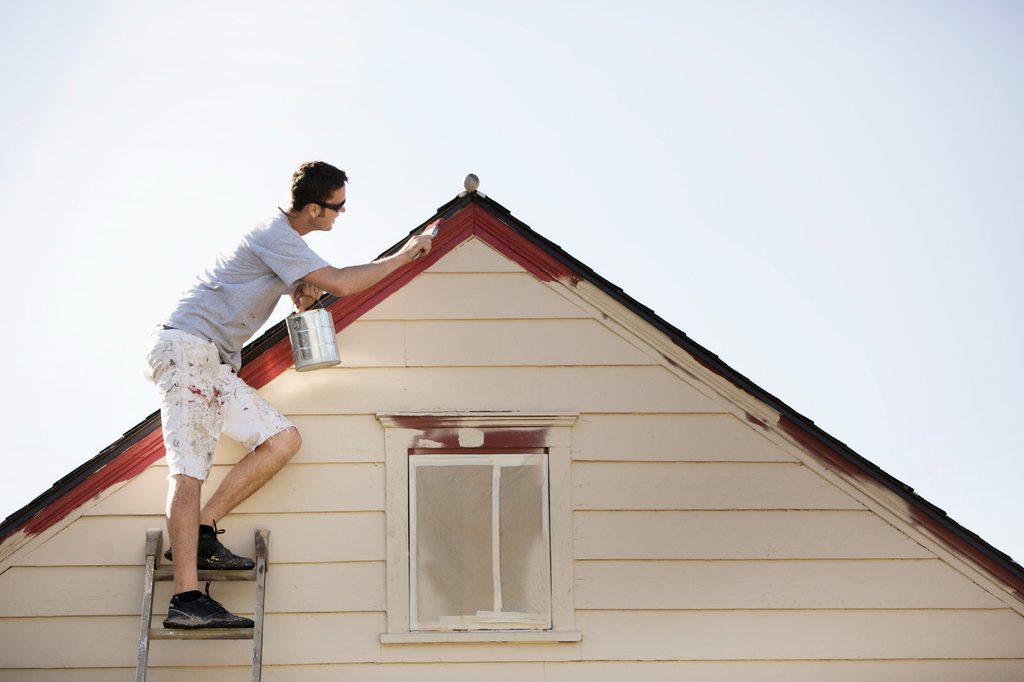
5. Time to paint!
Once the primer has dried completely, it’s time to apply the paint. Select a high-quality exterior paint formulated for use on vinyl siding in the color of your choice. Use a paintbrush, roller, or paint sprayer to apply the paint evenly across the surface, working in small sections for the best results. If using a paint sprayer, be sure to follow the manufacturer’s instructions for proper technique and coverage.
6. Apply a second coat
For optimal durability and coverage, consider applying a second coat of paint once the first coat has dried. This helps ensure a more uniform finish and extends the life of your painted vinyl siding. Allow the second coat to dry completely before removing any protective coverings and admiring your freshly painted siding.
How long will my vinyl siding last if I paint it?
The lifespan of painted vinyl siding can vary depending on factors such as climate, exposure to sunlight, and maintenance. Generally, you can expect your painted vinyl siding to last several years before needing to be repainted. To prolong its lifespan, it’s essential to perform regular exterior maintenance, such as cleaning and inspecting for any signs of wear or damage.
Painting your vinyl siding is a viable option for refreshing its appearance and providing added protection against the elements. By following the steps outlined in this guide and using the right tools and materials, you can achieve professional-looking results that will enhance the curb appeal of your home for years to come. So go ahead and give your vinyl siding a fresh new look with a coat of paint!


