If you’re sick of your dining room table but don’t have the funds to buy a new one, why not refinish your existing table instead? Wood restoration is easy, relatively inexpensive, and can be done over the course of a single weekend, making it the perfect project for beginner DIYers.
This season, give yourself the satisfaction of working with your hands to create something truly beautiful. As long as you carefully follow a few simple steps, you’ll refinish your dining room table and have it ready to entertain guests in no time.
What you’ll need
Before you begin, grab a few must-have items from your local hardware store, a big box home improvement store, or online. There’s nothing worse than pausing a project’s momentum to make a quick run to the store.
The process and materials list will differ depending on whether the table is painted, stained, or unfinished, but generally, you should have these items on hand:
- Stripper & putty knife (for painted tables)
- Oil-based stain
- Oil-based polyurethane
- Sandpaper (100-, 150- and 220-grit)
- Cotton rags
- Stain brush
- Rubber gloves
- Steel wool
- Dropcloth or old bed sheet
- Tack cloth
- Mineral spirits
Getting started
- Set your table in a well-ventilated space that’s big enough for you to comfortably move around the perimeter. Don’t forget to place the table on a drop cloth or old bed sheet for easy clean-up.
- Clean the table with soap and water to remove any dirt or residue and allow it to dry completely.
- Use a stripper to remove any existing paint. The type of product you use for this step depends on the condition of the table, the type of paint, and other factors, so talk to an associate at your local hardware store to make sure you’re using the best tool for the job. Once you settle on a product, follow the instructions carefully. You may have to repeat this step a few times to remove all the paint or varnish.
- Once it’s thoroughly stripped, go over the table with fine steel wool, then clean the surface with mineral spirits to remove any lingering residue.
- Allow the table to dry completely before sanding.
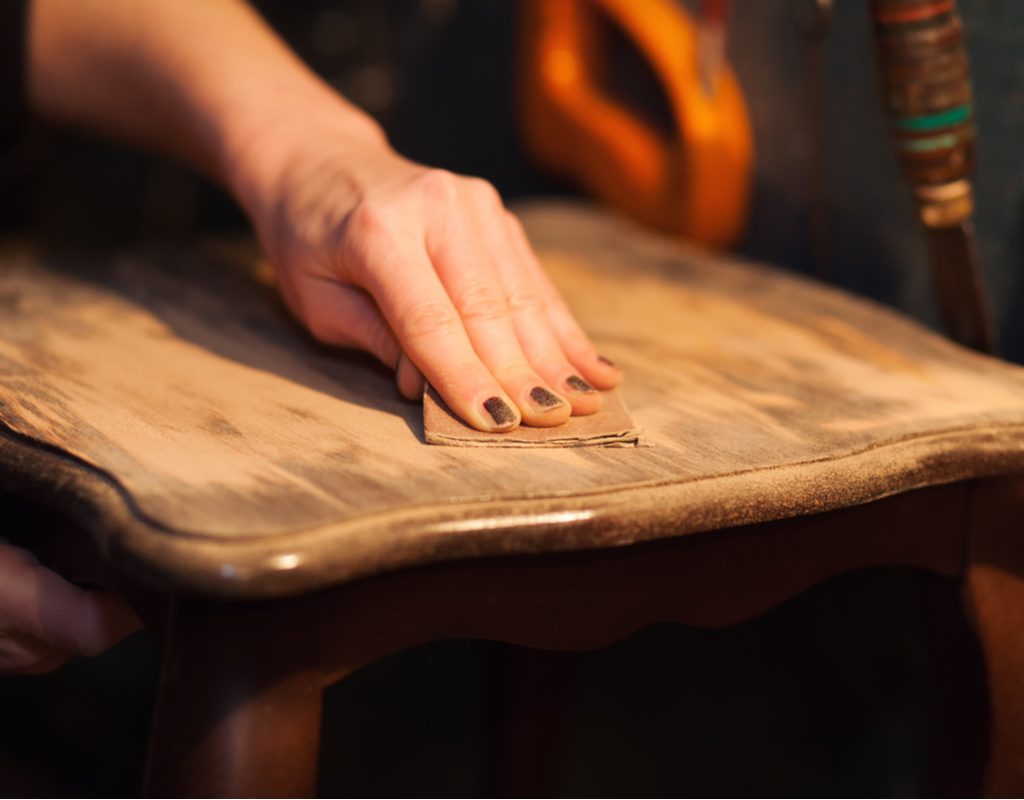
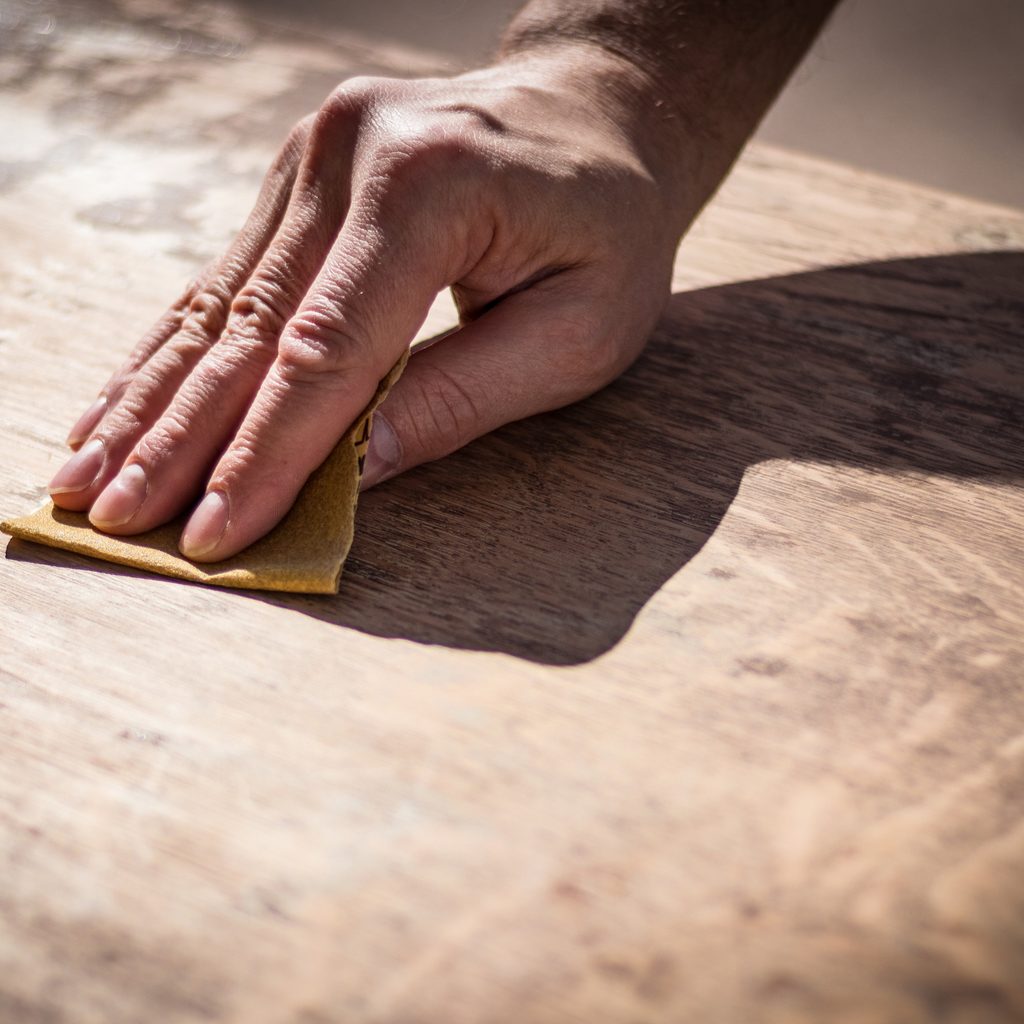
Time to sand
As you sand, remember to follow the grain for best results. Start with the 100-grit sandpaper, move onto the 150-grit, then finish with the 220-grit paper. This process will leave you with a smooth, unfinished table that’s ready for stain or paint. Vacuum the surface of the table then clean off any lingering dust and debris with a tack cloth.
Stain away
Now, it’s finally time to give your table a new life. Apply your stain of choice, following the grain of the wood and using a smaller paintbrush to fill any cracks and corners. Let the stain settle for a couple of minutes, then use a rag to wipe away any excess. The longer you leave the stain before you wipe it, the darker the color will be, so this step is the key to attaining a smooth finish in the shade you’re aiming for.
Once dry, sand lightly with the 220-grit sandpaper for a smooth finish, then wipe away dust and residue with a tack cloth. Let the stain sit overnight. Repeat this process, applying at least two coats of stain to achieve the best results.

Final stretch
In the morning, wipe the table clean and, once again, let it dry completely. Now you’re ready for the oil-based polyurethane. Apply at least two coats of this product to ensure the table is sealed properly and can repel any water, dirt, or food that spills onto it. Patience is key here, so allow each coat plenty of time to dry. Once you’re happy with the results, let the table sit for another 24 hours to give all coats a chance to dry completely. Finally, it’s ready to use.
With a little time and a few commonplace home improvement products, you can transform your old, dingy dining room table into a piece of furniture that looks fresh and new. As with any table, protect your investment and use coasters for drinks and placemats and other trivets for serving food. While the polyurethane finish protects your table from everyday messes, keeping hot pans and cups off of the surface will keep your table looking gorgeous for many years to come.
All that’s left to do is invite family and friends over to admire your hard work. Serve your favorite dinner party dishes, whip up some seasonal drinks, then eat, drink, and be merry around your “new” piece of dining room furniture.


