Gallery walls are excellent artistic focal points, but it’s a pain to hang art. Heavy frames make a significant impact, but they can be hard to secure. There has to be a better way to arrange your art so that it’s easier to hang but still gives you a beautiful design aesthetic.
With these simple yet unique ways to hang art, you can change the look of your living spaces in each part of your dwelling. They only need some basic tools you have lying around your apartment and no professional skills. Let’s find your perfect arrangement.
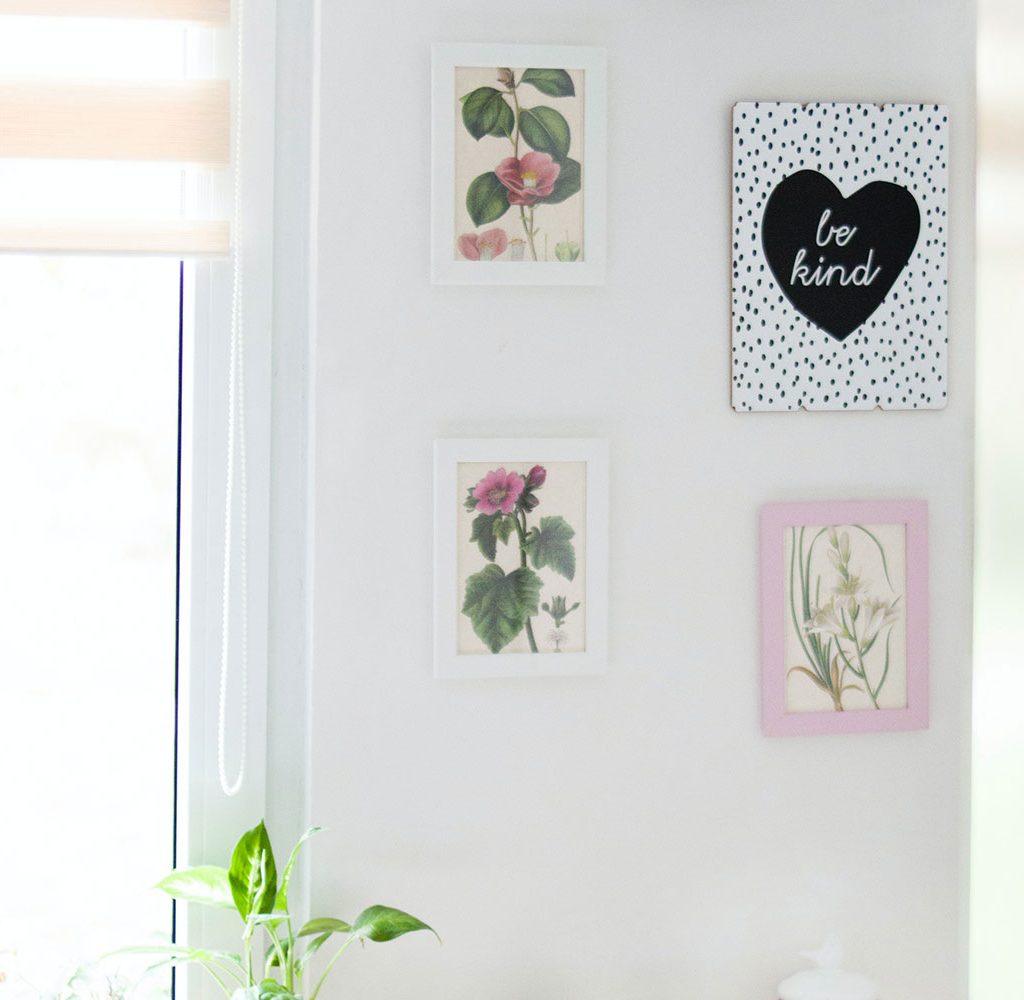
1. Around the corners
The corners of your rooms or around your hallway can provide a fun pop of visual interest. For a big impact, start on the longest side of your wall and continue your arrangement right up to the corner of the wall and around.
One tip for this: Blend a mix of large and small frames to make it easier to arrange. You could also lineup frames starting from the corner and work your way back down the wall to ensure everything lines up correctly.
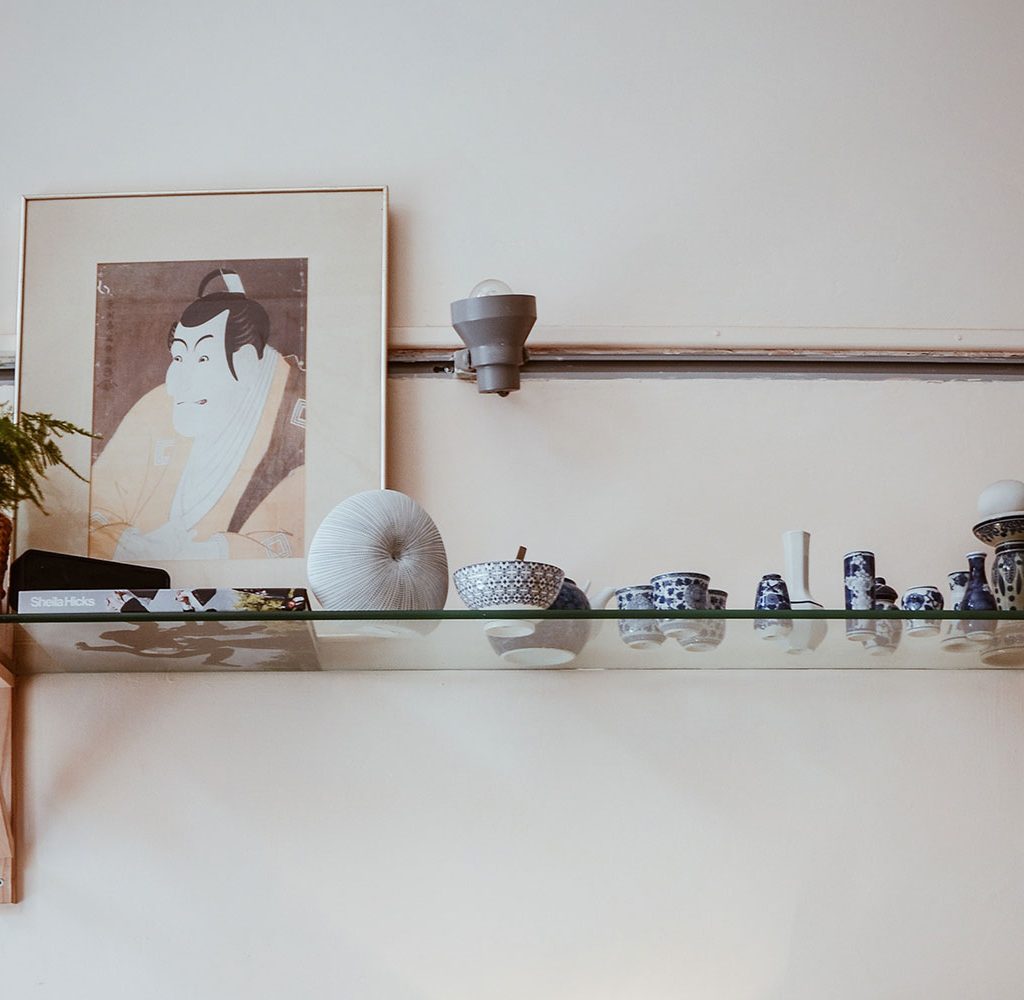
2. Art shelves
Shelving is always going to be easier than hanging art. Install floating ledge shelves on your walls in two rows, leaving enough space for larger pieces of art. Layer frames on the shelf, varying heights, and creating depth.
Shelves work well if you have lots of art and not enough spaces to put it all out at once. You can arrange the artwork on the shelves to rotate. You also have more freedom to decorate seasonally if you have art specific to certain holidays.
3. Frameless wire
Wires and clips also allow you to change out your artwork frequently. This works particularly well with children’s art or photography, which is often done on lightweight paper. Rotate out each week’s offerings so that your children feel like their work is valued.
Take a piece of string or wire and measure the space you want to cover. Wrap the string around a nail or screw and secure it to the wall. Arrange art using clips for easy ways to change out what’s visible. Hunker suggests using mounts.
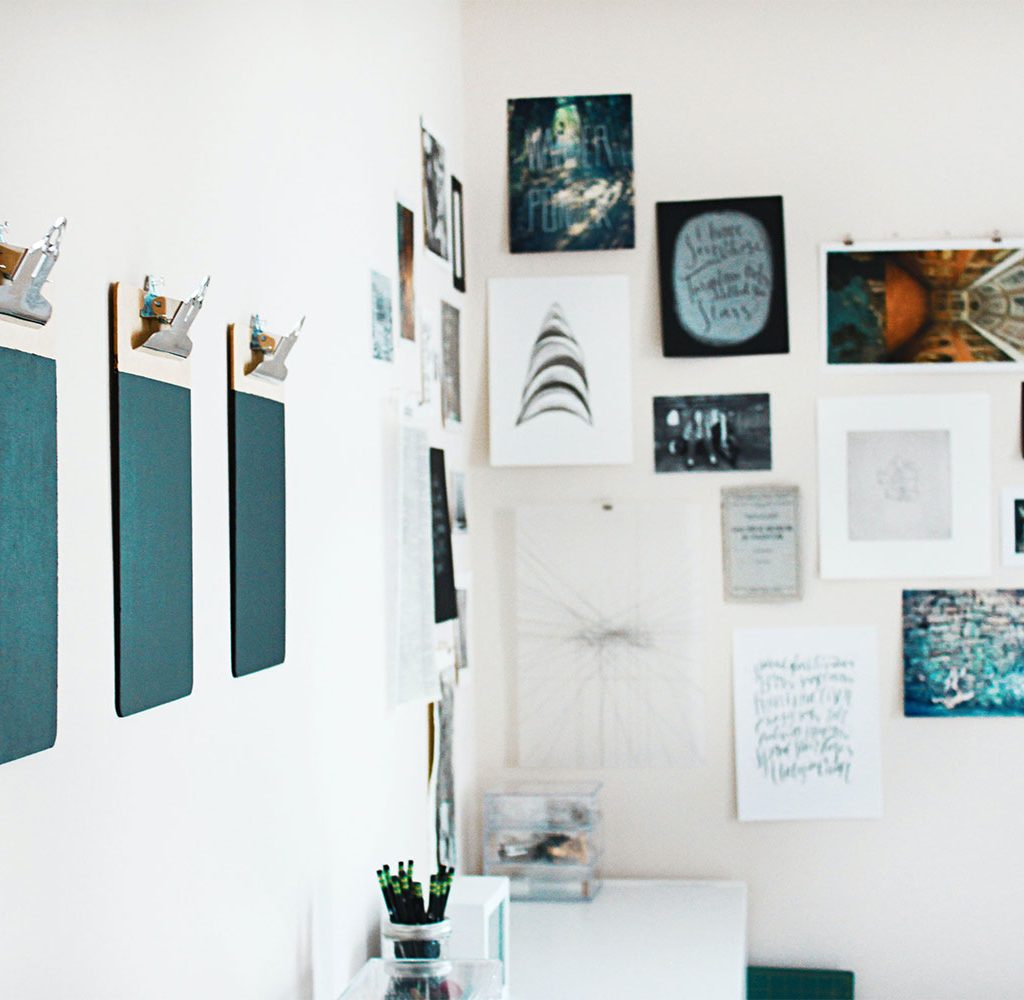
4. Touching frames
If getting spacing just right drives you crazy, get rid of the space. Line frames up next to each other so that the sides are touching and call it a day. This makes it very obvious if you’ve gotten off the plumb line.
It’s also unexpected. If you have multiple frames from the same artist or that are all the same size, it can be a way to get an impactful grouping without planning each space so carefully.
5. Put it on the floor
Upsize your art to something that can fill up an entire wall space and simply place it on the floor. If it’s a large enough piece of art, you can skip the hassle of finding studs and hanging it altogether.
You can accomplish the same effect with a medium-sized piece of art by placing it on a decorative side table against a blank wall. You finally get your art up without worrying about the state of your wall to get there. The Spruce says it’s a unique way of displaying art.
6. Hang on a bookshelf
If you’ve got bookshelves in your living space, it doesn’t mean you lack space to hang art. Hanging your favorite pieces in one or two places directly on the shelf can help create visual interest while giving you more space.
Place a single nail on a vertical beam and place wire on the back of your shelf. You can hide some things out of sight behind the art while quickly getting to them, just moving your picture. Stick with just one or two small to medium pieces for each set of shelves to avoid overwhelming the space.
7. Utilize your windows
Windows are beautiful. However, if you want to keep people from having a full view inside your house, you can hang art on window frames for an exciting display.
Choose medium to slightly larger pieces and use the same method you did for bookshelves, a single nail on a vertical or horizontal piece of the frame. You could also make it easier on yourself by using 3M hooks so you don’t end up with nail holes in your window frames.
8. Wireframe grid
Smaller pictures can look cluttered easily. Give them a good backdrop by using a large wire grid. Cut a piece of wire fencing, chicken wire, or some other type of grid in your desired shape and secure it to the wall.
Once you have your grid up, you can use decorative clips to arrange your small pictures into any collage you choose. They’ll have a bigger impact than trying to find standard frames for everything. The best part? You can fit your grid to your exact space.
9. Picture rails
Picture rails used to be a decorating staple. Bring them back for your design by attaching the railing to a spot on your wall about one to one and a half feet from the ceiling. Once it’s secure, use hooks and wire to position your paintings exactly where you need them.
Wire is more secure than string. It’s a bit easier to position and provides an interesting geometric addition to your artwork. You can also attach pictures together for more layers. Ensure the hooks you use are sturdy and simply slide the pictures where you want them whenever you’re arranging.
Gallery wall alternatives
We are huge fans of gallery walls, but sometimes they aren’t what you want. Alternatives like these provide similar visual interest but are easier to arrange and plan. You only need a few simple tools and a creative eye to make them happen.
Don’t underestimate the impact of paintings and art simply placed on a flat surface, either. This gives your arrangements a lot of depth, and you may even find more space than what you thought you had. Utilize creative spaces and let your artwork show!