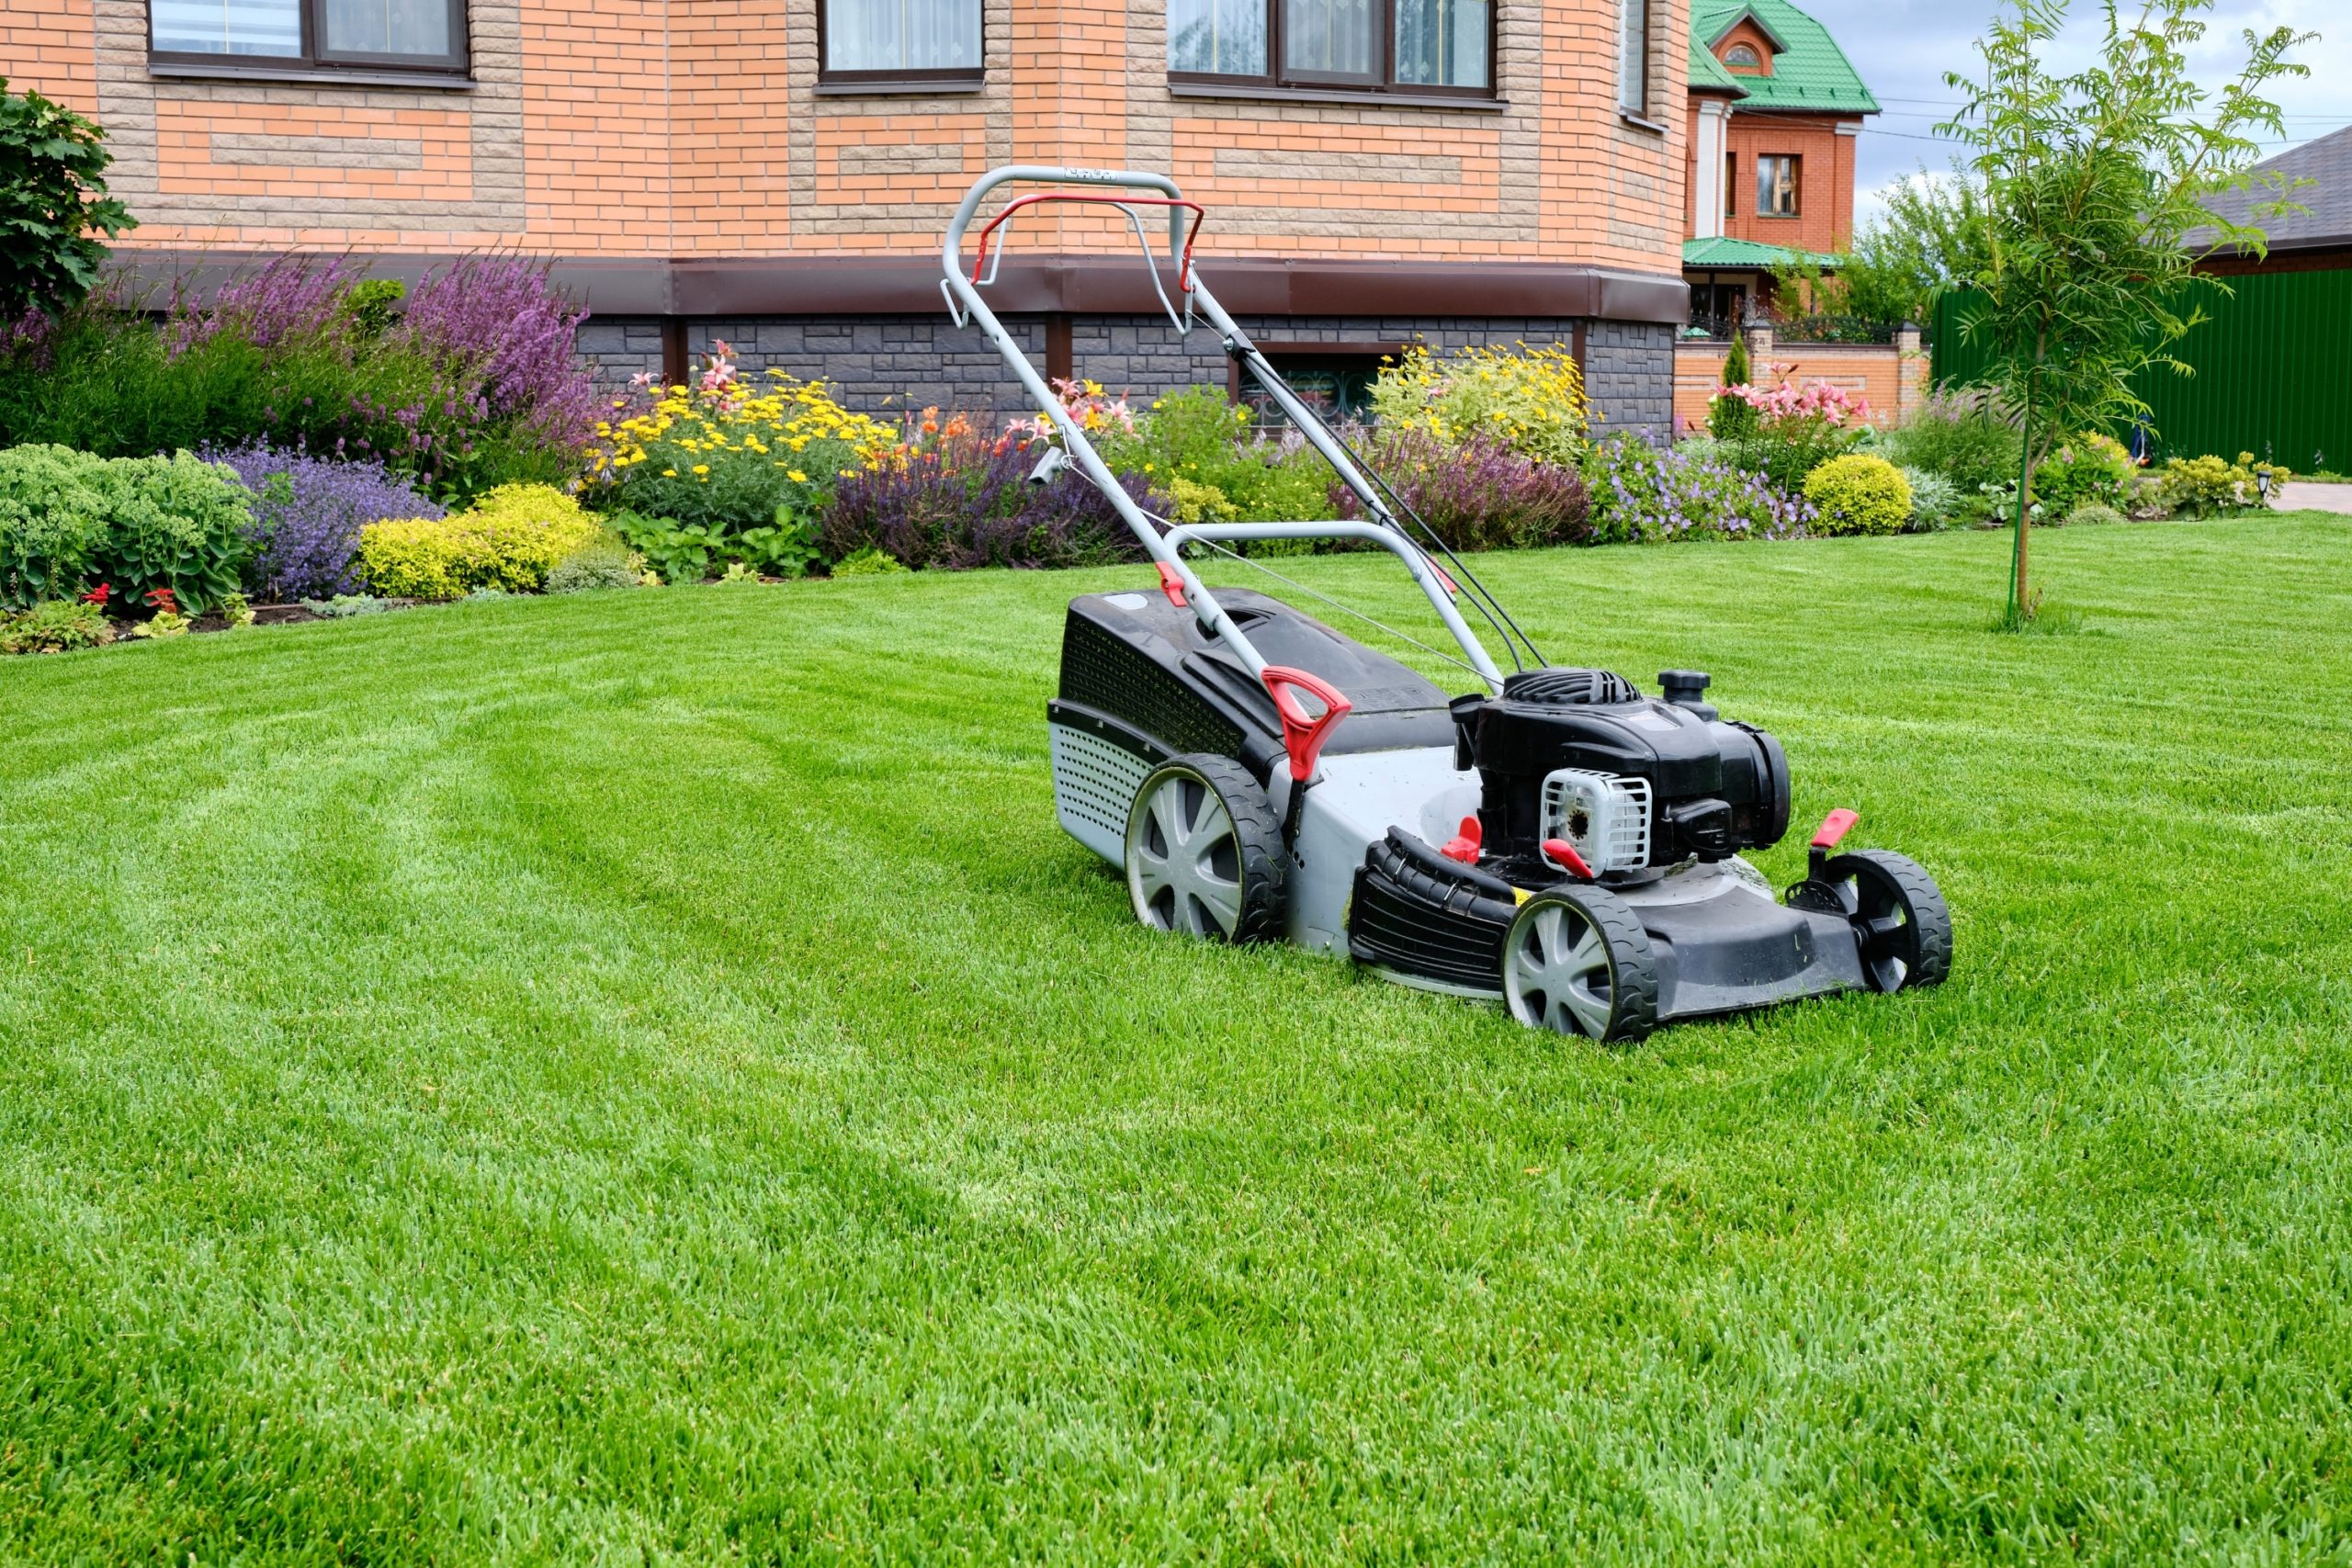
Changing your lawn-mower oil can be daunting if you’ve never attempted it before. Thankfully, it’s a fairly easy task that nearly anyone can do on their own. This guide will walk you through step by step on how to properly change your lawn-mower oil so that you can be prepared for your spring and summer lawn care.
What tools will you need?
The tools needed for changing the oil in your lawn mower may include:
- Owner’s manual for your lawn mower
- The proper motor oil
- Oil-drain pan
- Towel or rag
- Funnel
- Socket wrench
For larger lawn mowers, like riding mowers, you may also need to purchase a lift to help you access the drain plug underneath the lawn mower. This may not be necessary, of course, so it’s best to see if you can access the drain plug first before making a purchase.
How often should you change your lawn-mower oil?
The reason for changing your lawn-mower oil is similar to getting an oil change for your car. Your lawn mower collects dirt and grime as you use it. Additionally, over time, the oil can fail to lubricate all components of your lawn mower effectively.
Once a year, you should consider changing the oil in your push mower or riding mower. The best time would be at the start of the season before you begin cutting your grass again. However, smaller 2-cycle lawn mowers may require more oil changes than just once a year. Refer to your owner’s manual for the best recommendations.
What kind of oil does your lawn mower need?
Most lawn mowers come equipped with an owner’s manual that will detail the type of motor oil your lawn-mower engine needs. If you have misplaced your manual or your mower didn’t come with one, don’t worry!
Some of the most common lawn-mower oils include SAE 30, Synthetic SAE 5W-30, SAE 10W-30, and Vanguard 15W-50. Vanguard 15W-50 is best for commercial or frequent use. Typically, most small engines and ordinary push mowers do just fine with SAE 30.
Know the difference between 4-cycle and 2-cycle mowers
There are two types of lawn mowers, each requiring a different method for adding oil. It’s imperative that you know whether you own a 2-cycle or 4-cycle mower before adding in your mower oil, as doing so improperly can cause a backfire and make an engine foul-up.
Below are the key differences between 4-cycle and 2-cycle mowers.
4-cycle lawn mower
- A 4-cycle mower will have a place to add motor oil that is separate from the gasoline tank.
- If your owner’s manual advises you to regularly change the oil, it could be a 4-cycle mower.
- 4-cycle engines tend to be larger than 2-cycle machines. They’re often used for riding mowers.
2-cycle lawn mower
- A 2-cycle lawn mower will use the same space to add both motor oil and gasoline.
- 2-cycle mower oil doesn’t need to be changed as often as 4-cycle mower oil and typically only requires an oil change once a year.
- 2-cycle engines are smaller than 4-cycle engines and are most common in smaller machines like leaf blowers and chainsaws.
As always, if you can, you should refer to your owner’s manual for the type of lawn-mower engine you own as well as for the recommended motor oil.
Step-by-step how to change the oil in your lawn mower
Step one: Preparation
- Warm up the engine for about 60 seconds. This will warm up the oil inside and will make it easier to drain.
- Next, turn off your engine and disconnect the spark plug to ensure that the engine doesn’t accidentally start while you’re performing the oil change.
- Clean up the area around the dipstick shaft and drain plug to remove any grime or buildup that may make it challenging to perform the oil change.
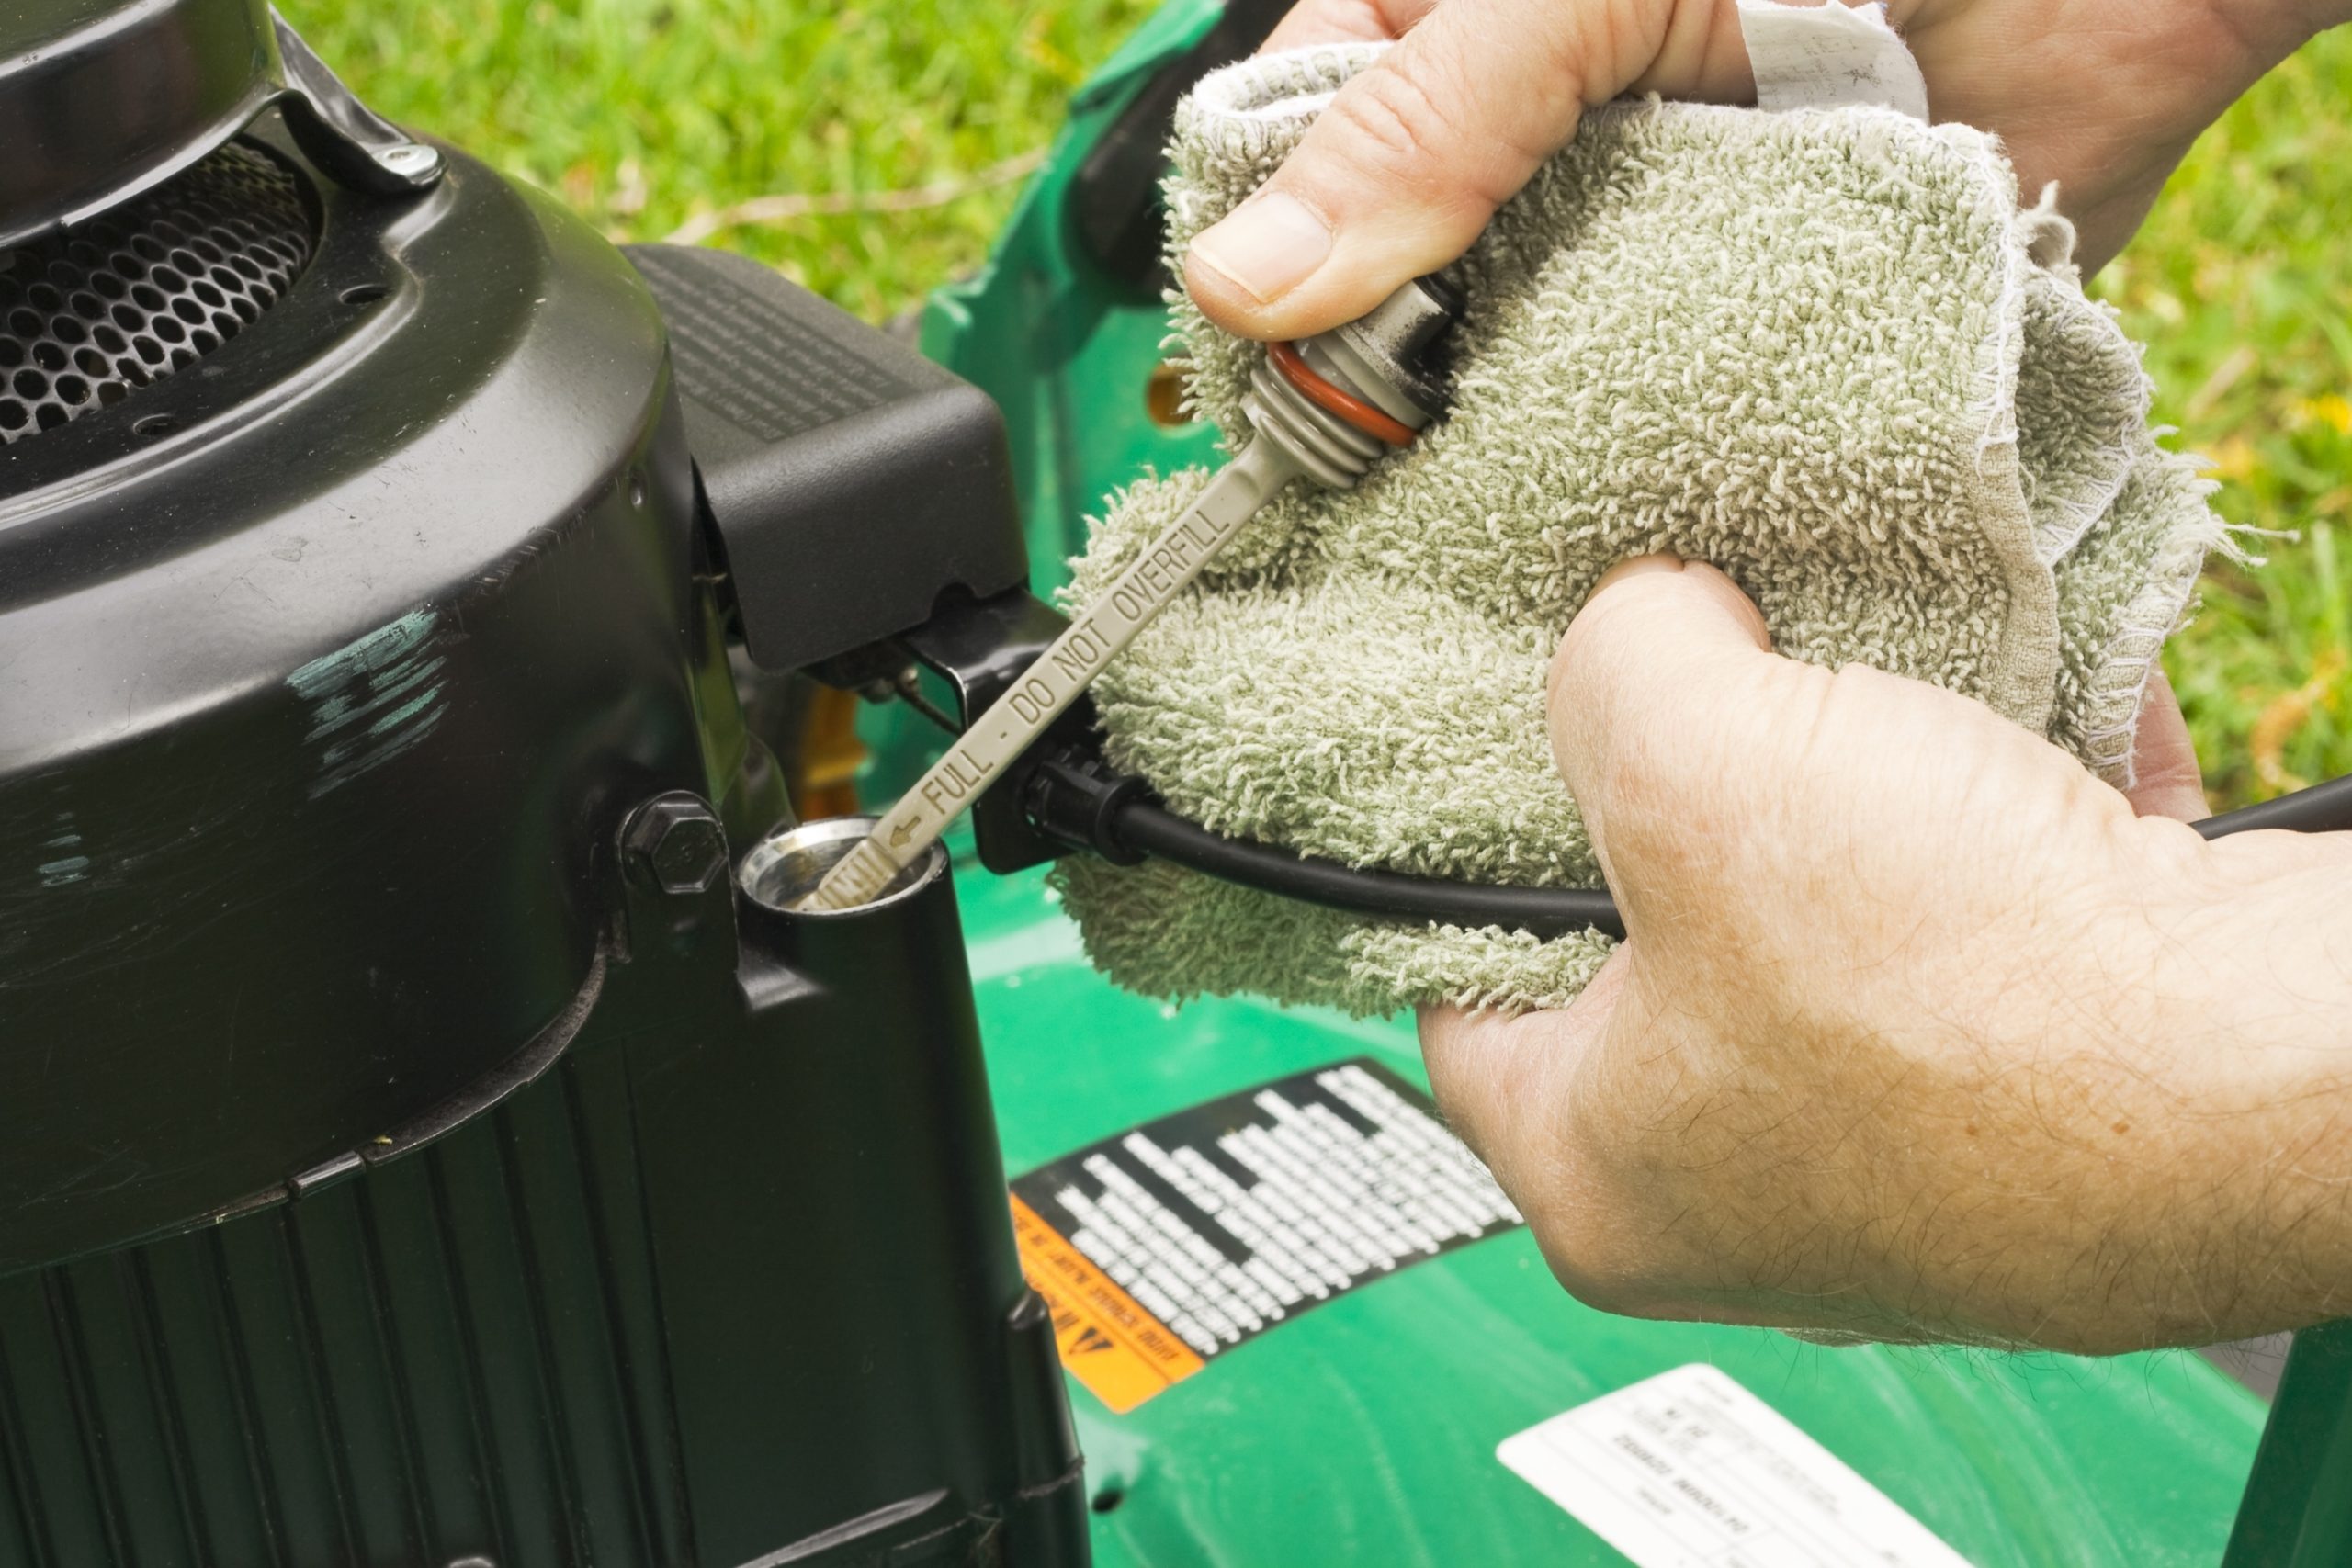
- Remove the dipstick and wipe off any oil with your rag. Set this aside to begin draining the old oil.
Step two: Drain the oil
- On a push mower, prop up the mower deck so that you can set an oil pan underneath to catch the discarded oil. You should never dump your oil onto the ground or down a drain. Use an oil-safe container to catch your discarded oil. When you’re finished, you can recycle your oil at places like Tractor Supply or nearby oil-recycling facilities.
- If you have a riding mower, set your oil-safe container underneath the drain plug before you begin draining.
- Next, use your socket wrench to unscrew the drain plug. Allow the oil to drain out into the oil pan.
Additionally, if your lawn mower includes an oil filter, this would be an ideal time to change it out for a new one. Oil filters collect a lot of grime and dirt particles over time. It’s best to change your filter each time you perform an oil change.
Step three: Refill the engine oil
- Tighten your drain plug with your socket wrench once all of the old oil is drained out.
- Then, locate the oil fill plug (where you removed your dipstick) on your lawn mower.
- Fill the oil up to the recommended amount. You may need to refer to your owner’s manual for the correct measurement. Typically, the oil capacity of push mowers are anywhere between 15 and 18 ounces. Riding mowers tend to have an oil capacity between 48 and 64 ounces. Use a funnel to guide the oil into the fill hole if necessary.
- Once your oil is filled, grab your dipstick and make sure it is wiped clean before inserting it back into your lawn mower.
- Put your dipstick in your mower, then pull it back out to check that the oil level is not overfilled and is at its recommended amount. The oil levels can be read on your dipstick.
- If everything looks good, put your dipstick back into your lawn mower.
Now, you’re ready to go out and cut your grass for the rest of the season.


