
Home security need not start with an expensive video monitoring system — simply lighting up the property is a major deterrent for criminals. If you’re looking for a fast, easy, and inexpensive way to secure your home, consider installing security lights. Even without having outdoor light fixtures in the right places, there’s still no need to hire an electrician. This is an intermediate DIY project that most experienced homeowners can tackle on their own. Follow along and learn how to install a security light from scratch.
Determine the location for the light
When determining where to mount the light, opt for a wooden soffit, usually on the underside of the edge of your roof. From there it is easy to tap into an electrical junction box inside the attic. If this isn’t possible, mount the light onto the side of the house, but be aware that side-mounted lights must be thoroughly weatherproofed to prevent water from seeping in behind the fixture. Use a drill with a spade bit to drill a 1.5-inch hole in the soffit or siding where you intend to install the new light.
Identify the power source
To replace an existing exterior light with a motion sensor light, it’s a simple swap out. Remove the old fixture and follow the manufacturer’s instructions to install the new one. However, if you’re installing the security light from scratch where there is no existing fixture, you first need to follow a few steps.
Step 1: Identify a power source.
Step 2: In the home’s interior, locate an electrical outlet or light switch near the area where you want to place the new light or find an electrical junction box in the attic.
Plan for an override switch
In the interior of the home, install a control switch for the security light using an existing switch box or wall outlet box. To do so, replace the existing light switch or wall outlet with a single pole dual switch or combination switch and outlet. These devices use the same size box as the switch or outlet you’ll replace. If this isn’t feasible, install a new switch box solely for this new light.

Turn off the power
Before starting any electrical project, turn off the power supply at the breaker box to prevent injury. Then test the circuit to ensure it’s not live before proceeding.
Run the power line
Step 1: Remove the cover of the electrical junction box in the attic.
Step 2: Knock out a punchout hole to access power for the switch.
Step 3: Disconnect the existing wire connections and reconnect with the new 14-gauge switch wire using wire nuts: black wire to black wire, white to white, and ground to ground.
Step 4: Put the cover back on the junction box.
Step 5: Feed the new wire through the wall to the switch location, along with one end of the wire that will run from the switch to the light fixture.
Step 6: Run the other end of the fixture wire to the hole where the fixture will be installed, leaving at least eight inches of wire extended to the outside.
Step 7: Fasten the wires to the rafters with wire staples.
Wire the switch
Step 1: At the switch box, pull the wire ends through the box.
Step 2: Crimp the ground wires.
Step 3: Remove the sheathing and insulation, then strip an inch on the ends of the wires.
Step 4: Connect the white wires.
Step 5: Use needle-nose pliers to bend the ground and black wire ends into question mark shapes.
Step 6: Attach the question marks to the terminal screws on the switch and squeeze them close with the pliers before tightening the screws.
Step 7: Wrap the terminals with tape and install the switch into the switch box.
Step 8: Finally, install the switch plate cover.
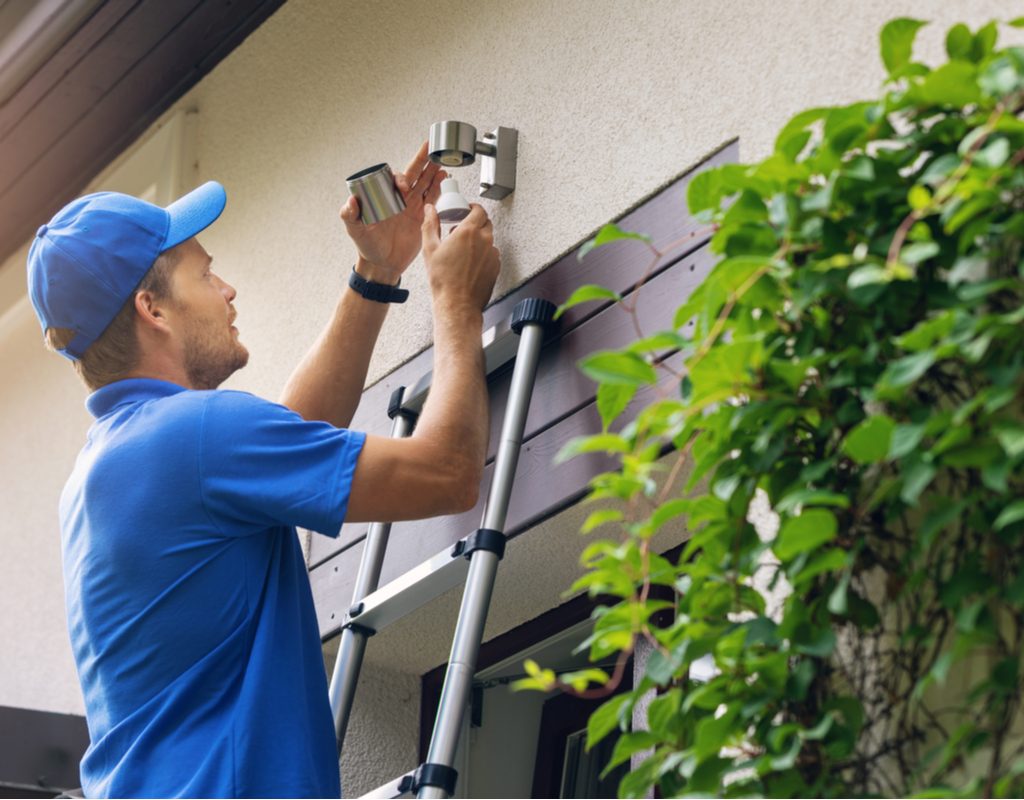
Assemble the security light fixture
The security light should include a junction box, motion sensor, and lamps.
Step 1: Thread the 14-gauge power wire that extends from the hole in the soffit through the wire clamp in the back of the fixture light junction box and tighten the clamp.
Step 2: Screw the box flush to the soffit.
Step 3: Prepare the wire ends as described for wiring the switch.
Step 4: Wrap the bare ground wire around the ground screw inside the junction box, and tighten the screw.
Step 5: Install the mounting strap across the top of the junction box.
Step 6: Assemble the motion sensor and lamps, then place the gasket on the assembly baseplate.
Step 7: Use wire nuts to wire the fixture wires to those coming out of the box, black to black, white to white.
Step 8: Ensure the motion detector is facing in the proper direction. Next, push the excess wire into the box, then use the mounting screw to mount the assembly to the box.
Step 9: Install outdoor light bulbs of the manufacturer’s recommended wattage into the fixture.
Step 10: Last, adjust the bulbs to shine in the desired direction.
Try it out
When all connections are linked, and before you put away the ladder, turn the power back on. Does it detect motion and light up? Do the lights shine in the right direction? Follow the manufacturer’s instructions to adjust the motion sensor’s path, sensitivity, and length of time it will stay on once triggered.
Proper lighting is just one part of a broader passive security system. Keep trees and shrubs pruned to eliminate hiding spots, especially near home entryways and windows. Never leave valuables unattended in automobiles, and park any vehicles in the garage. With proper lighting and a few common-sense crime deterrents, your home will be less of a soft target for criminals.


