You want your kitchen sink to be organized, clean, and functional, since it’s essential for sanitary food preparation. A clogged kitchen sink can really put a damper on your cooking routine, and it certainly creates a nasty, smelly space. Methods used to unclog kitchen sinks vary depending on the clog. If you don’t know how bad the blockage is, though, what is the best way to unclog a kitchen sink? We’ll walk you through it.
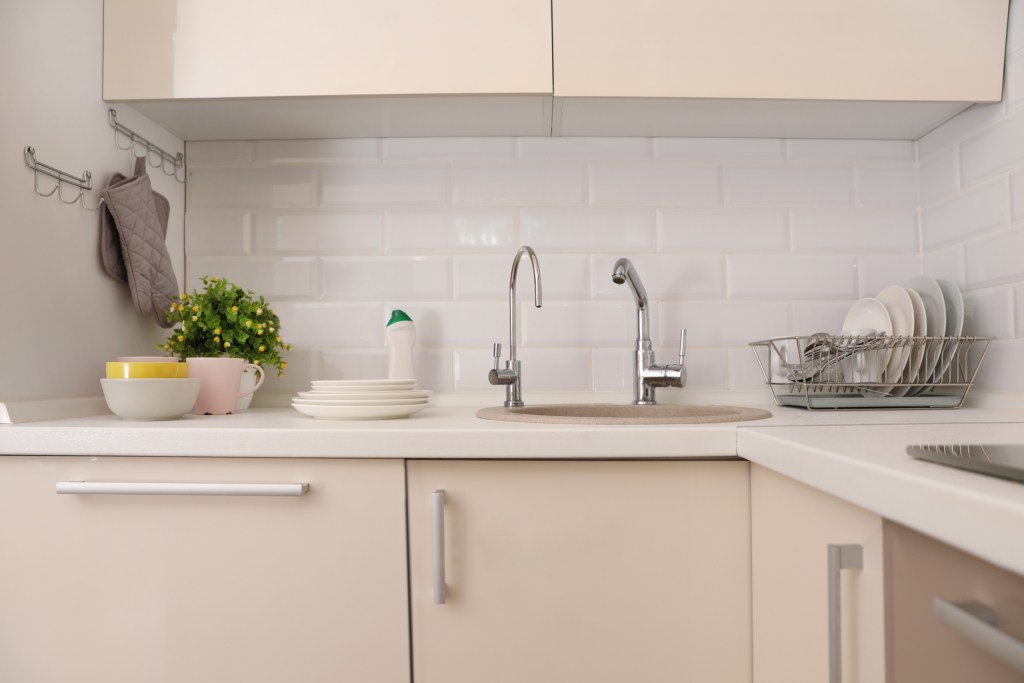
How do you unclog a sink with standing water?
If the clog in your sink is making it so that there is water constantly sitting in the sink, you have a gross situation on your hands that is probably breeding bacteria and producing foul odors. The first (and simplest) method to try is using a plunger. Makes sure to use a new plunger, since you don’t want to contaminate your kitchen sink by using your toilet’s plunger.
What you’ll need
- Plunger
What you’ll do
- If your sink is a double-drain variety, plug up the drain on the unclogged side of the sink. This will prevent water from bubbling up on that side while you work.
- Place the plunger straight down over the clogged drain so that air won’t escape out of the plunger during the process. This creates a stronger suction and is more effective at clearing the drain.
- Push the plunger up and down firmly until the water starts to drain.
- Once the standing water clears, run the tap for a while to clear out the remaining debris and ensure the clog is gone.
How to fix a clogged kitchen sink when plunging doesn’t work
When plunging doesn’t work, the clog is either too solid to be forced free or it’s too far down in the drain to be affected by the suction. You’ll need to either use products in the drain to break up the blockage or investigate further in the piping under the sink.
Use baking soda and vinegar
First, try to break up the clog with vinegar and baking soda. This combination of ingredients bubbles up and breaks up organic matter in your drain.
What you’ll need
- 1 cup baking soda
- 1 cup vinegar
- Boiling water
- Wooden spoon
What you’ll do
- Boil some water and pour it down the drain. This will help loosen up the blockage.
- Pour one cup of baking soda into the clogged drain. If there’s standing water, use a non-metal cooking utensil, like a wooden spoon, and guide the baking soda down the drain.
- Let the baking soda sit for two or three minutes.
- Pour one cup of vinegar down the drain. You should see the mixture start to fizz.
- Plug up the drain immediately so that the fizzing reaction is trapped in the drain. Let the mixture work for 15 minutes before unplugging.
- Boil some more water, and pour it down the drain to clear all debris.
Clean out the P-trap
If neither plunging nor the fizzing mixture work to unplug the drain, the clog is likely too far down in the piping to be reached by these methods. At this point, you’ll need to head on down to the pipes under the sink to check the P-trap for the clog. The P-trap is the portion of piping under the sink that curves into a U-shape, where blockages commonly occur. This process requires some more tools and time, but it’s fairly simple.
What you’ll need
- Bucket
- Pliers
- Screwdriver
What you’ll do
- Place a bucket under the P-trap to catch any water that may leak from the pipes during the process.
- Use pliers to unscrew the slip nuts on both sides of the P-trap’s U-shape to pull the portion of piping free.
- Once it’s removed, examine the P-trap to see if any blockages are inside; if so, clean them out.
- If there are no clogs in the P-trap itself, unscrew the trap arm, which is the portion of piping that connects the P-trap to the wall fitting.
- Look in the trap arm to see if the blockage is there; if so, remove it.
- If there’s no blockage in the trap arm, use a screwdriver to dig around inside the drain pipe on the wall to see if you can reach the blockage to remove it.
- Replace all piping if you found and removed the blockage.
Snake the drain
If no blockage was found after examining the P-trap and trap arm, it’s likely further up the drain pipe than can be reached by the screwdriver. At this point, you’ll need to snake the drain. There are several varieties of drain snakes, but their essential function is to insert a thick coil up into the drain and rotate it around to ensnare the blockage and pull it out. Keep the P-trap and trap arm removed for this process.
What you’ll need
- Bucket
- Drain snake
What you’ll do
- Place the bucket under the drain to catch water and debris.
- Insert the snake into the drain between 6 and 10 inches deep, and rotate it clockwise according to the product instructions.
- You should feel pressure when you’ve hit the blockage, at which point you’ll rotate the snake counterclockwise and pull the snake, along with the blockage, out of the drain.
A clogged kitchen sink is both gross and inconvenient. Luckily, simple blockages can be removed with these DIY methods, and without having to pay expensive fees for professional plumbers. You can enjoy a sparkling, functional kitchen sink again with just a bit of elbow grease and the right materials.

