

Like all great interior design trends, textured walls are making a comeback. This is good news because textured walls are a great way to add depth and character to any room. However, knowing how to texture a wall properly ensures gorgeous results.
Sometimes, people apply texture out of necessity, as it provides an easy way to finish drywall without a ton of extra work or time. Some interior designers choose textured walls to add more warmth and visual interest to a room.
Adding texture to a space can introduce character while also creating another level of visual dimension to a space. This allows homeowners to escape the dreaded "bland" or "boring" design schemes that we sometimes fall into. We've got you covered if you've been researching how to texture a wall.
Still, no matter the reason you’re texturing a room, the process is simple once you understand the steps — even for total beginners. With a bit of drywall compound and a paint roller, you can have this project done in a day. So, what is the easiest way to texture walls? Keep reading to learn how to texture a wall with ease.
What are the most popular wall textures?
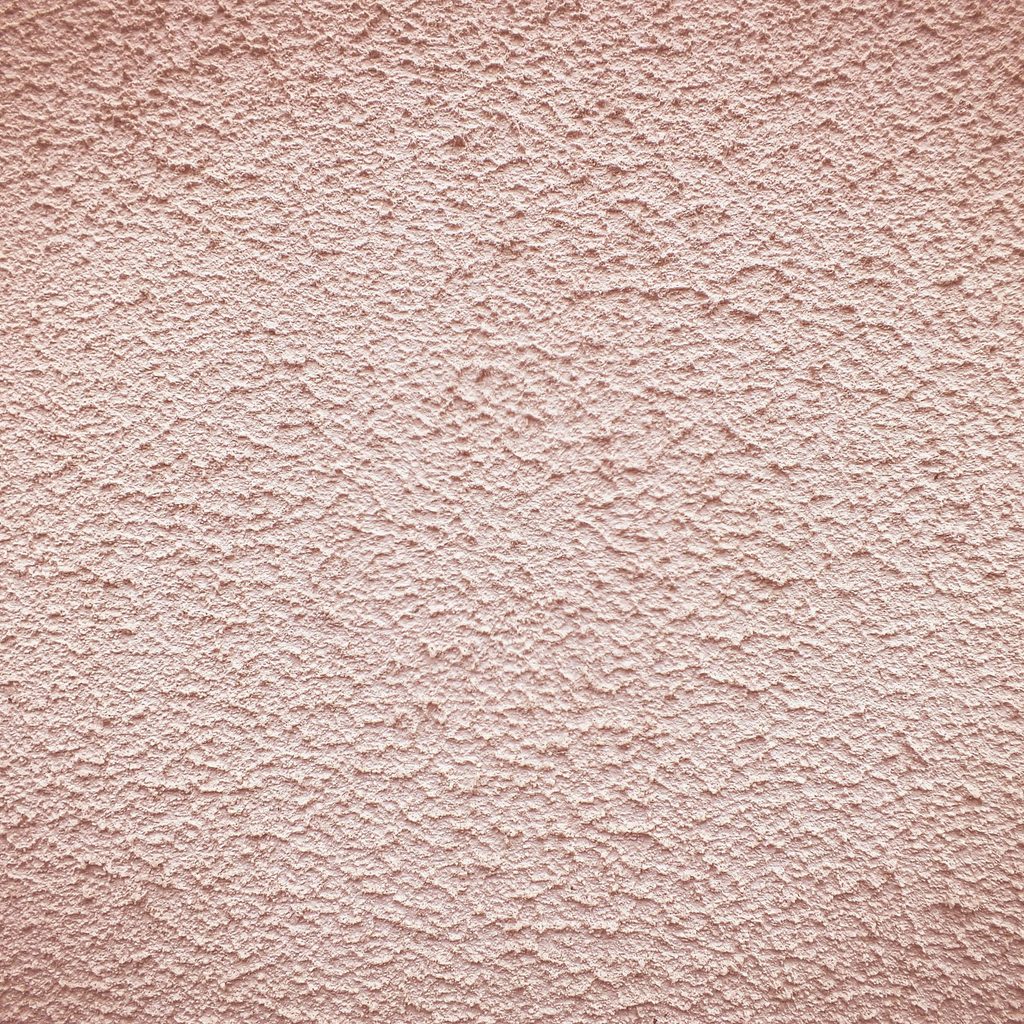
The first step in texturing your walls is to determine what type of texture you'd like to apply. The most popular wall textures include knockdown, orange peel, slap brush, and smooth finish.
- Knockdown texture creates a slightly rough, stucco-like appearance and is a favorite for adding depth to walls.
- Orange peel texture resembles the skin of an orange and provides a subtle, bumpy surface that hides imperfections while remaining easy to clean.
- Slap brush texture, also known as “stomp brush,” features a random, artistic pattern created with a brush and joint compound.
- Smooth finish walls are sleek and modern, making them ideal for contemporary homes.
Each texture offers a unique aesthetic and can be chosen based on style preferences, maintenance needs, and overall design goals.

Prep the area
Before starting the project, take a few minutes to prepare your space. Applying texture to a wall is a messy process.
Step 1: Lay drop cloths on the floor and use plastic sheeting and painter’s tape to cover windows, trim, and doorways.
Step 2: Some walls may require a few simple repairs before adding texture. Patch any drywall holes with the drywall compound, using the drywall knife to press the mixture into the hole.
Swipe the area with the edge of the blade to smooth it a bit. Don’t worry about getting the patch perfectly smooth, as it will soon be covered with texture material anyway.
Step 3: Next, you’ll need to pre-coat the wall. Apply a layer of drywall primer or flat white latex paint, and let it dry. This step is vital. Otherwise, the bare drywall will absorb the texture paint, negating all of your hard work.
Make the texture compound
Once the primer is completely dry, you can mix the texture material. The compound is simple and inexpensive to DIY.
Step 1: In the 5-gallon bucket, combine four parts drywall compound with one part water.
Step 2: Use your drill with the paint mixer attachment to thoroughly mix the combo. The mixture should have the consistency of a thick pancake batter and should be smooth and easy to apply.
You can also buy premade texture paint if you don’t want to make your own. Follow the manufacturer’s instructions, and stir the paint thoroughly before applying it to the wall.
Roll on the texture
Adding texture to a wall must be done in two stages: rolling on the compound and applying a second coat when that layer is partially dry.
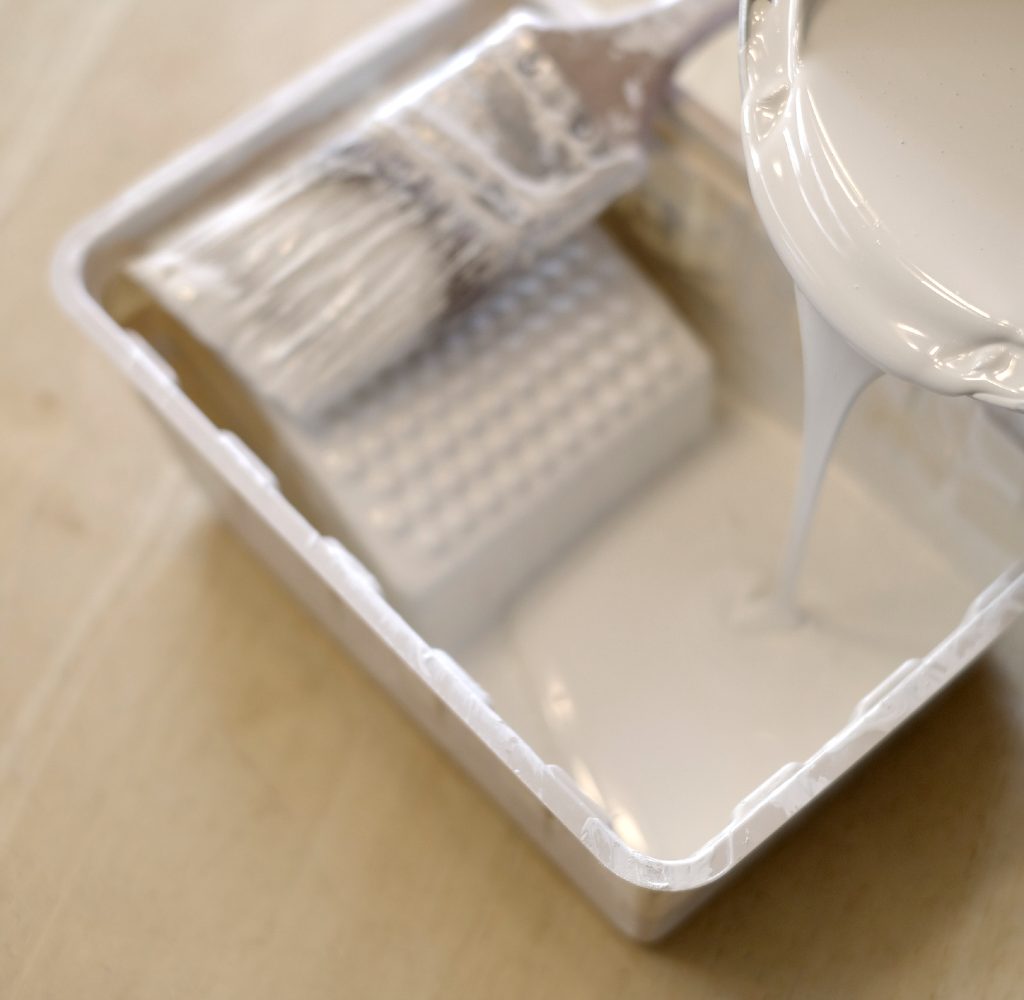
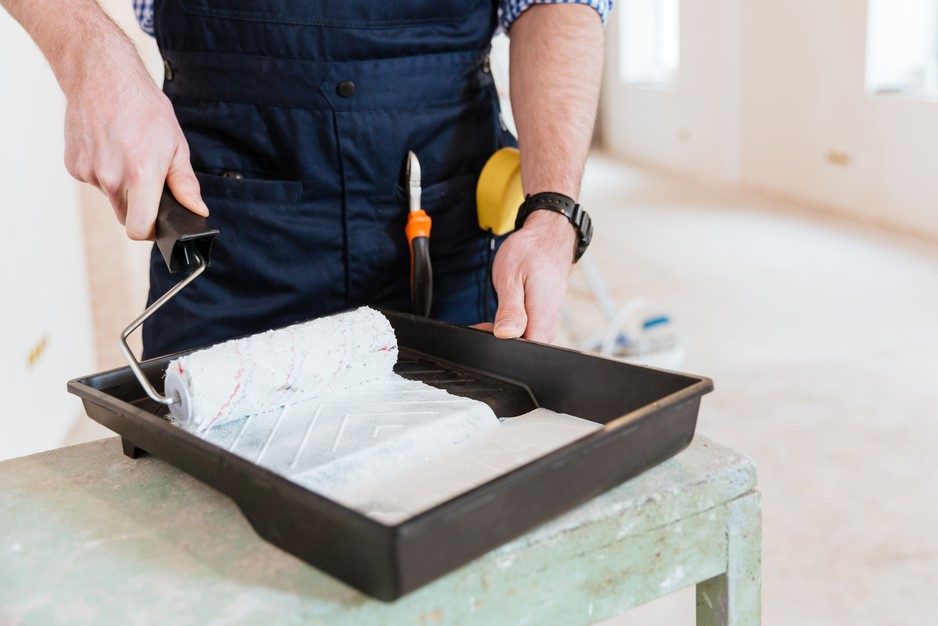
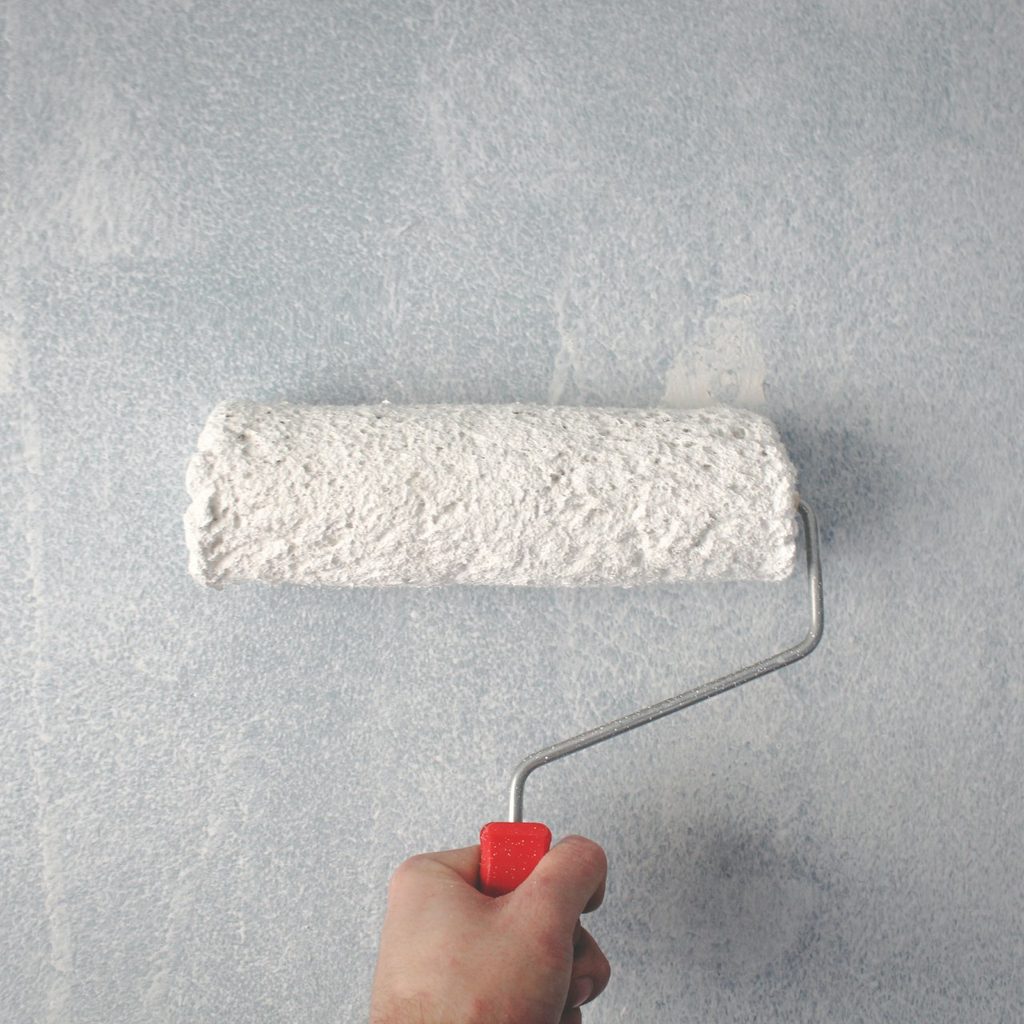
Step 1: Begin by filling the paint tray with the texture paint or handmade texture compound.
Step 2: Dip your roller into the paint, roll it out, and begin applying it to the wall. A standard roller cover will create a texture, but you may want to try a cover specifically designed for texture. If you’re using store-bought paint, follow all the manufacturer’s directions, as they may only recommend one coat.
Step 3: For corners and other areas that are difficult to reach with your roller, apply the texturing material with the flat face of a paintbrush.

Get creative
You may love the simple texture you've created just by rolling on the compound. If you do, then great! Move on to the next step. If you were looking for something different, there are plenty of ways to make a textured wall more unique.
For example, you can go over the wall you just painted with a roller that has a design cut into it. Be sure to dampen the roller, then roll over the wall going in the same direction each time so the design appears.
You can also use many kinds of tools to create your own design. This first requires you to use a large paint trowel to lay on a thick, smooth layer of paint on your wall. Then you can create a design from scratch using anything from a big brush to a sponge or even a plastic bag.
There are also different types of trowels you can buy to create different designs or patterns in your texture.
Let it dry, then texture again
Timing the application of the second coat is one of the hardest steps of the process. Allow the first coat to dry about halfway. You can test how dry the texture is by pressing your thumb against the wall and removing it. The part of the wall you tried should have stiff, sharp peaks.
Roll the surface with a second layer of texture material once the first coat has reached your desired level of dryness. This process will partially pull up the dried paint or texture compound, resulting in a three-dimensional surface. Again, you can use the paintbrush for corners and crevices.
Finish the wall
If you’re wondering, “What are the four types of texture?” you may be surprised to learn that there are way more than four. In fact, you can create almost any texture with the right tools. One of our favorites is the knock-down texture. This step is optional, but doing it can make the surface look more like textured plaster.
Before the wall is completely dry, run a drywall knife across the surface with the blade held at a flat angle. This flattens the stipples slightly for a different kind of look. Timing is key for this step, too. If the compound is too wet, it will smear, but if it’s too dry, it won’t knock down.
Once the wall is totally dry, those who used homemade drywall compound can seal the surface with primer and paint it with the chosen hue.
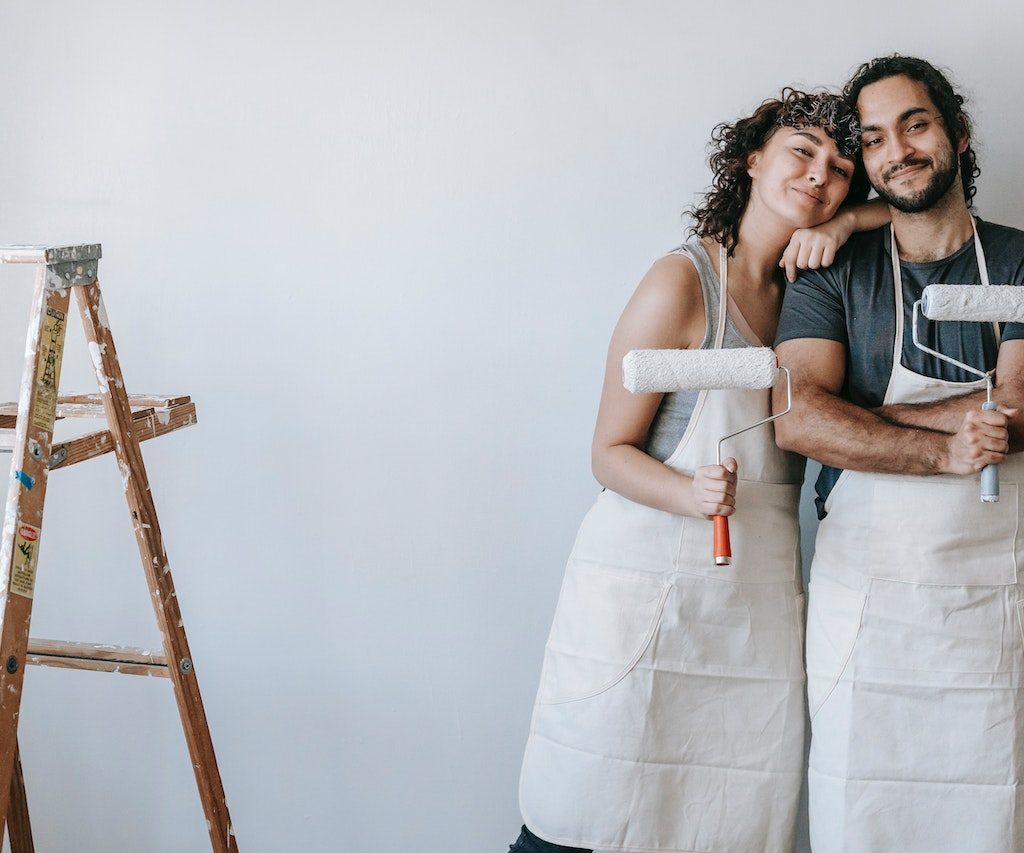
Texturing a wall is a simple way to add dimension and depth to any room, and the best part is that you can do it yourself. A three-dimensional element in your room can instantly give the space character and visual appeal.
The project is simple enough for anyone to complete and does not take much time. All you need are a few basic supplies, like a drywall compound and a paint roller, and a free afternoon. In just a few hours, you can easily add texture to a wall by hand and completely change the look of your home.


