Your sump pump is a crucial piece of equipment in your home, particularly if your basement is prone to flooding. Without it, not only is there a risk of water damage and corrosion, but there's also the possibility of mold growth from excessive moisture.
Since a malfunctioning unit isn't always obvious until it's too late, routine maintenance should be performed once every few months. If you've found that it's time for a full replacement, you're probably wondering the same thing most homeowners wonder: Can I replace a sump pump myself? The answer is yes! We'll get into how to replace a sump pump and what it will ultimately cost.
How much should it cost to replace a sump pump?
To figure out the cost of replacing a sump pump, it's important to understand what kind of sump pump you'll be installing between the two types of available units: pedestal and submersible. Which type of unit you plan to install will play a big role in cost.
Pedestal sump pumps: Pedestal units are installed above the floor. While they take up a lot of space in your basement, they're easier to inspect and maintain since they're more accessible than submersible units. They're also the most affordable style of sump pump, costing between $60 and $170. Pedestal sump pumps last for many years and, in many cases, won't need replacement for a few decades. One notable downfall of these units is that they aren't as powerful as submersible sump pumps, especially during severe rainstorms.
Submersible sump pumps: Submersible units are installed under the floor of your basement. This means that not only do they take up far less space, but they're also quieter since their enclosure muffles the sounds of their operation. One drawback of submersible sump pumps is that they are more expensive, costing between $100 and $400. Also, since the sounds of the running unit are muffled, it can be difficult to hear when there's a problem with the unit. Regular checkups are essential when you have a submersible unit.
Is replacing a sump pump hard?
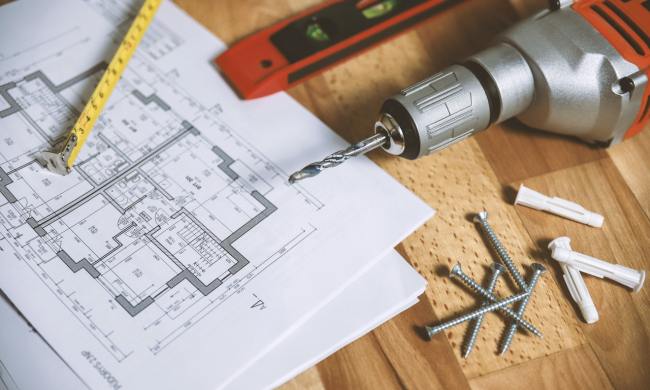
A standard sump pump replacement is a relatively simple project that many homeowners can tackle on their own. Of course, as with any DIY project, there are factors that will make the job more difficult and complex. For example, if a sump pit needs to be dug out in a concrete floor for initial installation, the workload increases exponentially.
For the purposes of this guide, we're going to go over how to replace an existing submersible sump pump.
How do I replace a broken sump pump?
Removing the old sump pump
Step 1: Turn off the power to the sump pump at your breaker box.
Step 2: Lift off the cover of the sump pump pit and set it aside.
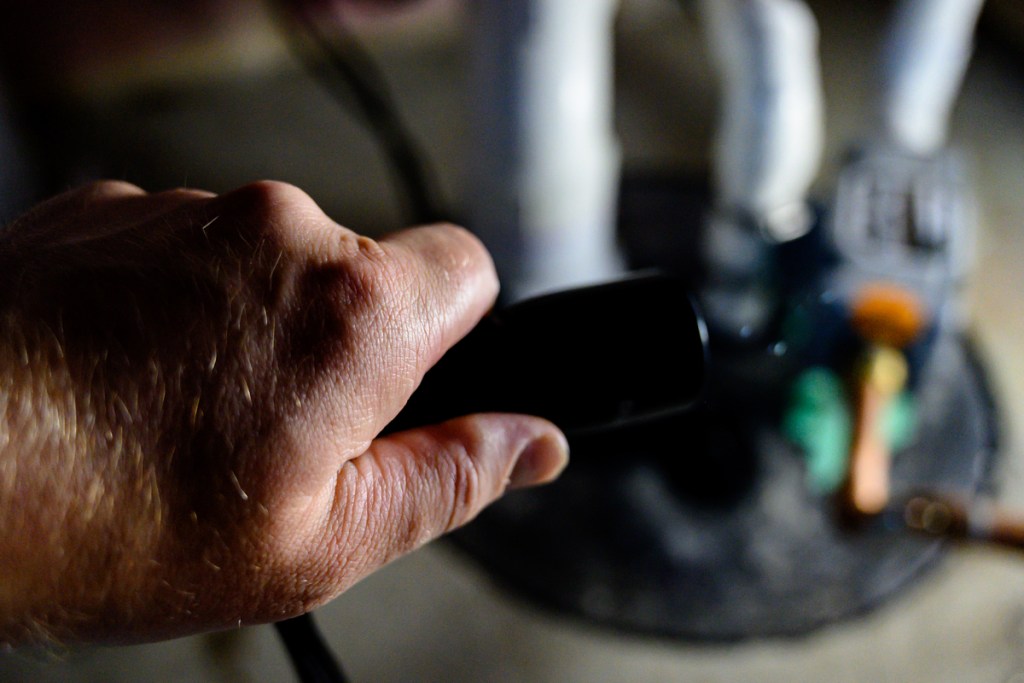
Step 3: Unplug the old unit from the wall and disconnect any wraps that may be holding the power line in place on the piping.
Step 4: Use a screwdriver to loosen the screwed-on clamps at the top of the check valve, and allow any water in the pipe above the valve to drain into the sump pit.
Step 5: Loosen the screwed-on clamps on the bottom of the check valve, and put the check valve aside if you're using it for the new pump.
Step 6: Lift the old pump out of the pit, and allow any water to drain from it before setting it aside.
Step 7: If you're able to salvage the old piece of ABS pipe from the old sump pump, you can use it for the new pump. If you're not, you'll have to use new piping, which will need to be cut down to size with a hacksaw.
Installing the new sump pump
Step 1: Apply a generous amount of ABS glue to the inside of the ABS male adapter.
Step 2: Insert the new piping into the threaded insert of the adapter and screw it on tightly.
Step 3: Screw the other end of the adapter into the new sump pump.
Step 4: Place the old and new sump pumps side by side, and mark where the old pipe's height falls on the new pipe.
Step 5: Use a hacksaw to cut the new pipe down to the size of the old pipe.
Step 6: Install the check valve onto the other end of the new pipe, making sure the arrows on the valve are pointing up and away from the new pump.
Step 7: Use a screwdriver to tighten the valve clamps onto the pipe.
Step 8: Now you can put your new sump pump into the sump pit with the pipe on the top end. Take care that the electrical cord is kept from dropping into the water.
Step 9: Insert the piping coming from the wall into the top end of the check valve and use a screwdriver to tighten the clamps.
Step 10: Plug the new sump pump into the electrical outlet and turn the power back on.
Step 11: Be sure the new sump pump is running and there are no leaks in the piping or fittings.
Step 12: Secure the power cord to the wall pipe using zip ties and replace the sump pit cover.
Owning a home means making repairs every now and then. While some projects should be left to the professionals, replacing your sump pump doesn't have to be one of them. With a bit of patience, some basic tools, and a splash of DIY skill, your new sump pump will protect your basement from flooding after just an afternoon of work.