If you have a perfect picture in your mind of what your yard looks like in pristine and tip-top condition, it likely doesn’t include an image of the lawn covered in weeds — or weeds between your patio pavers. Weeds seem to pop up in the worst places and the least opportune times — but they also leach the soil’s nutrients that could be feeding your lawn or garden. If you want to know how to kill weeds between pavers once and for all, keep reading.

The bleach method
When it comes to quick and effective forms of weed control, the bleach method is an option. You probably already have a bottle or two of that whitening powerhouse that can get your clothes sparkling. But, who knew that same chemical was an effective de-weeding compound?
If you’ve managed to locate the bottle of Clorox under the sink or in your laundry room, you’re most likely wondering how quickly it can take out the unwanted plant enemy. The answer is a little muddled depending on how large the weed is and how deep its root system travels.
If you are ready to tackle your weed issue and are looking for a quick and inexpensive way to beautify your lawn once more, we have a step-by-step way to do so using household bleach!
Step 1: Gather your equipment.
You will need gloves, a bucket to mix the solution in, a funnel (optional but highly recommended), old clothing, a spray bottle, and shoes. Bleach will ruin and/or stain any fabric it encounters, so it’s paramount that you dress appropriately. Gloves are encouraged due to the skin-irritating, caustic chemicals found in bleach. Be sure the funnel, bucket, and spray bottle have been washed and rinsed thoroughly with soap and water.
Step 2: Prep the solution.
The recommended ratio of bleach to water in this mixture is equal parts. Whether you are filling a small spray bottle to use around your sidewalk or large buckets to recover your whole driveway, the solution should be mixed in the same way, with equal parts bleach to tap water.
For example, when filling a small spray bottle, you will fill the bottle halfway with water and fill the rest with bleach. After mixing, gently agitate the water — or mix it — to ensure the mixture is fully combined.
Step 3: Apply your homemade weed killer.
Once you are prepped and ready, begin by spraying the root area of the weed, directing 7 to 10 sprays onto the base of the weed. It’s not enough to kill the leaves/flowers/stems of weeds. What keeps them coming back is their intact root systems. If the weed is large, you may need to increase the number of sprays to fit the situation, so use your best judgment.
Step 4: Give it time.
After thoroughly applying the bleach solution to the weed, allow 24 hours for the roots to die. Once the 24-hour mark has passed, be sure to don your gloves once more and pull the weed out by the root to ensure it will not return. If the weed is still intact, repeat the removal step by re-spraying the weed and allowing an additional 24 hours to pass, followed by its final removal.
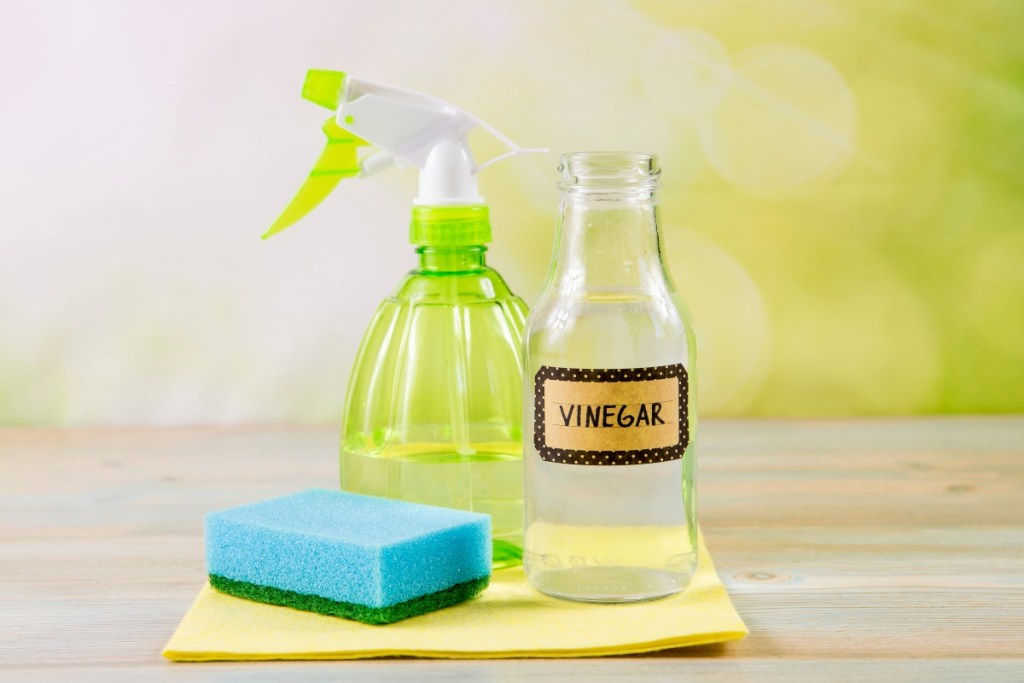
The vinegar method
If you are a parent or pet owner — or are simply looking for a more eco-friendly way to remove unwanted weeds from your property, we have another DIY solution for you to try. Similar to the bleach method, you will need vinegar.
Step 1: Gather your equipment.
This organic version of weed removal does not require quite as much prep; however, you will still need a mixing bucket, funnel (if you choose to use one), spray bottle, and the following products: White vinegar, dish soap, and salt.
Step 2: Prep your solution.
Combine all three ingredients and add them to your spray bottle. The recipe is simple and can be adjusted for larger quantities or less, but for the purpose of this article, the ratios are 8 cups of white vinegar, 1/2 cup of salt, and 1/2 tablespoon of dish soap.
Step 3: Apply your homemade weed killer.
Unlike using the bleach method, this vinegar and soap solution does not attack the root system of the weed, so a broader spray is needed to terminate the weed’s leaves/stems/flowers. Because this method is slightly less effective, you may need additional treatments to eradicate the weed fully.
Another key to the effectiveness of this solution is sunshine. In conjunction with the acetic acid in the vinegar, the suns’ rays aid the vinegar in destroying the weed’s cell structure.
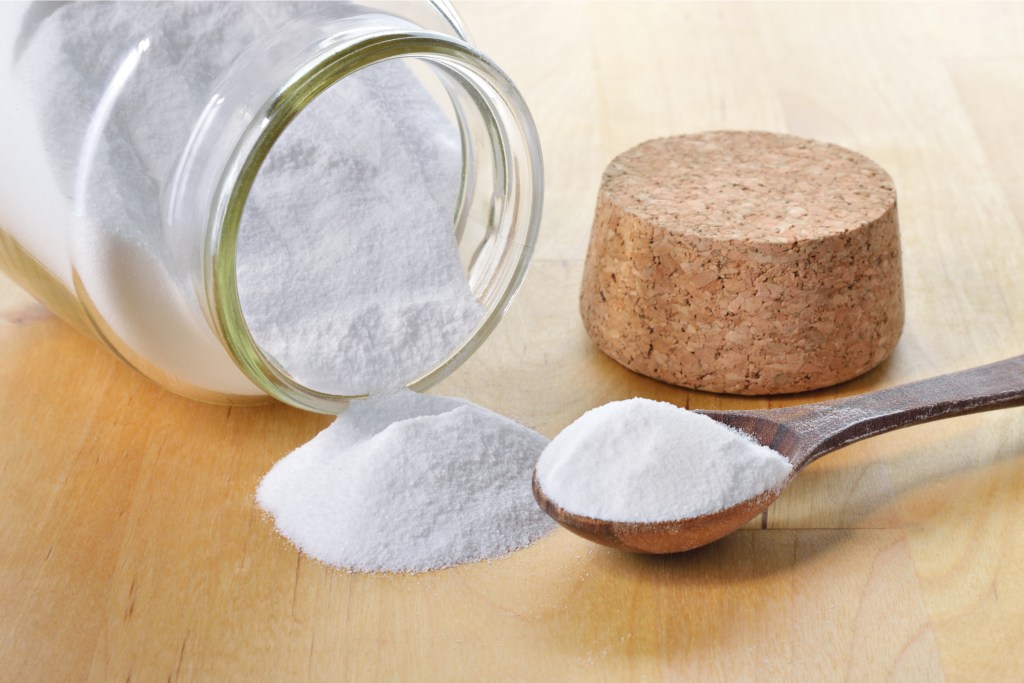
The sprinkle method
Looking for an even easier, natural way to kill weeds between your patio pavers? The sprinkle method might be your new go-to. Using common household items like baking soda or salt, this method works by dehydrating and disrupting weed growth at the root. However, avoid overuse near lawns or garden beds — both baking soda and salt can damage nearby plants and soil if not used carefully.
Step 1: Choose your product.
Baking soda and salt both work well. Baking soda pulls moisture from the weeds, while salt dries them out and prevents future growth.
Step 2: Apply directly to weeds.
Sprinkle a generous amount of baking soda or salt directly onto the weeds between your pavers.
Step 3: Reapply after rain.
Moisture can dilute the effect, so reapply as needed after rainfall or watering.

The natural method
To keep those pesky weeds from taking over your outdoor pavers, driveways, and sidewalks — in the most natural way possible — is going to require some heavier lifting. Fully eradicating weeds from your lawn or garden without introducing chemicals or solutions to your soil or groundwater will require you to:
Step 1: Physically remove or pull the weed.
Step 2: Apply mulch, such as straw or wood chips in conjunction with weed smothering fabric if desired. This method requires a larger input of physical work. However, it is the most eco and earth-friendly option that does not deplete the soil’s nutrients or disrupt water tables.
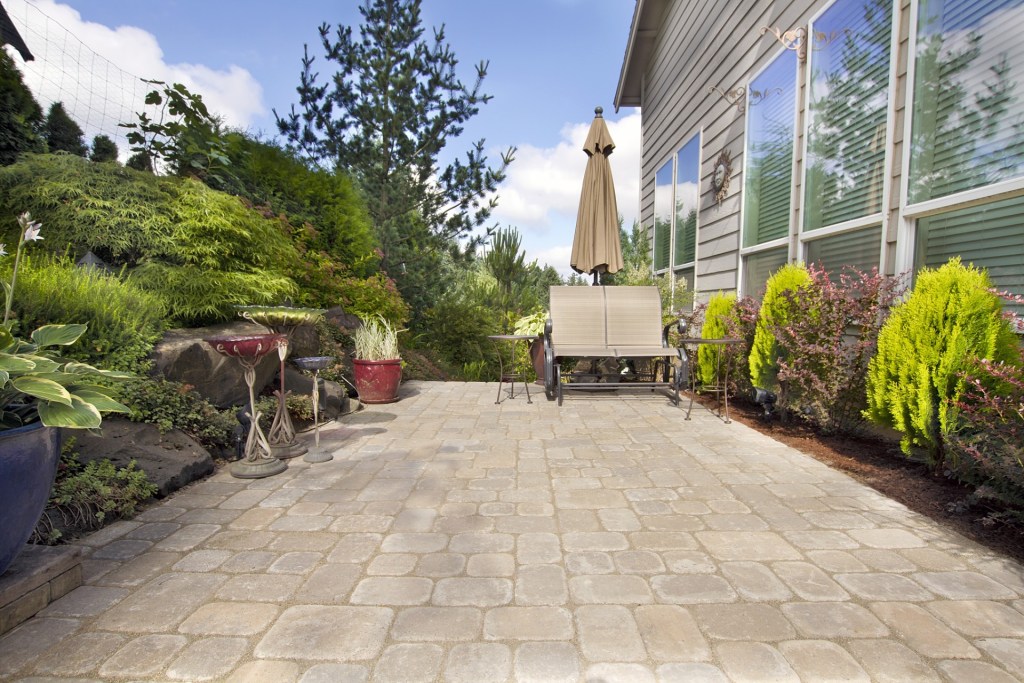
How to prevent weeds from growing in between patio pavers
It’s frustrating to continuously kill weeds, especially since they often sprout up faster than you’d hope. Thankfully, there are a few ways you can prevent weeds from growing in between patio pavers.
First, you can consider filling the cracks of your pavers with polymer sand. Once you add water, polymer sand binds together into a mortar-like texture. This helps create a preventative barrier between your pavers, limiting the growth of weeds. This is a great permanent solution for guarding your pavers against weeds.
However, if you want something more flexible, regular sand or pea gravel, depending on the space between your pavers, can also help deter weeds. Just keep in mind that weeds will still sprout up now and then, so be sure to have a plan for tackling any that get through your first line of defense.
No matter which option you choose, we know how important your lawn’s maintenance is to you. You are looking for quick and lasting results and possibly safer options for those of us who have small kids or pets running through the yard. Killing weeds easily and affordably can be done, even with simple DIY recipes and a little elbow grease.