There’s little that’s more charming than an elegant or unique staircase. Most wood staircases, however, eventually start to creak over time. It’s annoying, disruptive, and gives the impression that your home is dated or in disrepair. The good news is, fixing your creaky stairs doesn’t require a full renovation of the staircase. We’ll walk you through a few low-cost, low-labor methods to fix those noisy stairs.
What causes creaking stairs?
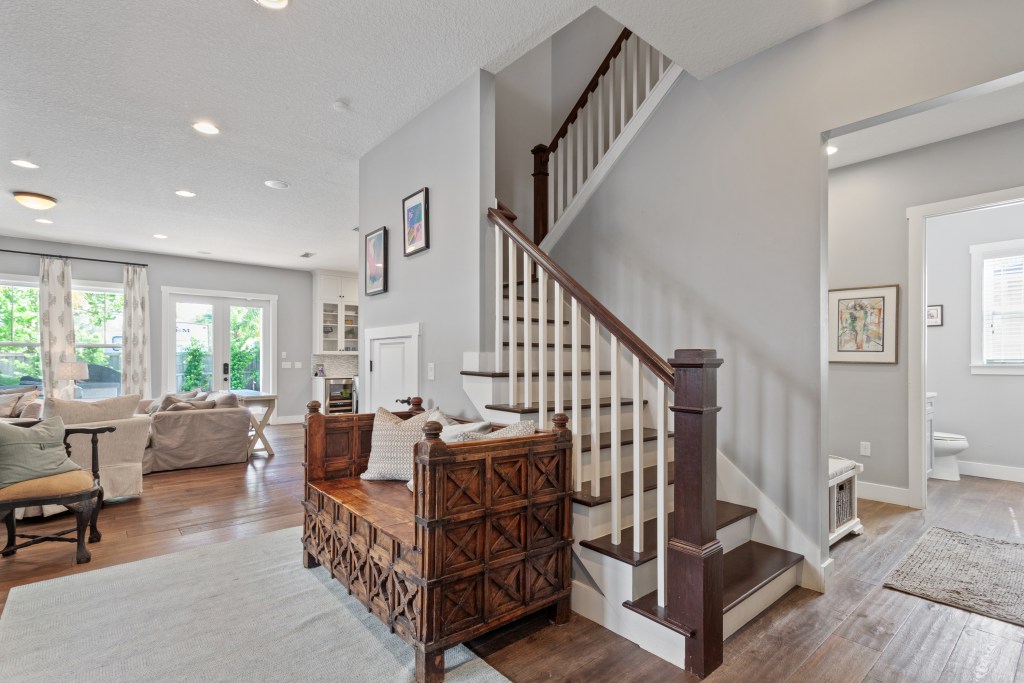
Most parts in your staircase are made of wood:
- The tread is the wood surface that you step on.
- The risers are the wood pieces that sit vertically in the front of each tread.
- The stringer is the sawtooth-shaped wood strip that runs along the length of the staircase on both sides and sometimes down the middle of the staircase.
Over time, the hardware securing the wood pieces together loosens or the wood becomes warped, causing the pieces to rub together and produce a creaking sound.
Locating the exact spot of the creaking
Before you start fixing the stairs, it’s important to isolate the sound and figure out exactly where on the step it’s coming from.
Slowly walk up and down the stairs and note which ones are creaking. On each noisy stair, step gently toward the front, back, and sides of the tread to further isolate the sound. If it creaks toward the front, the tread has likely come loose from the riser. If the noise is coming from the sides or the back of the step, the tread has probably come loose from the stringer.

How do I stop my stairs from creaking?
Now that you’ve pinpointed exactly where the problem areas are, it’s time for that quick fix. Depending on whether you can access your stairs from underneath, your solution will be a bit different.
Repairing creaking stairs from underneath
Fixing the creak from underneath the stairs provides the sturdiest results and is actually the easiest method, particularly if your stairs are carpeted. If you can access the area under your stairs, you’re in good shape.
What you’ll need:
- Triangular wooden glue blocks/wedges
- Wood glue
- Electric drill and screws
What you’ll do:
- For each creaking step, you’ll need three glue blocks.
- Apply wood glue liberally to each square side of the block.
- Press the glued sides of the block on the underside of the right angle where the riser meets the tread.
- Place one block in the center of the step and one on each side of the step on the inside of the wall or stringer.
- Once adhered with glue, insert two screws into each block, one vertically into the tread and one horizontally into the riser.
How to fix creaky stairs from above
If you can’t access the underside of your stairs, there is still a DIY solution to rid your staircase of any creaking. Simply screw down the tread so that it’s more flush with the riser. This method is not ideal for carpeted stairs, since it will damage the carpet and create holes in it. Use this solution only on hardwood stairs or if you’re in the process of re-carpeting and want to address those creaks before laying the new material.
What you’ll need:
- Electric drill
- Screws
- Wood putty
What you’ll do:
- If your stair’s tread extends past the riser on the front of the stair, make sure to measure the length of the overhang so you’re drilling into the riser appropriately. The riser is roughly 1/2 to 1 inch in thickness.
- Use an electric drill to create starter holes for your screws. Drill down at a 45-degree angle — an angled screw keeps secure for longer than a vertical one.
- Insert screws into the holes and drill them down so that they are slightly below the tread of the surface.
- If you determined that the creaking was coming from the back or sides of the stair, drill the same holes but on the sides of the stair where the tread meets the stringer.
- If you’re not laying down carpet afterward, use an appropriately colored wood putty to cover the holes.
How do you fix squeaky stairs without removing carpet?
If your carpeted stairs are creaking, you don’t have access to the space underneath the stairs, and you don’t want to pull up the carpet, there’s one more solution for you. A Squeak No More Kit gives you everything you need, including special drill bits, screws, and a tripod device, all of which are all designed to drill into your carpeted stair without damaging it. It can even snap off the top of the screw when you’re finished so that it’s not sticking out of the carpet and creating a safety hazard.
Squeaky stairs aren’t just annoying, they’re also a major disturbance to sleeping children or grumpy pets. If you’re embarrassed or irritated by your loud stairs, one of the fixes on this list is perfect for you. Whether your stairs are hardwood or carpet, you can get rid of that creaking once and for all.