
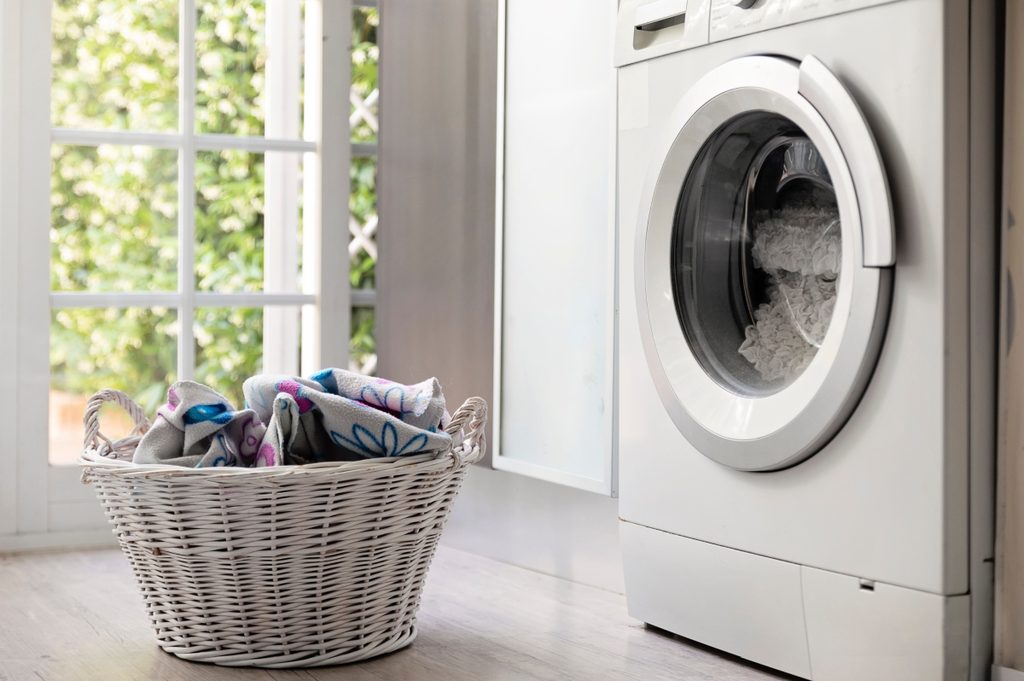
So you’ve completed the first part of your laundry routine: You’ve separated and organized your laundry after giving it a good wash and dry. But your clothing is only part of the cleaning that needs to happen. If you don’t keep up with cleaning your washing machine, funky smells can creep in. Washing machines can accrue some strange smells over time, which can put a damper on laundry day.
Luckily, getting your washer back in top shape isn’t too difficult with the right hacks. If you’ve had the misfortune of opening your washer only to think, “My washing machine stinks,” you’re not alone. Here’s how to get rid of that gross washing machine smell for good.
Why does my washing machine smell?
Any place subject to constant moisture and wetness is bound to develop a smell if you aren’t careful. Mold and mildew grow easily in damp areas with low light and where stagnant water can build up, according to the CDC. Bad smells in washing machines are most often caused by a build up of bacteria, mildew, soap scum, or limescale — or some combination of all four.
According to Consumer Reports, if you have a front-loader, using the wrong soaps can prevent the washer from rinsing your clothing and the drum clean, allowing a layer of soap scum to build up and become a breeding ground for bacteria. This buildup can also get under the door gasket and cause smells.
For regular machines, strong smells could be a sign of poor drainage or something blocking the drainage tubes. If you fix the drain, that should take care of most of the smell, but you may need to rinse your washing machine out to knock out the smell completely.
The temperature you choose to wash your clothes in could also be the culprit. Cold water saves on energy, but it doesn’t generate the necessary heat to get rid of residue — so if you use cool wash cycles more often than not, you’re providing a breeding ground for bacteria. You don’t have to switch to hot wash cycles, however. There are other ways to get rid of washing machine odors.
How to get rid of washing machine smells in high-efficiency washers

If you’ve checked that your soap is appropriate for a front-loader, it’s time to clean out the drum. Use this hack for high-efficiency, front-loading washers to get rid of the smell and make sure it never comes back again.
Step 1: Mix a quarter cup of water and a quarter cup of baking soda to form a slight liquid.
Step 2: Open the detergent compartment and pour the mixture inside.
Step 3: Pour 2 cups of vinegar directly into the drum of your washer.
Step 4: Run an empty cycle on high heat and repeat until the odor is gone.
Step 5: Scrub any stubborn spots with a household sponge to get a sparkling machine.
Step 6: Inspect the gasket to see if anything is stuck, and if so, remove it.
Step 7: Peel back the gasket’s rubber pieces to see if any mold or mildew is growing and then wipe it clean using the vinegar and water mixture.
Step 8: Allow the gasket to dry before running a new cycle of clothing.
Step 9: Every few cycles, wipe down the gasket to discourage mold and bacteria growth.
Step 10: When you’re done with laundry, for the time being, leave the door open so the drum and gasket can fully dry between cycles.
How to get rid of washing machine smells in top-loading machines

Top-loading machines can also get smelly if you aren’t careful. The best thing to do is to keep the top open to allow it to dry completely between cycles and check the drainage to ensure nothing is blocking it.
You can also deodorize the drum using a similar method as above. Here’s how to do it.
Step 1: Begin your cycle running at the hottest temperature with no clothing.
Step 2: Add a half-cup of baking soda to the running water and allow it to dissolve.
Step 3: Add in 4 cups of white vinegar and run the cycle completely.
Step 4: Scrub down any remaining stains with equal parts white vinegar and water once the cycle is complete.
Step 5: If you have the option to clean the drum automatically, like what’s found on some newer machines, follow the manufacturer’s instructions to make sure that happens.
Keeping your clothing fresh
You can also help cut down on odors with the way you wash your clothing. Here are some tips for ensuring your clothes don’t make smells worse.
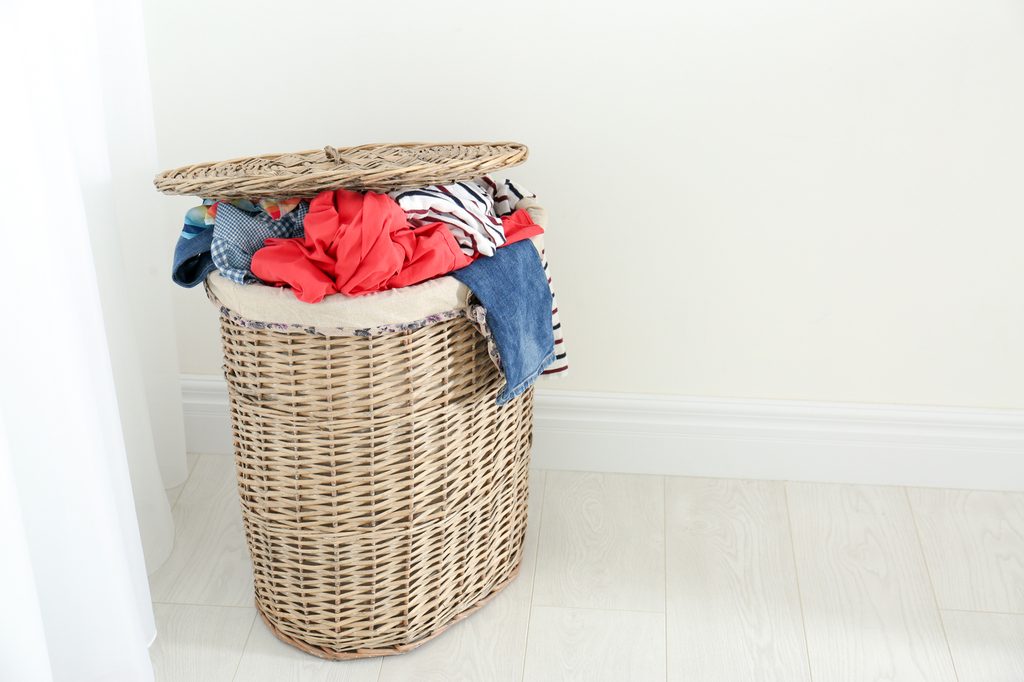
Step 1: Remove wet clothing promptly. When you allow clothing to sit in the washing machine, it can create mildew, which causes smells in the washer’s drum. Get those out and allow the drum to dry between laundry days.
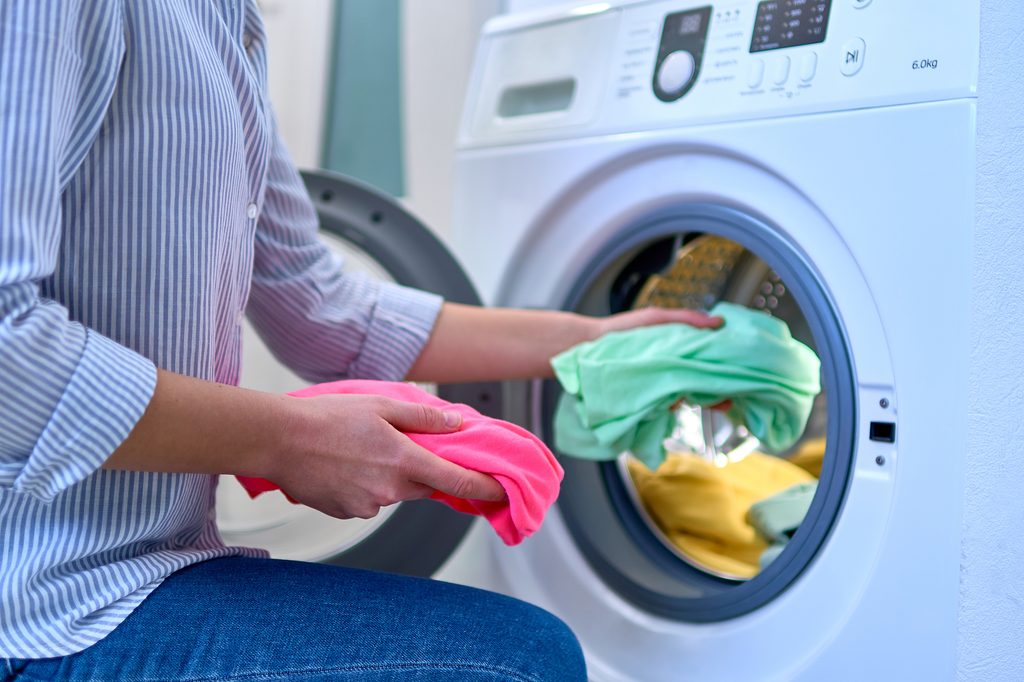
Step 2: Wash clothing inside out. If your clothes don’t have significant stains, washing it all inside out can help water and soap reach oils and sweat from where clothing comes in contact with your body. This reduces odors on your clothing and allows it to cycle freely away from your washing machine.
Step 3: Use lemon essential oil. The citrus in the essential oil can help break down the oils from clothing and reduce the occurrence of soap scum. Use just a few drops for a top loader and one or two for your efficiency loader for the best performance.
Step 4: Use the right kind of detergent and the recommended amounts. You know that not using enough detergent doesn’t get your clothing clean, but using too much can also interfere with your washer’s ability to clean. Too much affects the water’s viscosity, causing it to stagnate and potentially leave a film on the drum and your clothing.
Step 5: Keep the door open. We can’t stress this enough. Ensure the door remains open between loads and between laundry days so that your machine can dry more quickly. The less moisture you have sitting in your washing machine, the less likely you are to develop an issue with mold.
Step 6: Don’t use bleach. To clean your machine, that is. Chlorine bleach is ideal for sanitizing surfaces and getting whites whiter, but it can be hard on machinery. When you’re getting rid of odors, stick to baking soda and white vinegar for a gentler approach. And never mix bleach and vinegar.
Step 7: Clean the soap dispenser. If there’s a lot of gunk in your soap dispenser, make a paste of baking soda and water to get rid of the buildup. An old toothpaste or Q-tips can help get hard-to-reach spots.
Keeping smells at bay

The biggest thing you can do to keep smells from making laundry awful is to avoid letting dampness and moisture buildup. Even a clean surface can grow mold and mildew if it’s never allowed to dry out. Just keeping the door open between loads and cycles can go a long way to cutting down on that moisture.
Cut down on laundry loads
We know this is easier said than done, but once you get your laundry machine fresh and clean, you will want to keep it that way. Aside from avoiding dampness, another tip is to run fewer laundry loads. You can opt to wash certain items by hand or get other items washed at the cleaners. This will not only save on water but prevent more build up in your washer.
How to correct poor drainage on your washing machine

When you’ve performed a deep clean on your washing machine, but your clothing or the machine itself continues to reek of bad odors, you may have a drainage issue on your hands. While some drain pipe problems are noticeable, like witnessing puddling or overflowing water around your machine, some issues can go undetected.
Debris and buildup in your drain pipe can contribute to some foul smells and sometimes even gross backflow. To remedy this, remove your washing machine drain hose from the pipe. This hose is connected to your washer. Use a flashlight or blow air through the drain hose to check for a clog.
If there is no clog in the drain hose, it’s time to check the drain pipe. Run a snake tool through the drain pipe to check for and loosen any clogs. Depending on your situation, you might be able to unclog the blockage yourself. However, if your problem persists, you may want to call in a professional.
The next best thing is to be more careful about the type of laundry soap you use and how much. Make sure you always use a soap designed for high-efficiency washers. Even with top-loaders, check the recommended amounts and follow the measurement instructions. Your clothes will get cleaner, your washing machine will stay fresh, and no more gross washing machine smells.


