
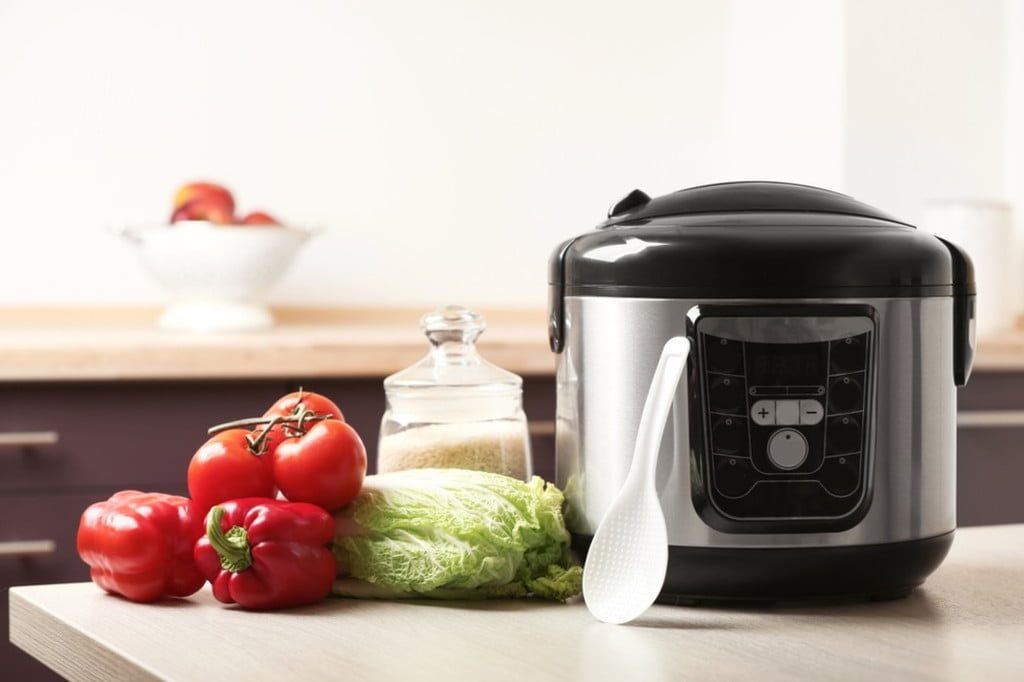
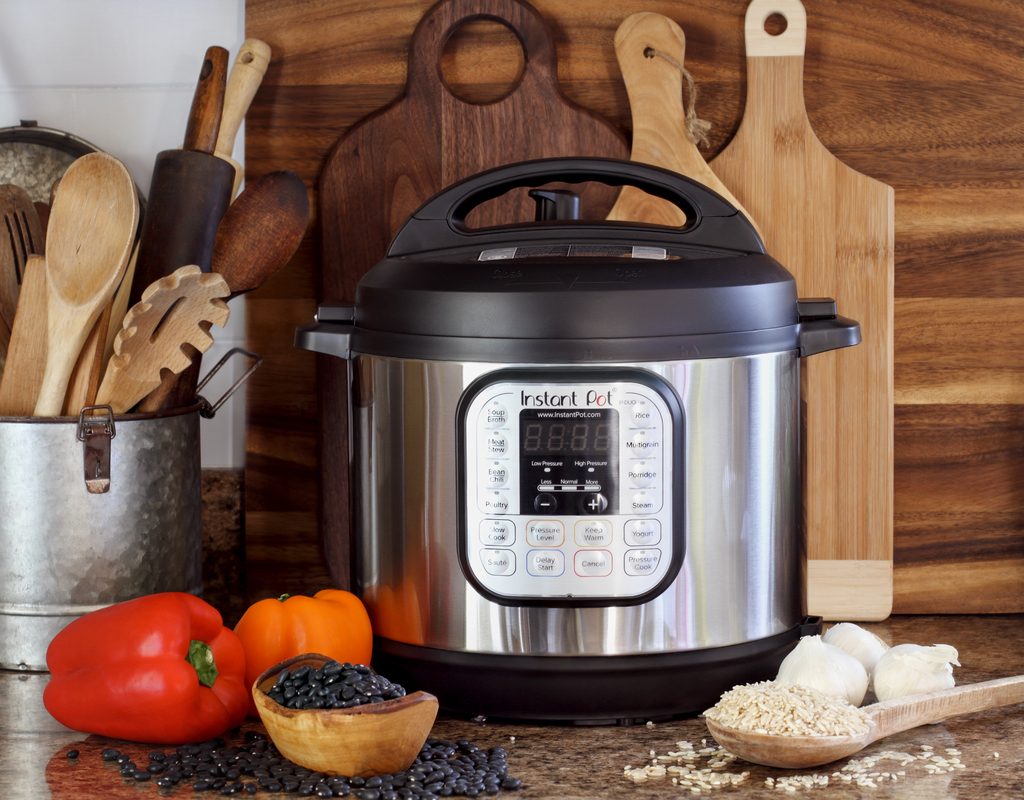
We all know that an Instant Pot can be a lifesaver in the kitchen. On those days when you really don’t feel like cooking, but also don’t want to waste money on high-calorie takeout, you can always depend on your trusty Instant Pot. It’s a pressure cooker, slow cooker, saute pan, steamer, and even a yogurt maker, but the best feature of an Instant Pot is its ability to speed up cooking time.
Wondering how to cook Instant Pot rice? Cooking rice, regardless of the method, still requires a little skill to reach the right texture that’s perfectly sticky and tender. So what’s the secret to making perfect rice every time, especially with a high-powered machine like the Instant Pot? Stick with us as we walk through the best Instant Pot rice cooking trade secrets, starting with our go-to rice recipe. Your family will rave about your Instant Pot cooking — we promise.
How to cook Instant Pot rice perfectly
- Measure out your desired amount of rice and set it aside.
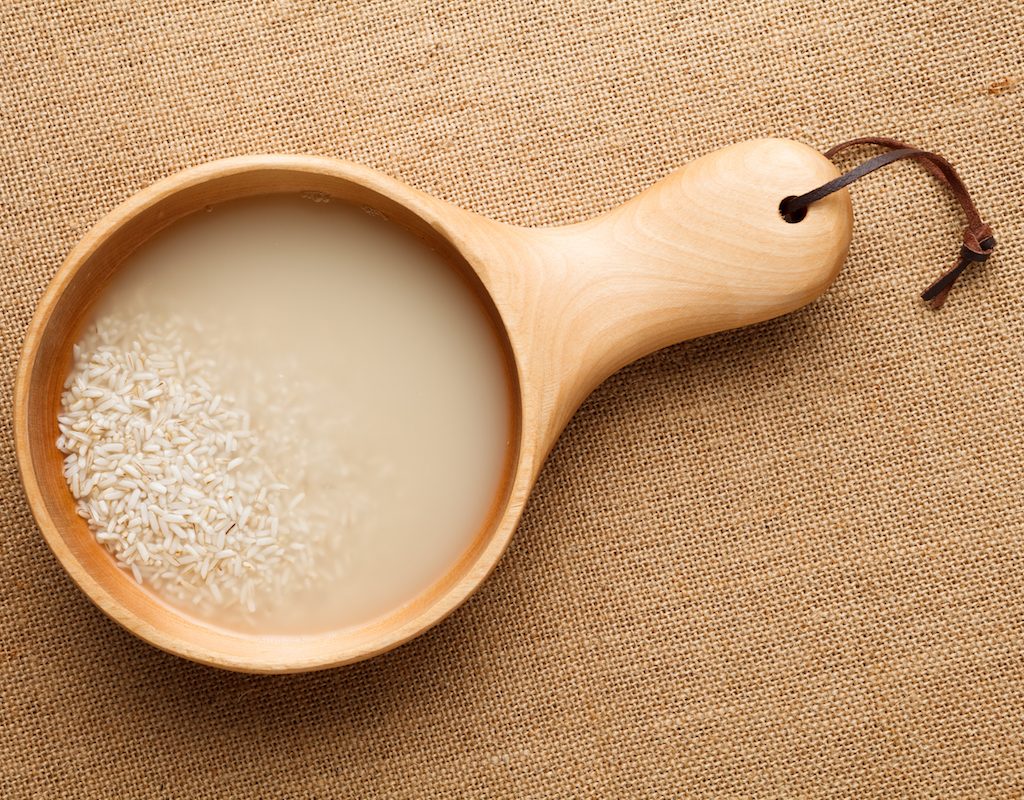
- Measure out an equal amount of water, ensuring you have a 1:1 ratio of rice to water. Add the water to the inner pot of the Instant Pot.
- Rinse your rice using a mesh colander until the water runs clear.
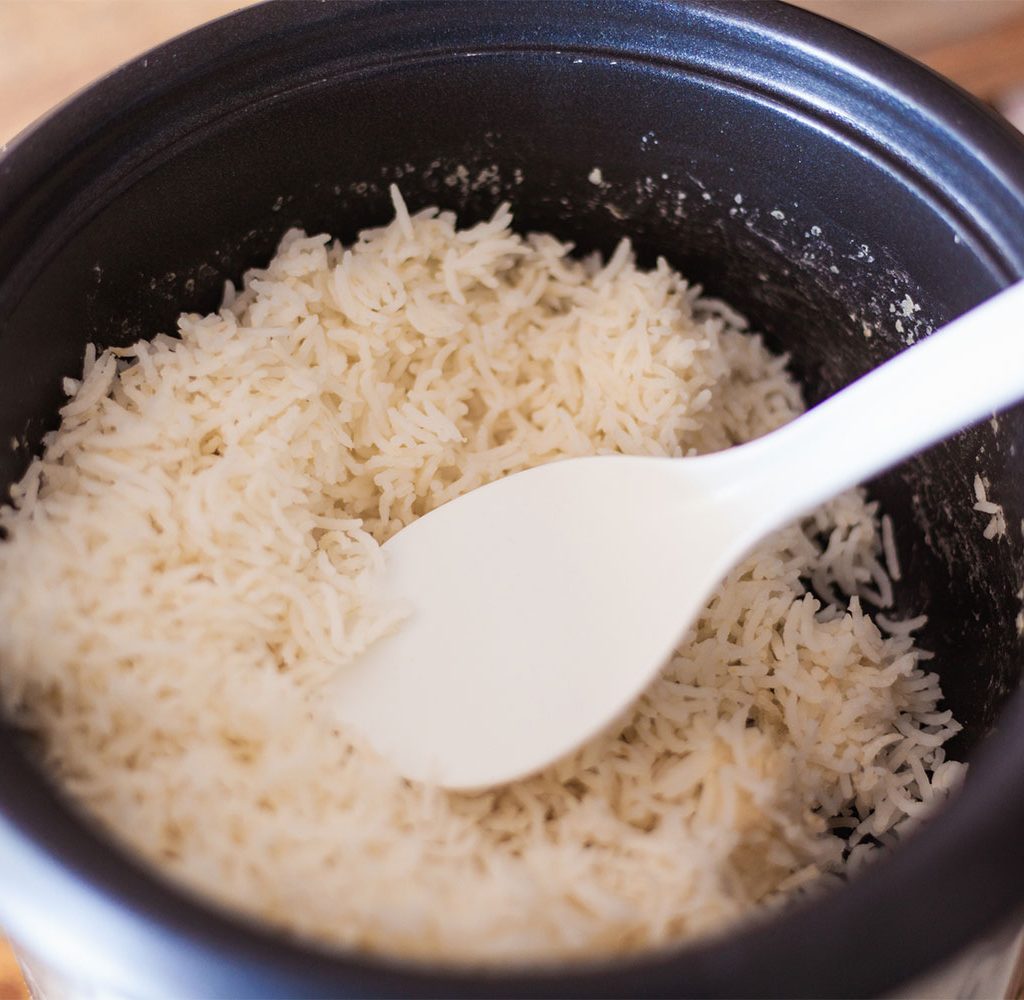
- Add your (now wet) rice to the Instant Pot.
- For white rice, use the “Rice” cooking setting on the Instant Pot. For other types of rice, use the “Manual” cooking setting, sometimes labeled “Pressure Cook,” and cook for the below times:
- Wild rice: 25-30 minutes
- Brown rice: 22-28 minutes
- Basmati rice: 4-8 minutes
- Jasmine rice: 3-5 minutes
- Be sure the “Keep Warm” setting is turned off to prevent overcooking and sticking.
- Use the “Natural Release” versus the “Instant Release” function to slowly remove pressure from your Instant Pot. This will prevent the rice from sticking to the bottom.
The importance of the 1:1 rice-to-water ratio
Keeping the 1:1 ratio is the key aspect of good rice. Less water will result in undercooked or unevenly cooked rice, while more water may result in overly soft or soggy rice. If you prefer softer rice, particularly brown rice, add anywhere from a couple of tablespoons to 1/4 cup more water before cooking.
Frequently asked questions
You have questions, and we have answers!
How much rice should you cook in an Instant Pot?
Since rice expands when it cooks, the rice and water mixture should not fill the Instant Pot more than half. At a minimum, cook at least 1 cup of rice — anything less may cause the rice to stick to the pot or cook unevenly.
Why should you rinse the rice before cooking?
Rinsing removes some of the starch on the outside of the grains. Starch absorbs water, so rinsing it off prevents the rice from sticking to itself. If you don’t want to rinse your rice, add a bit of extra water before cooking.
What if you like your rice a little softer?
Some people say the 1:1 ratio produces rice that is a little too “al-dente” for their taste. For slightly softer rice, add 1 or 2 extra tablespoons of water to the mix before cooking.
How do you keep the rice from sticking to the bottom?
If your rice is sticking to the bottom of your Instant Pot, this likely means there was either not enough water added or the rice is overcooked. To further prevent sticking, be sure to rinse your rice, stir the rice and water mixture before cooking, turn the Keep Warm function off, and use the Natural Release function (as opposed to the instant release) when the rice finishes cooking. If following these steps still results in rice sticking to the bottom of the pot, add a tablespoon of oil before cooking.
Can you substitute the water with other liquids?
Substituting water for other liquids like soup stocks and broths adds a burst of flavor to the rice. Whether you choose to use only broth or a mix of broth and water, make sure there is still a 1:1 ratio between rice and liquid. Alternatively, for a creamier liquid like coconut milk, use about half as much, creating a 2:1 ratio of rice to liquid. This prevents the rice from cooking improperly or unevenly.
How do I know when it’s safe to open the lid?
Most Instant Pots have a safety feature that will lock the top while the rice is still cooking. Do not try to force the lid open when it’s locked. You will know it’s safe to open the lid when the float valve has dropped. If you can’t tell if it’s dropped, turn the steam release handle to the Venting position. If no steam releases, nudge the float valve down and open the lid.

Final thoughts
Your new Instant Pot will clear up space in the kitchen and make cooking dinner for the whole family faster and easier than ever. This appliance has so many uses that you might as well use all of them! So, donate your rice cooker or save it for a rainy day and make the change to cooking perfect rice in the Instant Pot.


