
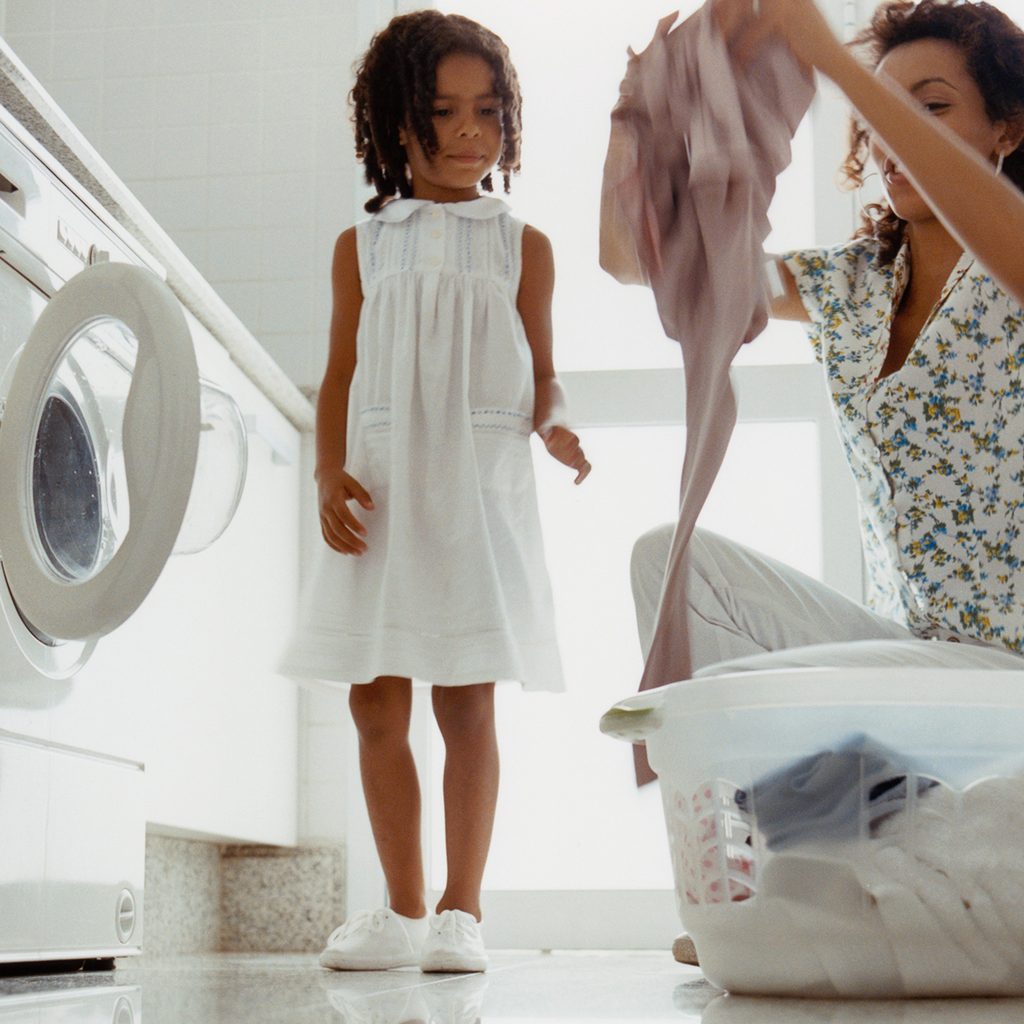
Laundry isn’t called a chore for nothing. It’s hard work that requires physical effort, and the task sometimes spans over a few hours. While doing your laundry properly is a bit painstaking and monotonous, it’s necessary in order to prevent damage to fabrics and to extend the life of your favorite clothing items. The first step in proper laundry procedure is separating out your clothes. Here’s how to separate laundry in five easy steps so you can save a bit of time while keeping your wardrobe in tip-top shape.

Should I separate lights and darks?
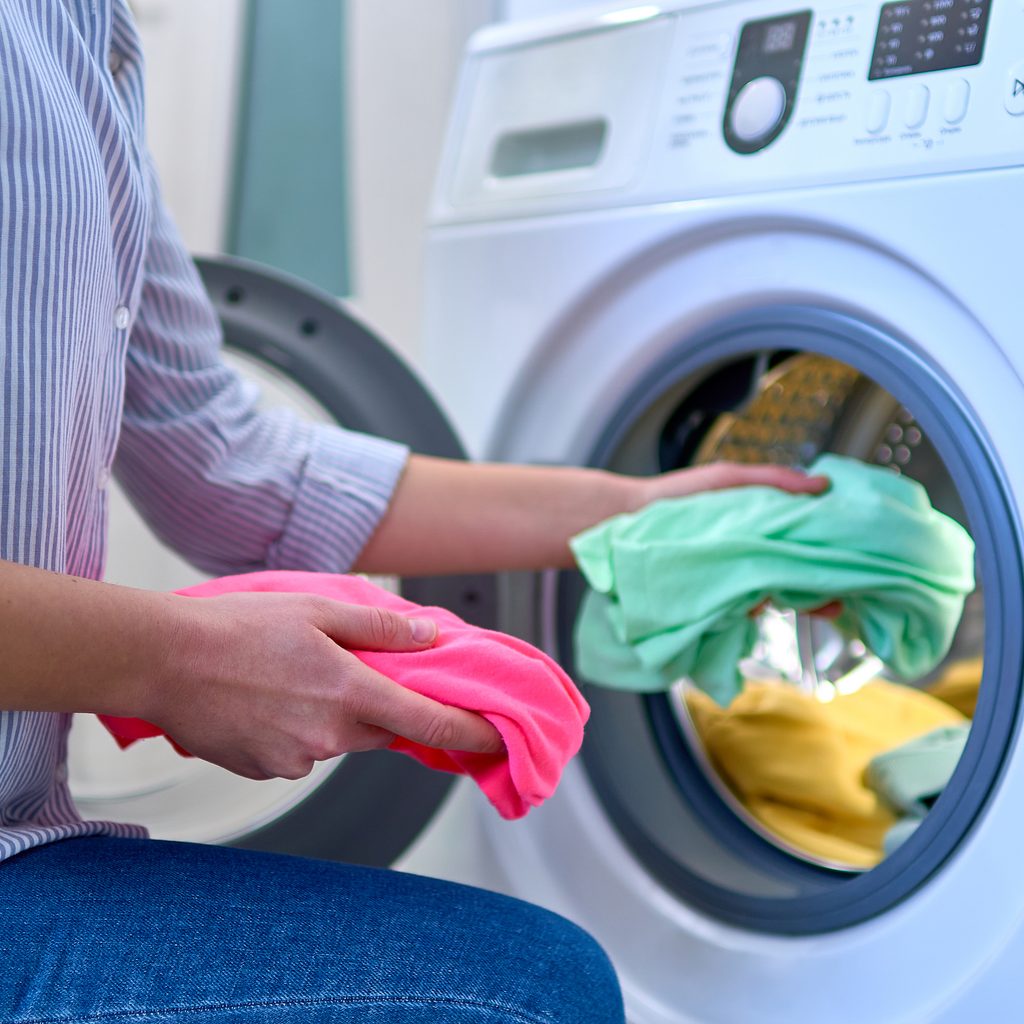
Is it really necessary to separate your lights and darks? The short answer is: Yes. The long answer? Clothing with dark-colored dyes, particularly newly purchased items, can easily bleed and stain other fabrics in the load that are lighter in color. Washing whites and darks together can lead to your whites either becoming stained with dark dye or becoming dingy and gray in color. It’s best to wash clothing only with like colors.
Your colorful wardrobe: What colors can be washed together?
So, which colors are safe to wash together in your washing machine without staining or damaging each other? Since different categories of colors are best washed with specific water temperatures, detergents, and bleaches, here are the best color categories to separate your laundry into:
Whites
Clothing items that are completely white in color and have no printed patterns should be washed in their own load. This way, chlorine bleach can be used in the load for best whitening results, without the threat of ruined patterns or bleach stains on colored clothing items.
Dark colors
Items with dark dyes like black, navy, red, or purple can be safely washed together. Any slight bleeding of darker dyes will not be visible on other dark-colored items. However, if you’re concerned that a newly purchased clothing item with particularly dark fabric will bleed into other items in your wash, it’s a good idea to wash that item on its own or by hand the first time.
Light colors
While lighter-colored clothing items won’t typically bleed their own dyes, they are at risk of being stained by the darker dyes of other clothes, so they shouldn’t be washed with dark colors. On the other hand, they also shouldn’t be washed with your whites if bleach is being used. It’s best to keep light colors in their own load.
Hot, cold, or warm? How to separate laundry by temperature

Another reason to separate whites, darks, and light colors is that for each category, certain water temperatures should be used for the best cleaning, brightening, and whitening results. Here’s when to use hot, cold, and warm water in your laundry load.
When to wash with hot water
The biggest benefit to washing laundry with hot water is that it disinfects fabrics. If you have lightly colored clothes that have been soiled with body fluids, for example, washing them on the hottest water setting on your washing machine will go a long way in killing germs and eliminating pathogens. Hot water is also best to use when you’re bleaching whites. The heat makes the bleach more effective, which whitens the fabric more effectively. Be advised, though, that when washing fabrics in hot water, you risk fabric shrinkage. Hot water will also cause bleeding dyes on dark fabrics, which is why you shouldn’t wash darks in a hot cycle.
When to wash with cold water
Washing your clothes in cold water prevents dyes from bleeding and it also reduces shrinking in fabrics. Cold water should be used when washing clothing with dark dyes and also when washing delicate fabrics like lace, silk, sheer, or chiffon. Since cold water doesn’t disinfect clothing well, if you have darks that need disinfecting, you’ll want to pre-treat them with vinegar or hydrogen peroxide before you throw them in the wash. Just be sure you spot-test with the disinfecting agent before treating the whole garment so you can be sure the product won’t damage the fabric.
When to wash with warm water
Warm water is a good middle ground between hot and cold water since it doesn’t present the shrinking and fading risk but it also allows soap to do its job better. The good news is, both whites and light colors should fare fine in warm water. It is best, however, to avoid warm water when washing dark colors to prevent even slight bleeding.
How to separate laundry in 5 easy steps
- Step 1: Separate out clothing from towels and bedding. Before washing your towels, bedding, and clothes they should all be split into separate loads. However, many of the same rules — such as separating into lights and darks and using hot water for whites and warm water for light-colored items — apply to your linens as well.
- Step 2: Read labels. Check each clothing item for special care instructions, whether bleach can be used, and which water temperature is best for the garment.
- Step 3: Place “dry-clean only” items in the first pile. You should not wash these items in your washing machine and should, instead, have them professionally dry-cleaned.
- Step 4: Place delicate fabrics in the second pile. It’s a good idea to wash delicates in small mesh bags to avoid rips and tears in the fragile fabric.
- Step 5: Separate remaining items into whites, darks, and lighter colors. These will be washed in three separate loads for the best results.
Separating your laundry isn’t really a fun task, particularly if you have several loads of laundry to do. While it can be annoying, washing certain fabrics in their own loads will save you a lot of money and heartache that could occur when you have to replace your favorite clothing pieces. With this guide, your laundry separating session will be quick and simple while your clothes will come out clean and bright.


