Homeowners have long loved granite countertops for the kitchen, bathroom vanities, and other surfaces. Granite was formed millions of years ago from compressed molten rock under the Earth’s surface, so it is one of the most durable, hard surfaces you can install. It also handles heat and is resistant to scratches and dings, so it’s perfect for your most well-loved rooms. It’s also not cheap — so you want to take care of it.
While easily one of the most sought-after materials for kitchens, its porous surface can accumulate dirt and bacteria. So, if you’re like me and a bit neurotic with keeping it as clean as possible, you can clean that surface multiple times a day. Chemicals found in a lot of store-bought granite cleaners can wear the sealant layer over time, causing the color to fade and chips and cracks to find their way in.
While you can buy cleaners made specifically for granite, they can get expensive if you clean a lot. Any “all-purpose” cleaners shouldn’t be used on granite surfaces for the reasons mentioned above. An easier, more cost-effective way to clean without the concern of chemicals is to make your own at home. With a few simple ingredients, you can whip up a batch in no time, leaving your countertops sparkling and toxic-free.
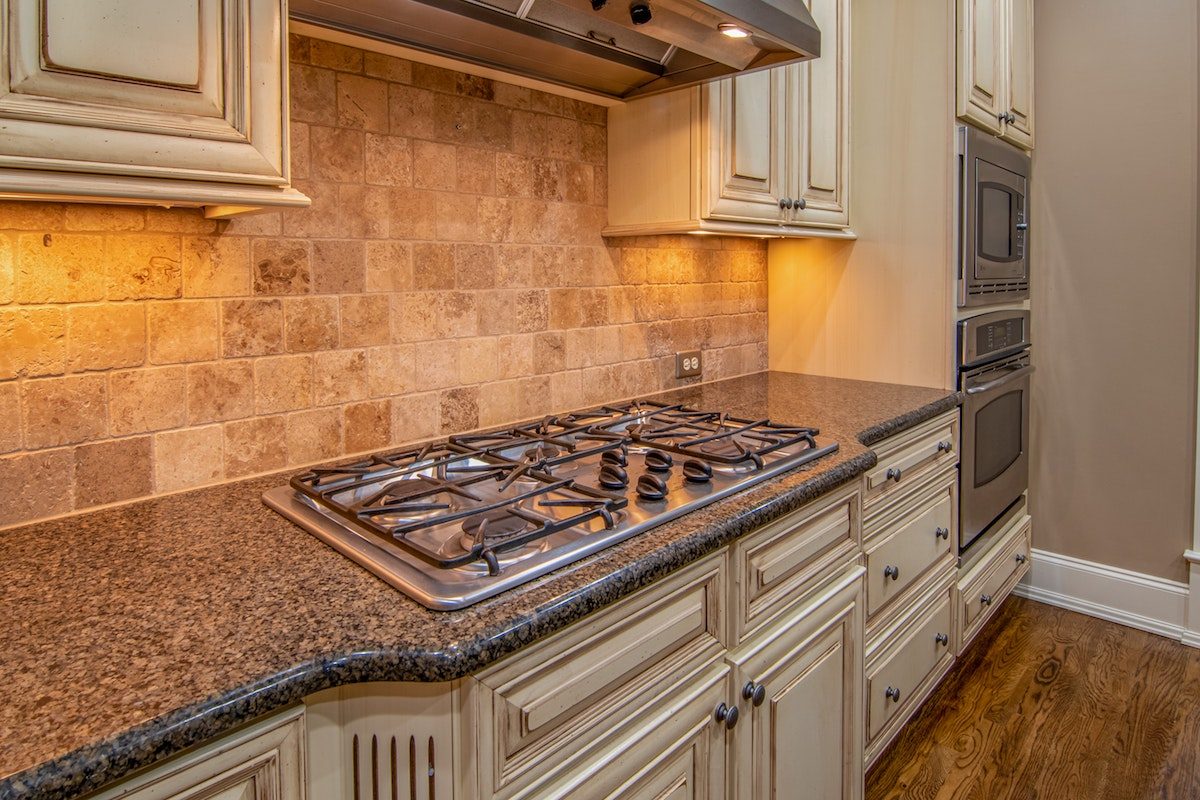 Follow these easy-to-use instructions and you’ll be on your way.
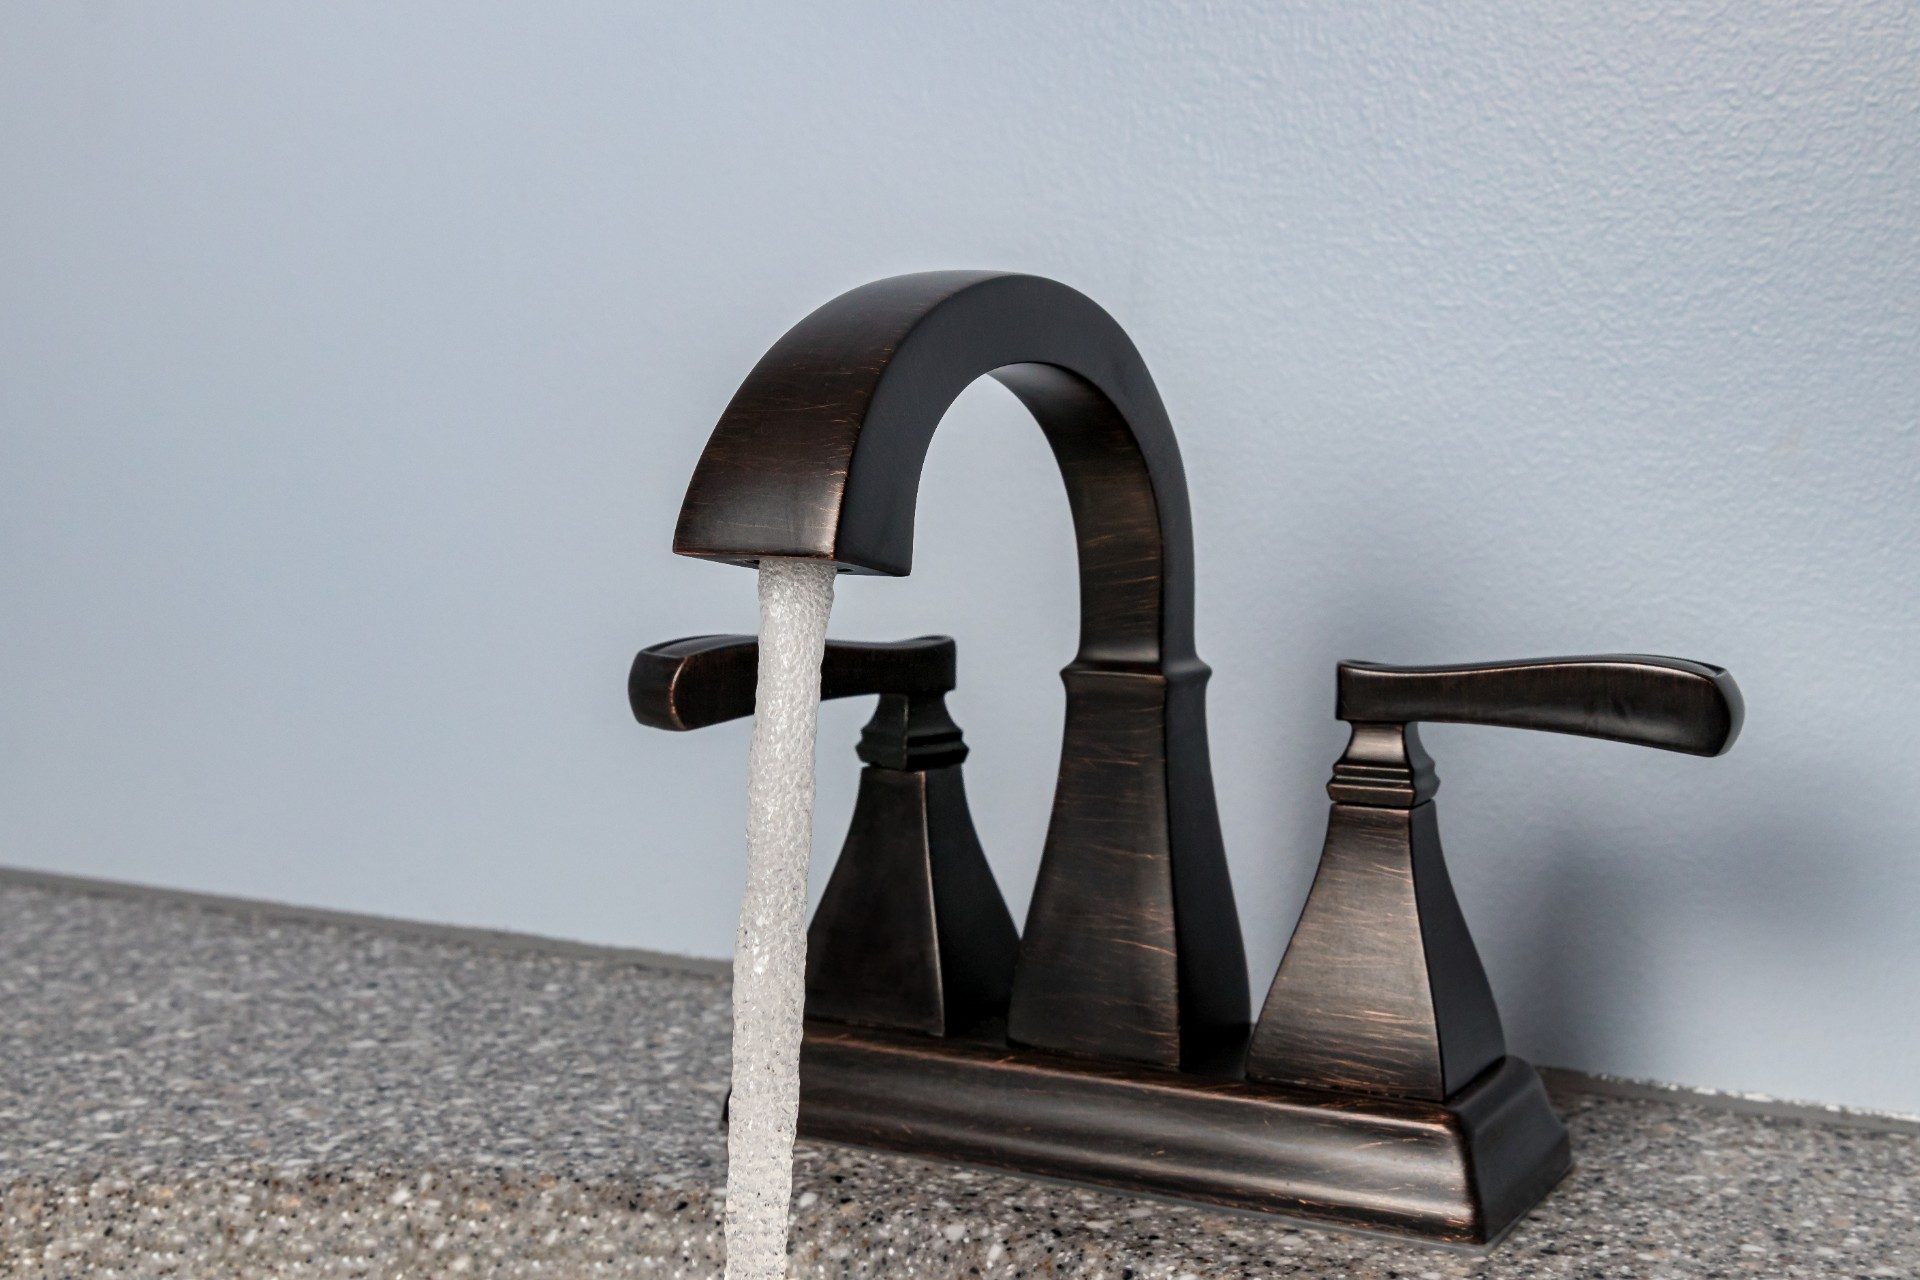
Prep:
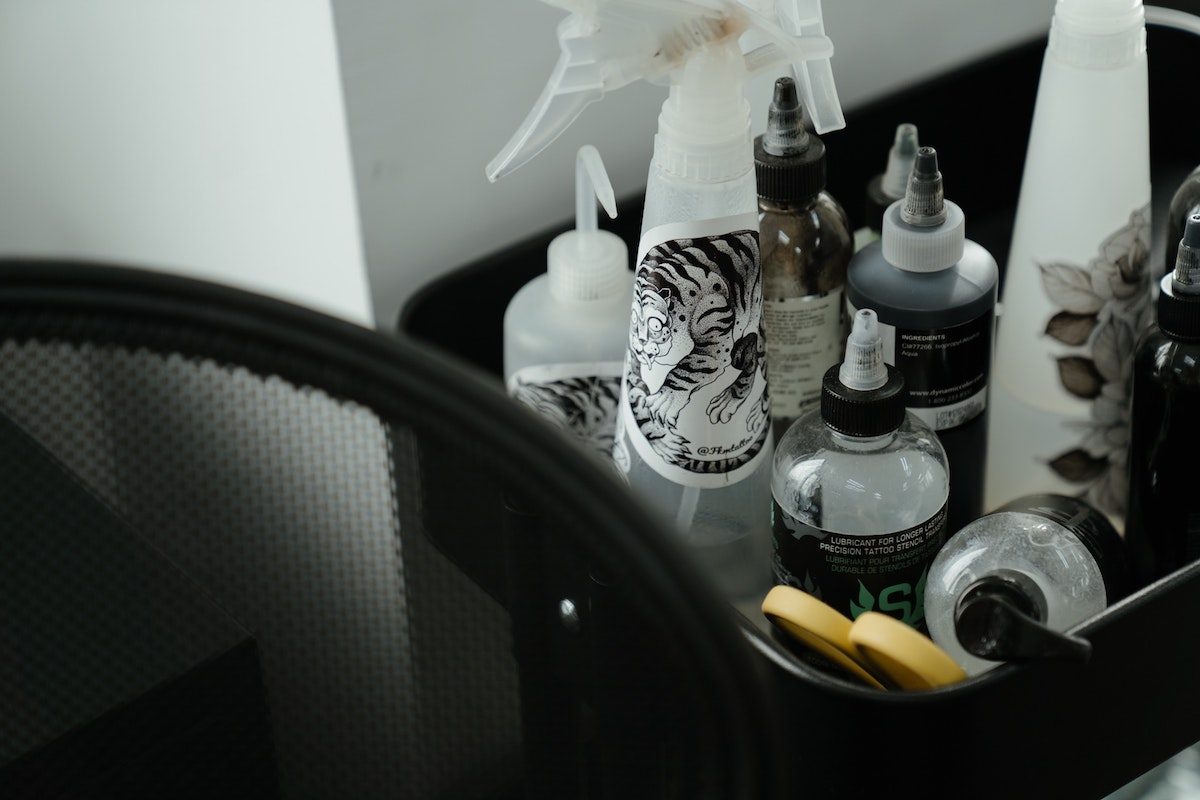
- Grab the materials you need. This includes a spray bottle (I use a standard 16-ounce bottle like these that come in a four-pack for under $12), rubbing alcohol, Dawn dish soap, and water.
- Take the spray head off the bottle. Pour one-half cup of rubbing alcohol, two cups of water, and six to eight drops of dish soap into the spray bottle. If you want to make it in bulk and fill multiple bottles at once, just double or triple the amounts above depending on the number of bottles you have, mix together, and add them equally to each bottle.
- If desired, you can also add three to four drops of essential oil to the spray bottle to help deodorize the granite surface and leave any room smelling of your favorite scent. Basil, rosemary, lemon, and lavender scents are all good options. If you love to match everything you’re doing to the holidays (Christmas tree candles, anyone?), you can also find scents to match whatever time of year it is. If scents aren’t your thing, no biggie. Just leave this step out.
The disinfecting properties of alcohol, coupled with the degreasing powers of dish soap, will deliver a one-two punch to banish bacteria and grime from the granite surface.
Time for business:
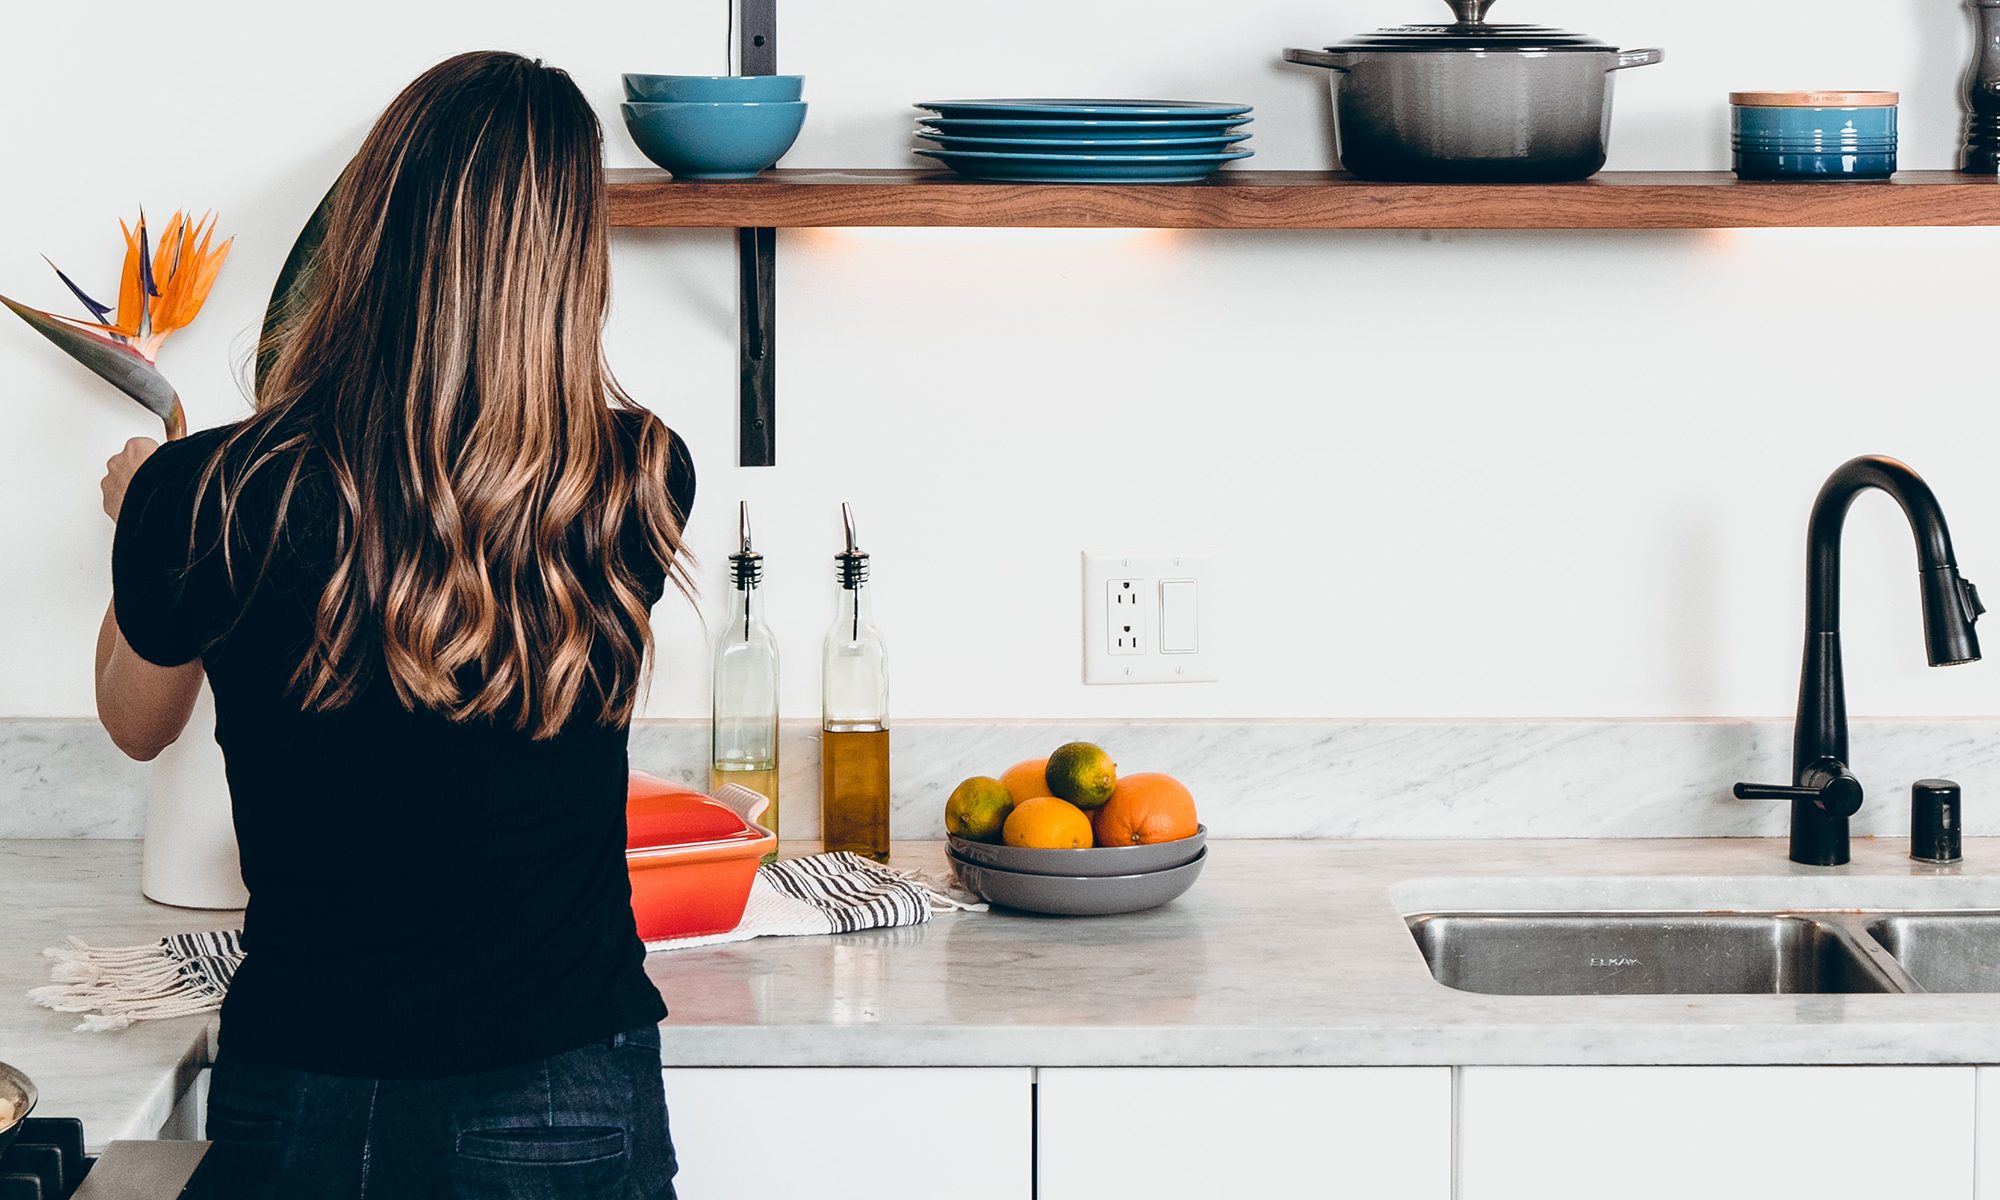
- Secure the spray head back onto the bottle, then shake it a few times to combine the alcohol, soap, and water. Now, it’s time to spray on the granite countertop and wipe off with a paper towel, clean microfiber cloth, or another clean rag.
- Before storing, make sure you label the bottle and store it in a dry space where no pets or kids can reach it.
This formula can be used on countertops, granite flooring (just use a mop instead of a rag), fireplace surrounds, or granite backsplash. Your surfaces will come out clean, bright, and most importantly, be bacteria free. What’s more, this is perfect to use on stainless-steel appliances like toasters and coffee makers (just be sure to unplug them before you spray), as well as larger appliances like stoves, refrigerators, and dishwashers.
Homemade granite cleaner is cheap, easy to make, and let’s you avoid the harmful chemicals and toxins that come with store bought cleaners. I don’t know about you, but spraying those types of ingredients directly onto surfaces where food is prepared or toothbrushes inevitably live seems unnecessary. Given how easy the above recipe is to follow, give it a try. I promise you will never go back.