Spring is here, which means it’s time to decorate to celebrate the season! Flowers, colorful eggs, pastel palettes, and other spring motifs will slowly enter our homes. And this year, it could be fun to try out some new DIY projects to ramp up your spring decor and add a fresh look to your home.
So, whether you’re looking for some last-minute additions to spruce up your space or craving some simple DIY decorations for spring, we have five incredible crafts you can try.
Painted candle sticks
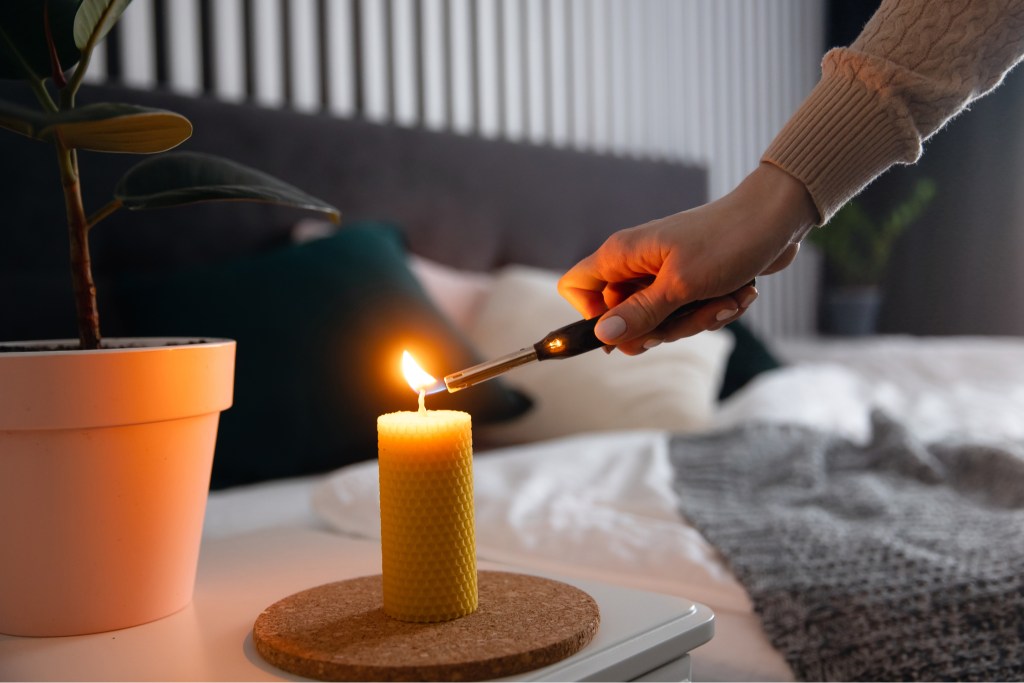
Have you ever considered trying your hand at decorating and painting a candle? You can get a candle-making kit from your local craft store and spend a rainy day indoors by creating your own candles. With lots of molds to choose from, this can be a super simple craft for springtime. Or, if you prefer, you can use store-bought candles instead.
Whatever candles you choose, we recommend searching for ones with brighter colors, which are great for this transitional season. Bright orange, yellow, pink, red, and blue can bring more spring flair to your space.
Then, use acrylic paint to add designs to the candles. If you’re looking for an excellent craft for kids, this one is super easy. Painting flowers, trees, bunnies, chicks, and any other springtime motif will make your candles personalized and stand out in a candle holder. Place them on tables or the mantle to decorate your home.
Eggshell candles
For a unique springtime craft, try making eggshell candles. You only need a few white eggs, a carton to display them in, a butter knife, some melted wax, and wicks.
Step 1: Crack open the eggshells.
The easiest way to crack open the eggs to use the shells for candles is by using a butter knife to make a swift, firm hit. Strike the top of the egg to break it without shattering the entire shell.
Step 2: Drain the insides.
Drain out the egg yolk and fluid from the eggshells. If you want, you can always cook the eggs rather than throw them away. Just be sure to save your shells! Once drained, rinse the shells and use sharp scissors to cut any jagged edges. Trimming the edges is optional, and it’s totally fine if you prefer a more natural, uneven look.
Step 3: Paint the shells.
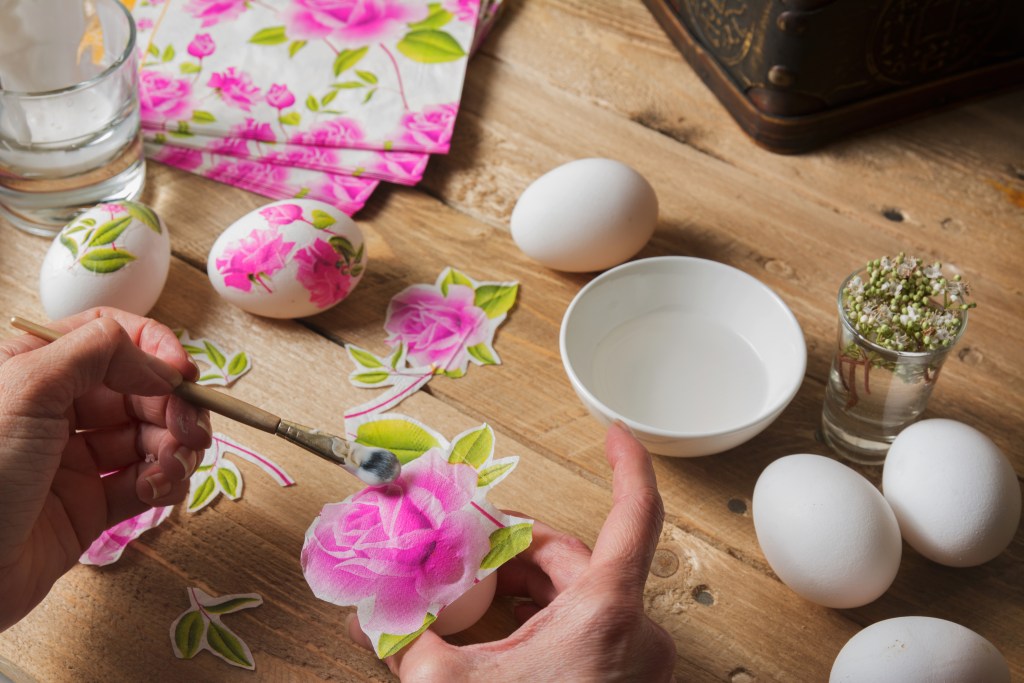
Once you've rinsed and dried the shells, you can use acrylic paint or egg dye to stain the outsides. Pastel colors are great for spring. And we definitely recommend adding some painted flowers or other cute designs. Just keep in mind that if you use brown eggs, the paint colors may differ slightly once dried.
Step 4: Pour hot wax into the shells.
Following the instructions on the candle wax, melt the wax until it is a liquid. Then, pour the melted wax into the shells.
Step 5: Add wicks.
Add a wick to the center of each shell and follow the instructions on the wax kit to place the wicks properly. You may have to hold the wicks in place for a few minutes before releasing them.
Step 6: Wait to solidify
Now, all you have to do is allow the wax to solidify. When it’s done, you can add herbs to top them off or leave them plain. Finally, light your eggshell candles and set them on the dining table or kitchen counter for all to see and enjoy.
Eggshell seedling planters
Similar to eggshell candles, eggshell seedling planters are an amazing spring decor idea! They can also act as an eco-friendly alternative to plastic seedling planters.
Step 1: Crack open and drain the eggs.
Use a butter knife to crack open the eggs just as we mentioned above when making eggshell candles. Then, drain the egg yolk and fluid. Rinse the shells and set them aside to dry.
Step 2: Paint the shells.
If you want to paint the shells, wait until they are fully dry and use acrylic paint or egg dye to color your eggshell pots.
Step 3: Add soil.
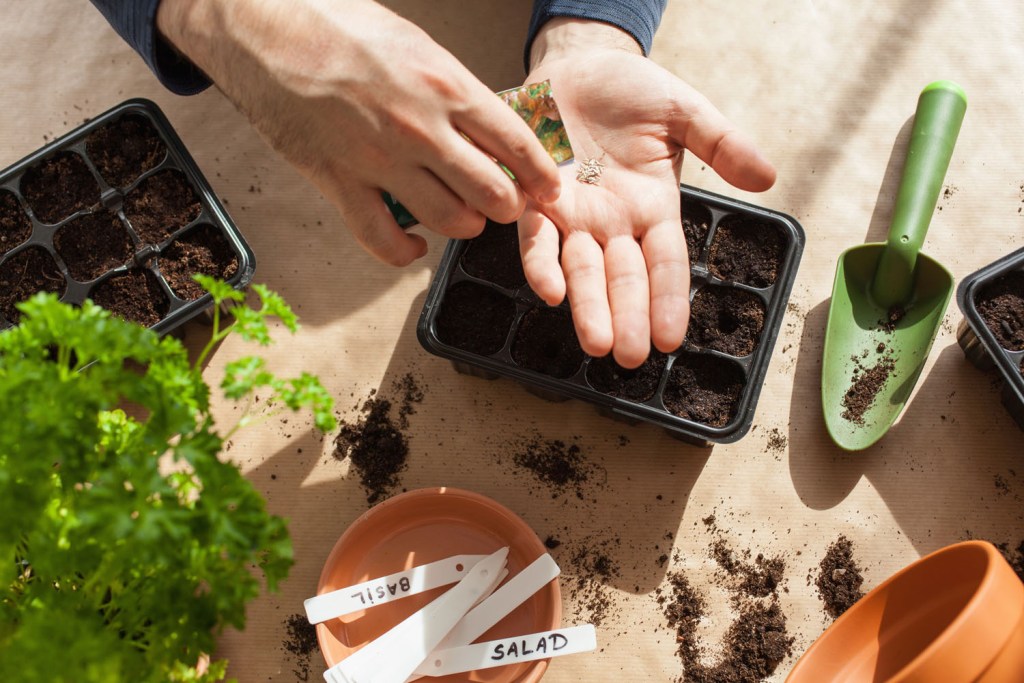
Once you’re satisfied with how your eggshells look, add some soil to the shells.
Step 4: Plant seeds or seedlings.
Put one seed or seedling in each eggshell and add water.
Step 5: Place them in a sunny location.
You can place the eggshell planters on a windowsill or on the kitchen island in an egg carton and watch as your seedlings slowly sprout. This can be a super fun and aesthetic way to sprout seedlings and use them for decor during the spring season.
Pressed flower art
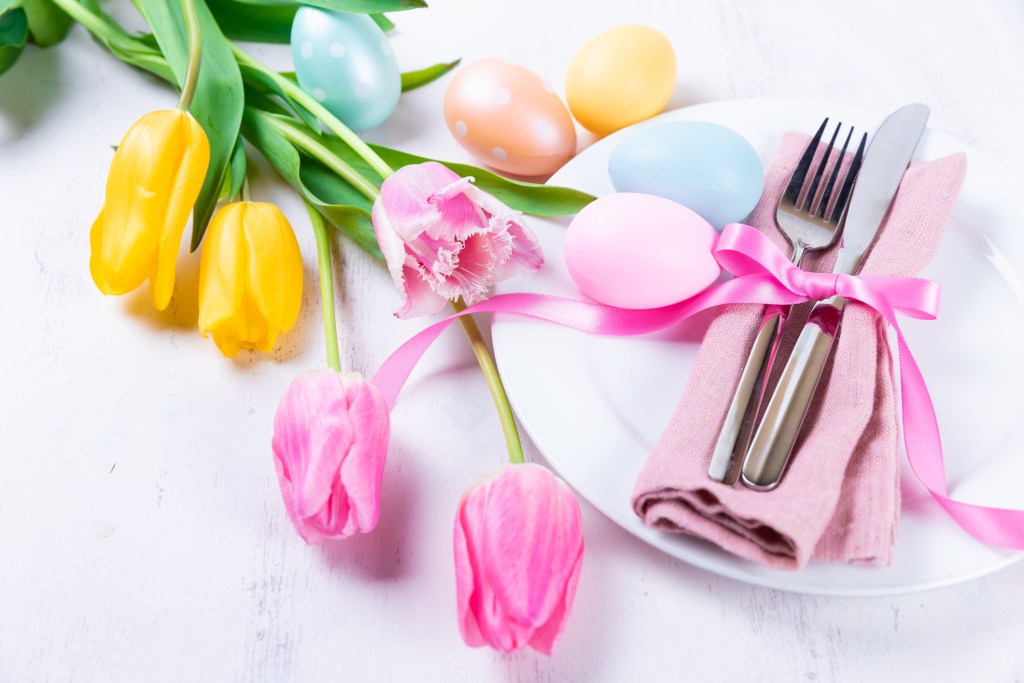
Using some printer paper and books, anyone can collect and press flowers.
Step 1: First, collect your flowers.
Step 2: Then, find an old book and fold some printer paper to slot in between the book pages.
Step 3: Your printer paper should be creased and allow you to place flowers between the two halves of the sheet. While printer paper isn’t necessary, it can prevent your book pages from becoming stained.
Step 4: Slowly close the paper and the book. This flattens your flowers.
Step 5: Place the book somewhere away from any high heat or sunlight.
Step 6: Put a heavy object or other books on top of your pressed flower book.
Step 7: Wait two weeks before opening up the book with your flowers.
Step 8: Use tweezers and be gentle as you remove the petals from the book. Some might stick to the paper, but that’s OK Just be gentle!
Step 9: You can put your pressed flowers in your phone case, frame them, glue them in a scrapbook, or place them in clear resin molds to create unique pieces like coasters.
Step 10: Keep your pressed flowers in a small clear organizer or a simple plastic box when storing them.
Ensure it's sealed and away from moisture and heat. It’s possible that your unused and stored pressed flowers will mold over time, so be sure to keep an eye on them. Anything used in art or decor often doesn't mold, but it’s a good idea to check the decor frequently, just in case.
Centerpiece basket
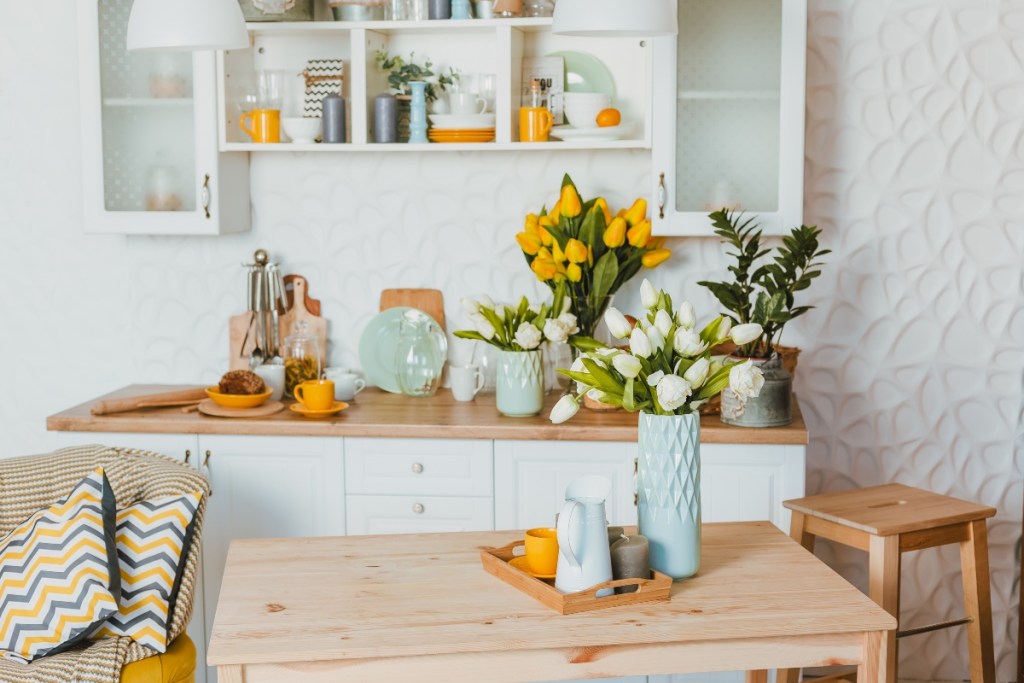
A classic woven basket with ceramic eggs, bouquets, and other spring or Easter motifs is a great last-minute decor idea. You can thrift a basket from your local thrift shop or find something in the Easter section of a retail store. We recommend a simple wicker basket that isn’t too large.
Add colored eggs, ceramic eggs, flowers, stuffed or ceramic rabbits, or anything else that feels like spring. Arrange the decor and place the basket on the center of your dining table, your kitchen island, or the coffee table for a cool springtime statement piece.
These last-minute spring decor ideas are great for anyone looking to spruce up their space quickly. These crafts are fun, unique, and a great opportunity for repurposing spring items like eggs or flowers, which are abundant this time of year.
Editors' Recommendations
- How to hang a painting in your home the right way
- These Christmas table decorations are the perfect backdrop for your holiday meal
- Christmas tree lights set the tone for your decor (what you should pick and why)
- Is September a good time to sell your home?
- 6 incredible reasons you should add plants to your home right now