Who doesn’t love the pungent, flavorful aroma, and taste of garlic? From shrimp scampi to pasta sauces, marinades for roast chicken or beef, or straight up in salads, garlic is not only tasty but good for you, too. Garlic is high in nutrition and compounds, including allicin, which studies have shown help to improve cardiovascular health and blood sugar levels.
Growing and harvesting garlic from your indoor garden is a great way to ensure you always have fresh garlic on hand. Homegrown garlic has a richer, more flavorful taste than supermarket garlic, plus it’s free of the chemicals and pesticides that store-bought garlic has been subjected to in the growing and harvesting process.
For a quick indoor option, you can grow and eat garlic leaves in a matter of weeks. Garlic leaves have a more delicate flavor than garlic cloves. However, if you don’t mind waiting a few months, you can grow garlic bulbs, too.
We’ll show you how to grow your own garlic with this all-in-one guide!
 How to grow garlic indoors
 How to grow garlic indoors
- Step 1: Start with organic garlic cloves. You can buy organic garlic at your local grocery store or farmer’s market. Make sure you only use organic cloves because you’ll want to ensure the bulbs are chemical-free.
- Step 2: Choose the right container. Since garlic has shallow roots, you don’t need a deep pot. Containers can be as shallow as 6-8”, but be sure it has drainage holes.
- Step 3: Soil selection. Garlic grows best with consistent moisture, not too much and not too little. Choose a potting soil that’s light to keep the soil loose and allow for drainage, and one with a bit of compost or other fertilizer to give your garlic plants a good start.
- Step 4: Fertilize for best results. A bit of liquid fertilizer goes a long way. Try liquid seaweed or fish emulsion sprinkled on the soil surface.
- Step 5: Sunshine. Garlic grows best with ample sunshine, so place your indoor garlic plant on a sunny windowsill or under grow lights.
How to grow garlic indoors in pots
 How to grow garlic indoors in pots
- Prepare your container by making sure the drainage holes are open but not big enough to allow the soil to wash out.
- Fill the container right to the top with potting soil and pat it down a bit so there’s room for water.
- Choose how you plan to use the garlic. If you want to grow bulb garlic, you’ll need to refrigerate the cloves for a minimum of 40 days. This gives the cloves the cold timeline required for optimum growth. If you are growing garlic for its edible leaves, the refrigeration step is not necessary.
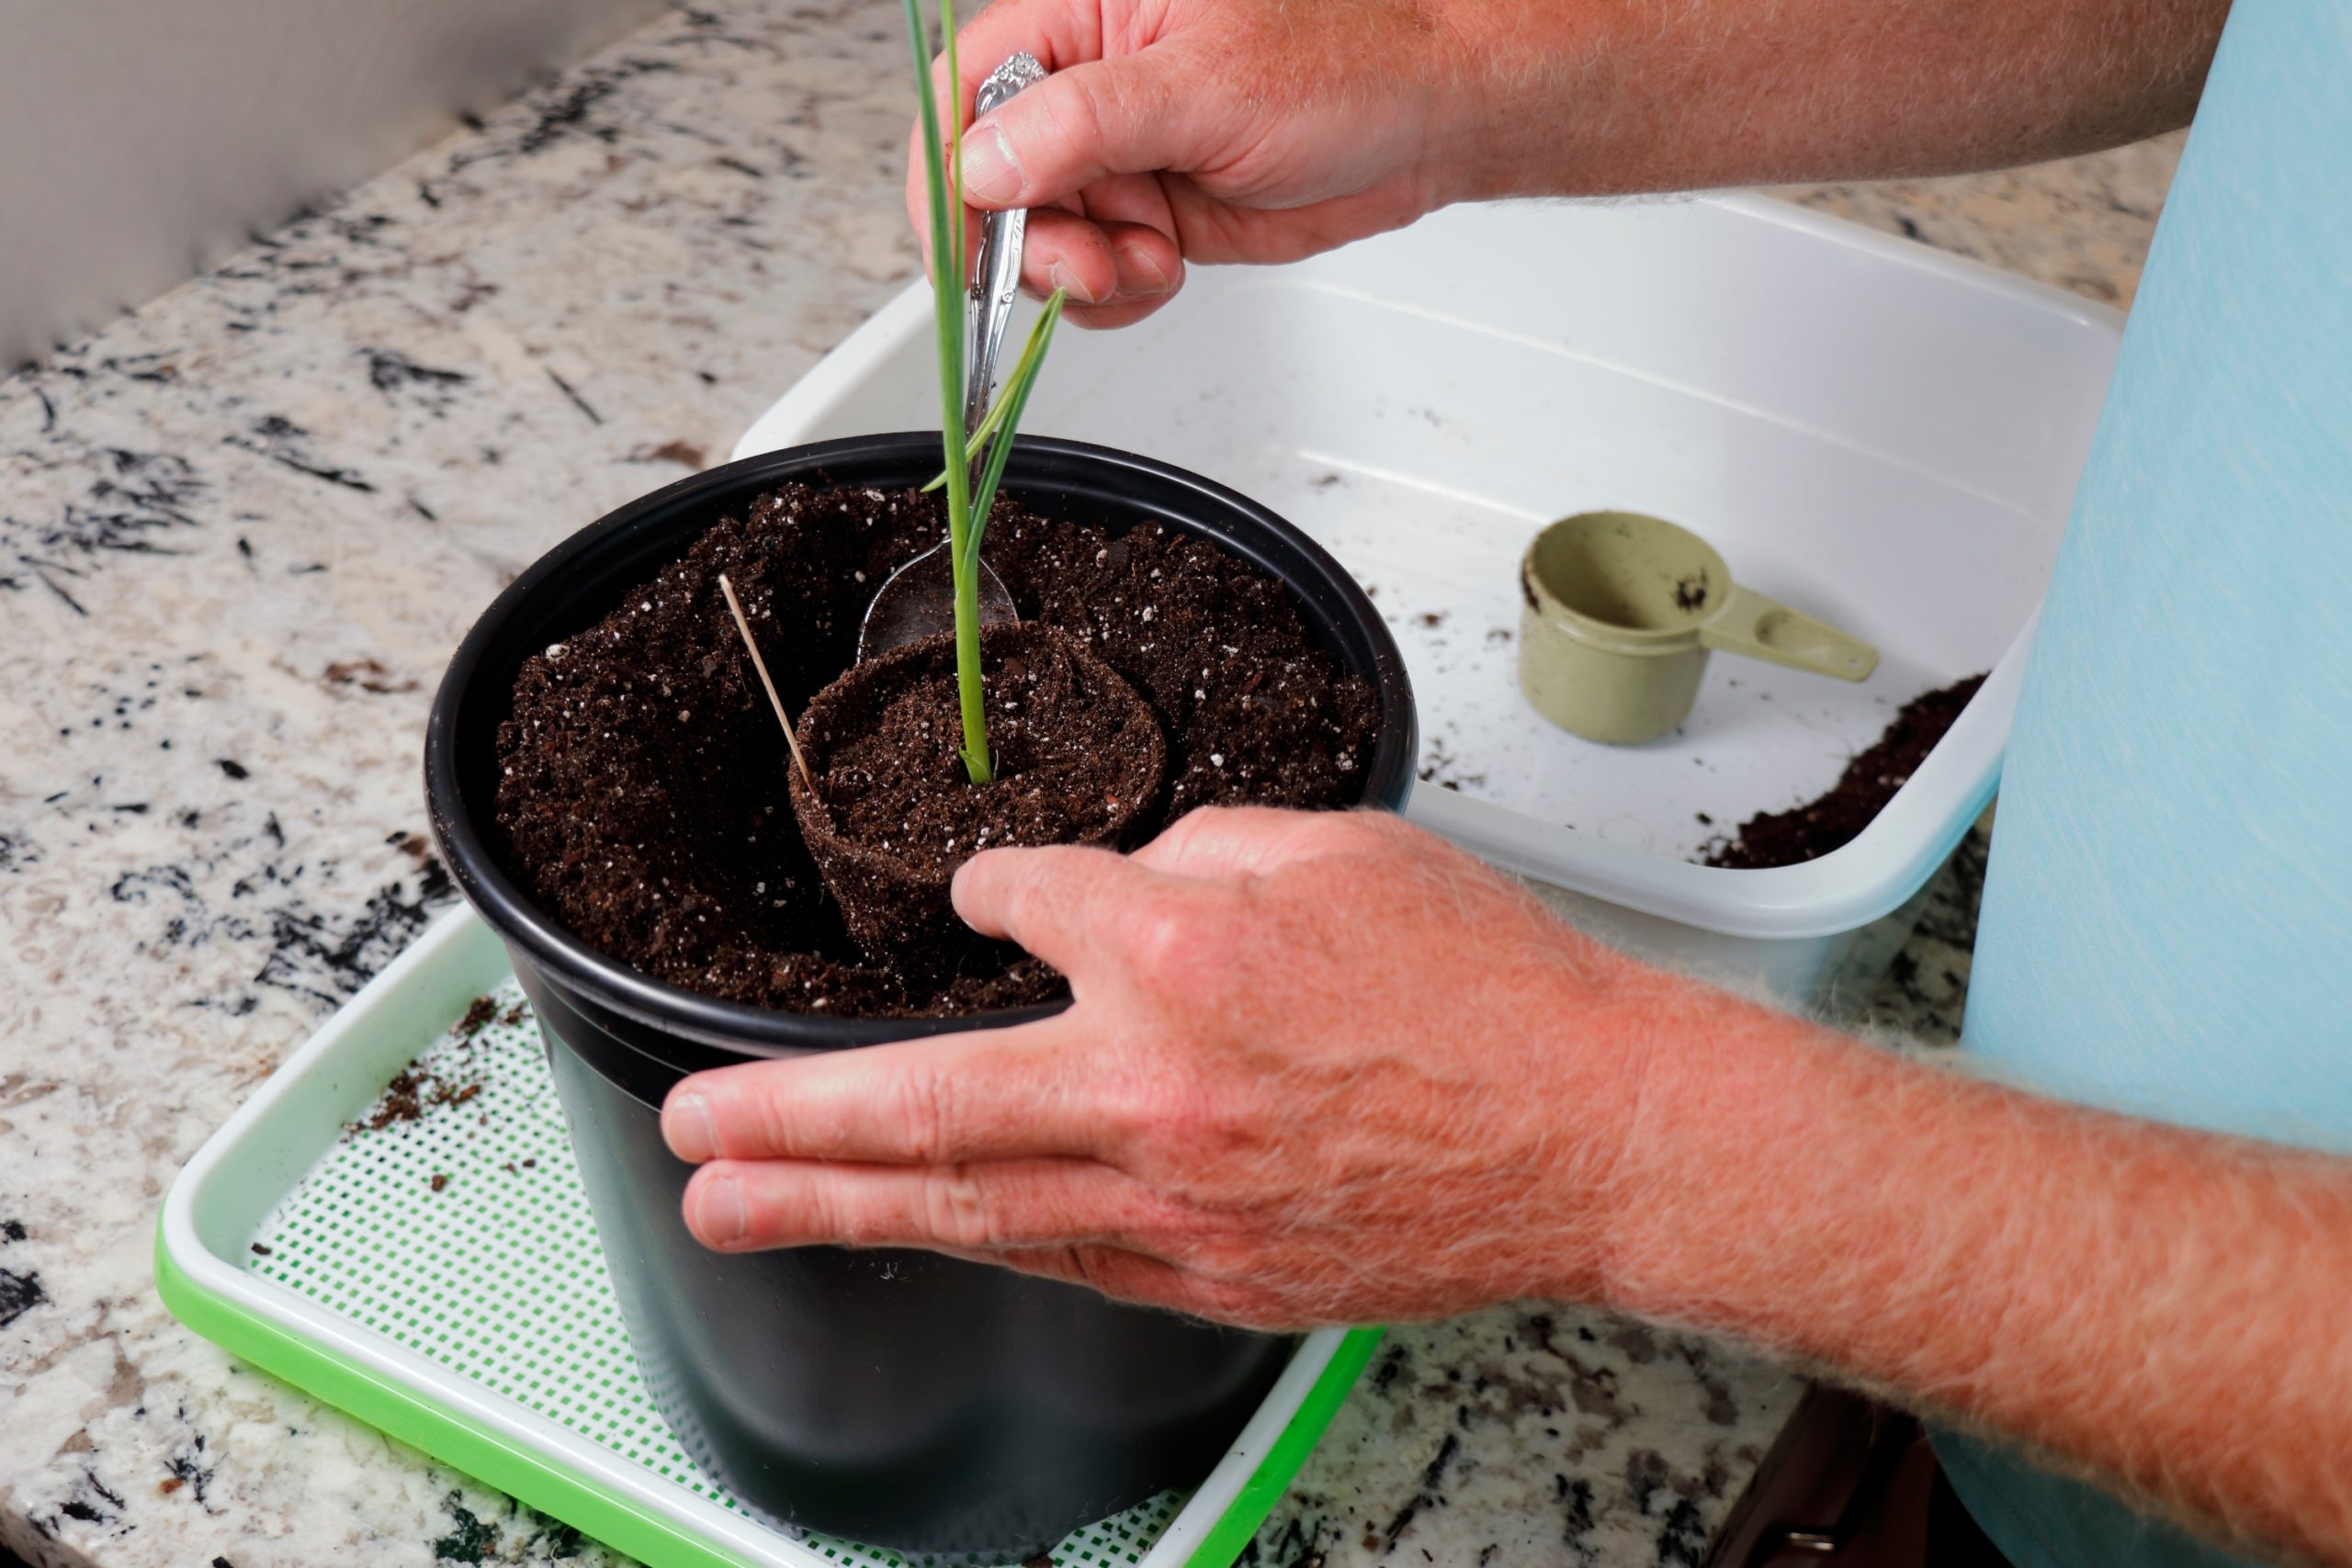
- Separate cloves from the bulb. No need to peel the cloves before planting.
- Plant the cloves about 2″ apart and pull any immature baby garlic to allow enough space for bulb formation on the remaining plants.
- Poke a hole about two times the clove’s length and place the clove in the dirt with the pointy side up. Fill the holes and pat the soil over the planted cloves.
- Water so the soil is moist but never sopping wet, and keep watering as needed. Note: overwatering will cause the garlic to rot.
Once the garlic cloves begin to sprout and the shoots are about 6″ high, lightly fertilize and repeat every couple of weeks until the plant is ready for harvesting.
It’s so easy to grow garlic indoors. Just plant, water, and harvest. That’s all there is to it. The result? Better tasting, better for you garlic, that’s free of chemicals, pesticides, and contaminants and costs you practically nothing at all. Add your home-grown garlic to all of your favorite recipes and get ready for a taste sensation you’re going to fall in love with that has a host of health benefits, too!


