When you clean your home from top to bottom, you make sure it looks spotless, smells fresh, and is as germ-free as possible. However, did you remember to clean what you can’t see? Conducting a deep clean of the home isn’t complete without clearing out your home’s air ducts which filter allergens and other airborne irritants like pet dander, pollen, mildew, bacteria, mold spores, and more. After time and without proper care and cleaning, these air ducts can become ineffective, allowing in unfiltered air that can make you sick.
Cleaning these ducts isn’t quite as easy as swiping a feather duster across the vents, so keep reading to learn more about the best ways to keep your air as fresh and clean as the rest of your home.
 Duct cleaning 101: Why it’s important to clean your ducts
 Duct cleaning 101: Why it’s important to clean your ducts
Regular cleaning and maintenance is essential for keeping your heating, ventilation, and air conditioning (HVAC) system running properly.
By caring for your ducts consistently, you can avoid these four common issues:
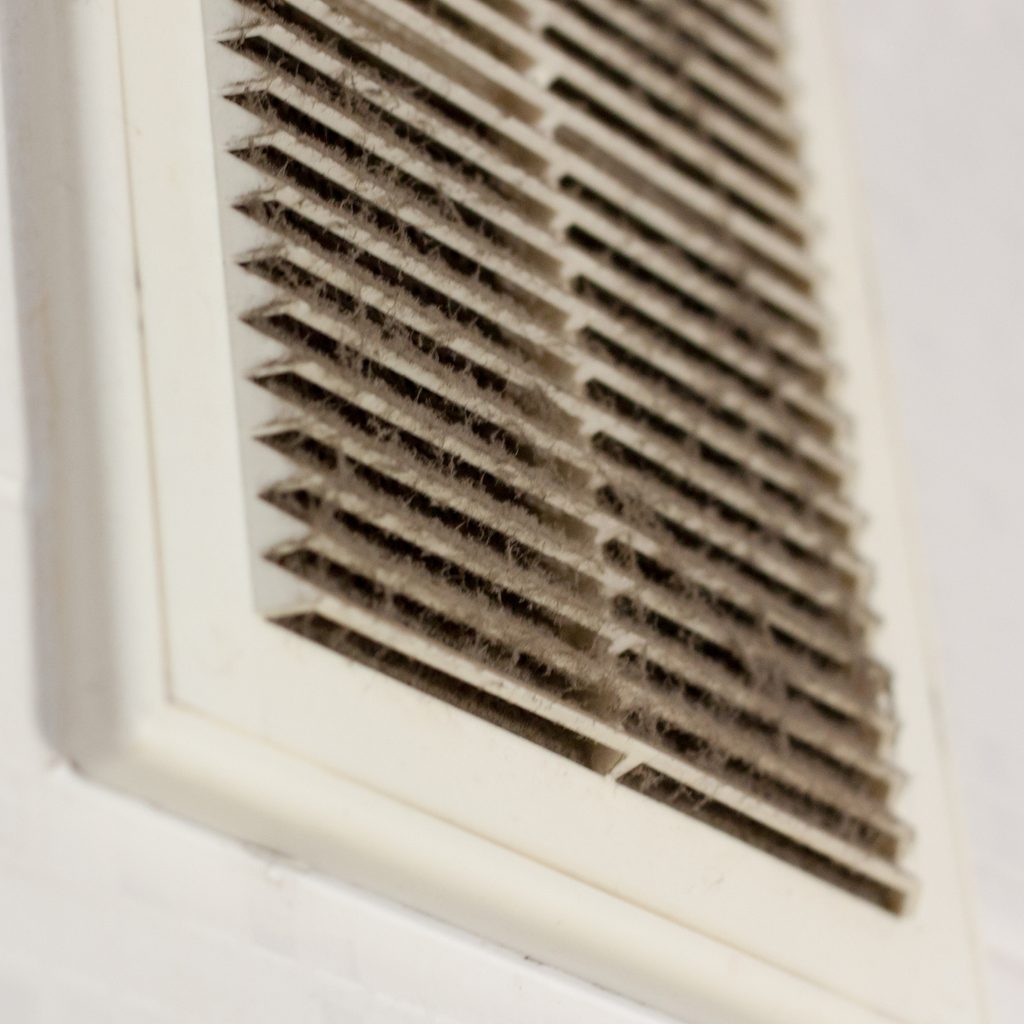
- Mold: Vents and ducts that aren’t properly cleaned and maintained can lead to mold buildup. If water or condensation gets in, the moisture stays put, and mold and mildew can grow. These mold particles can then enter the air you breathe and severely irritate your lungs.
- Clogging: When dust and debris build up in air ducts, they will eventually clog. Clogged ducts reduce the efficiency of your air conditioner and heating units, forcing your HVAC system to work harder than it needs to. If not cleaned, this buildup can eventually cause the ducts to stop working entirely.
- Pests: Dust, debris, and moisture are perfect breeding grounds for pests, so your untreated air ducts can become nesting grounds for crickets, roaches, and even mice.
- Money: Plain and simple, when you neglect your air ducts it will cost you money. Your HVAC system won’t run as efficiently, your energy bills will increase, and you’ll eventually need to deal with the problem with a more costly professional intervention.
Duct cleaning 101: DIY or professional?
 Duct cleaning 101: DIY or professional?
We’ve laid out the importance of cleaning and maintaining your ducts. Now, the question becomes, do you DIY it or hire a pro?
DIY duct cleaning
If you’re on a tight budget or would rather be in control of household upkeep, keep these few things in mind regarding your duct cleaning projects:
- Duct cleaning is hard work and it will take longer to complete than you think it will. Be sure to carve out ample time to complete the project effectively and thoroughly.
- Be prepared to uncover some unsightly things in the ducts, including mold, animal and insect droppings, and even dead rodents.
- Air ducts are prone to damage, particularly if you have flex ducts that are quick to tear and puncture. Be careful and use a light touch when cleaning to avoid the need for a costly repair.
- Cleaning requires high-powered vacuums and rotary brushes that most DIYers may not have. Be sure to invest in the proper tools to avoid damaging or not thoroughly cleaning the ducts.
There are countless YouTube videos that provide you step-by-step directions on how to DIY your duct cleaning project. We recommend watching a few before tackling the project to make sure you have the skills and tools you need to complete the project.
Professional duct cleaning
Doing it yourself might be faster and cheaper, but nothing can beat the quality clean you receive when hiring a reputable professional.
The right tools
Professional air duct cleaners have access to powerful, portable vacuums that can reach virtually every part of your duct. With the right professional and the right tools, dust and mold won’t stand a chance.
An eye on prevention
Professional cleaning technicians can both clean your HVAC system and diagnose potential problems before they even start, including:
- Damp areas that could turn to mold
- Dust and debris build-up
- Punctures in the ducts that reduce the efficiency of your HVAC system and cause higher utility bills
Finishing the job right… the first time
While a DIY cleaning is effective for minimal maintenance, be sure to call in the professionals every few years. The only way to reach the whole network of air ducts, including the coils and drain pans, is to hire a skilled technician with the tools and knowledge to clean every part of this system.
There are many areas of home maintenance that are fair game for a DIY fix, but for something as important as clean air, it might be time to hire a reputable professional. With expert help, you can keep your HVAC running smoothly and rest easy knowing it’s all taken care of by the pros.


