
Chocolate milk can be a delicacy. While powdered mixes and boxed varieties are great in a pinch, nothing can beat the smooth, sweet, and refreshing taste of homemade chocolate milk. There is an overwhelming amount of recipes both online and in cookbooks, but none beat whipping up a cold glass with an immersion blender.
This technique results in a fully mixed, frothy chocolate milk to which other chocolate kinds of milk won’t hold a candle. If you’re unfamiliar with immersion blenders, never fear. We’ll go over how to use this handy device and share some of our favorite immersion blender recipes (including chocolate milk, of course).
What is an immersion blender?
Immersion blenders are often called handheld blenders, stick blenders, or wand blenders since the appliance is long and thin with motorized blades on one side. Unlike a standard countertop blender, you can put the ingredients in whatever container you wish, turn on the motor, and place the blades directly into the glass or bowl of your choice.
When to use an immersion blender vs. countertop blender
While it’s handy, an immersion blender is less powerful than most countertop blenders, so it may not blend your ingredients very finely. It does, however, work exceptionally well for recipes that call for a chunkier blend, like that of salsas or chunkier soups, and can quickly beat eggs, creams, batters, and dressings. However, if you’re looking to turn ingredients into a puree, or blend hard ingredients like ice or frozen fruit, you’re better off with a stand mixer.
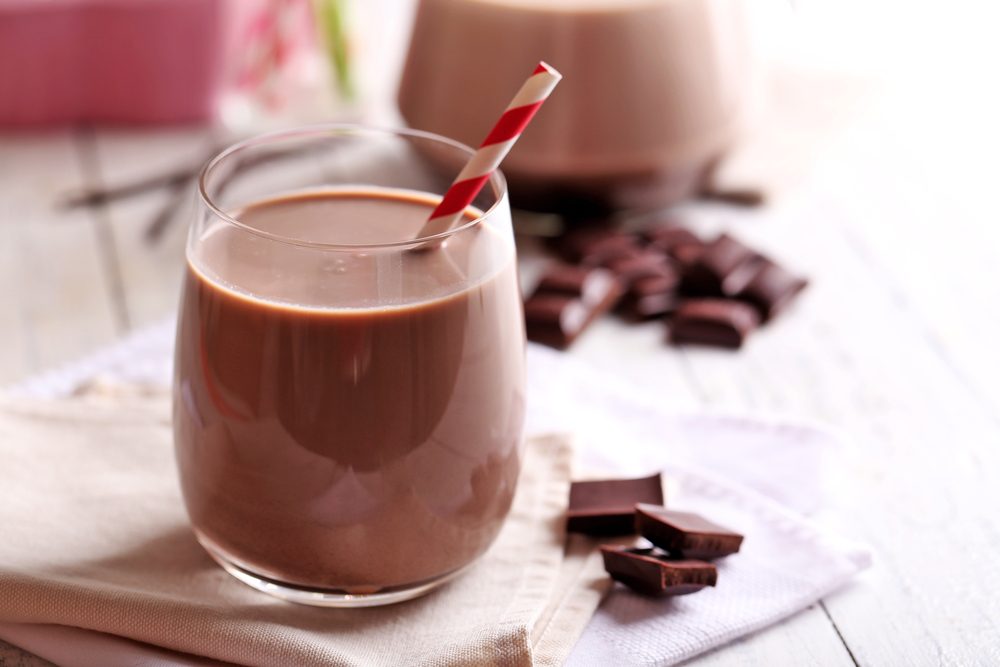
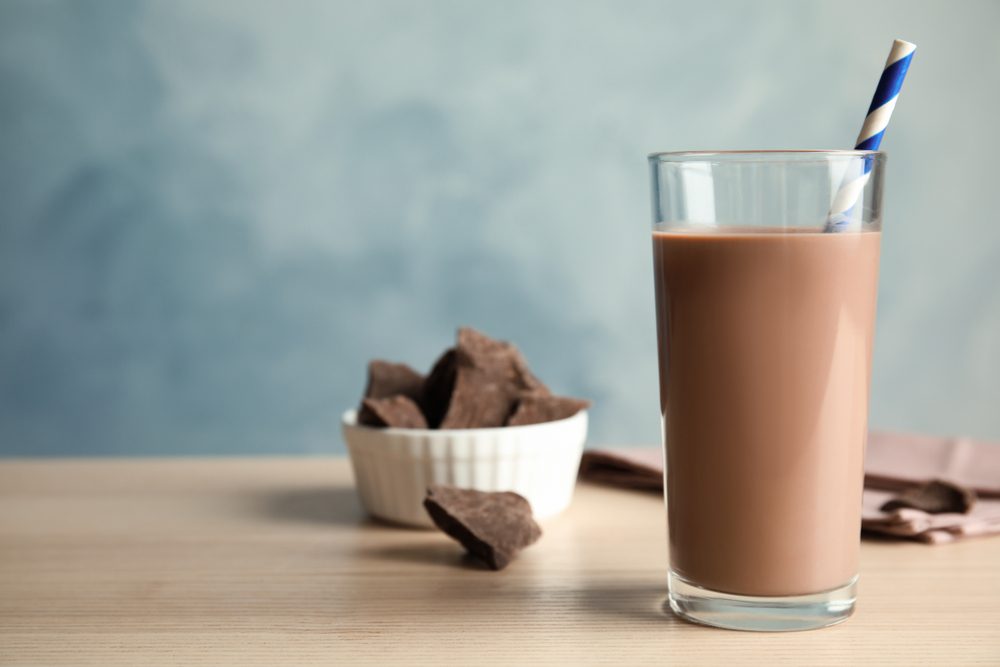
Recipe: Immersion blender chocolate milk
This simple recipe yields one serving of delectable, frothy chocolate milk, but feel free to multiply it. It’s very difficult to have just one!
What you’ll need
- 1 cup milk of your choice (we recommend whole milk for added creaminess)
- 3 teaspoons powdered sugar
- 3 teaspoons cocoa powder
Instructions
- Grab a small mixing bowl and combine the cocoa powder and powdered sugar using a whisk.
- Pour in your milk, cocoa, and sugar mixture into a tall glass. The height of the glass prevents any milk from splashing out of the container during the blending process.
- Insert your immersion blender straight down into the glass, ensuring the blades are completely covered by the liquid before turning on the blender to low speed.
- Continue blending until the milk and chocolate are completely combined and the mixture is both frothy and dark tan in color.
What else can you use an immersion blender for?
Whipped Cream
Following your favorite whipped cream recipe, pour all ingredients into a mixing bowl and insert the immersion blender. Since air is an essential ingredient in whipped cream, be sure to move the blender up and down to work in as much air as possible. An immersion blender can make whipped cream much faster than a hand mixer can, saving you time and energy in the kitchen.
Pancake mix/batter
Like the whipped cream recipe, using an immersion blender to mix your pancake batter yields much quicker results than mixing by hand, and your batter will be smoother and much more thoroughly blended.
Beaten eggs
For chef-quality scrambled eggs, blend the eggs with an immersion blender instead of a whisk to create smoother curds without any separation of the yolks from the whites. An immersion blender is also the key to whipping up egg whites for your favorite meringue or sponge cake.
Hot applesauce
A great treat in any season, hot applesauce is tasty both on its own and atop your favorite flavor of ice cream. Simply cook some skinned, sliced apples in a pot or slow cooker with water and lemon juice, then use an immersion blender to break up the soft slices and create your creamy applesauce.
Whether your immersion blender is collecting dust in your cabinet or you use it weekly on delicious recipes, we hope you’ll break it out for your soon-to-be-famous chocolate milk or any other of these crowd-pleasing recipes. While a stand mixer is a staple in every home, including an immersion blender in your lineup will give you more flexibility with your dishes, allowing you to blend chunkier dips as well as smooth batters. Of course, it’s also the key to whipping up chocolate milk that will put even your favorite packaged brands to shame.


