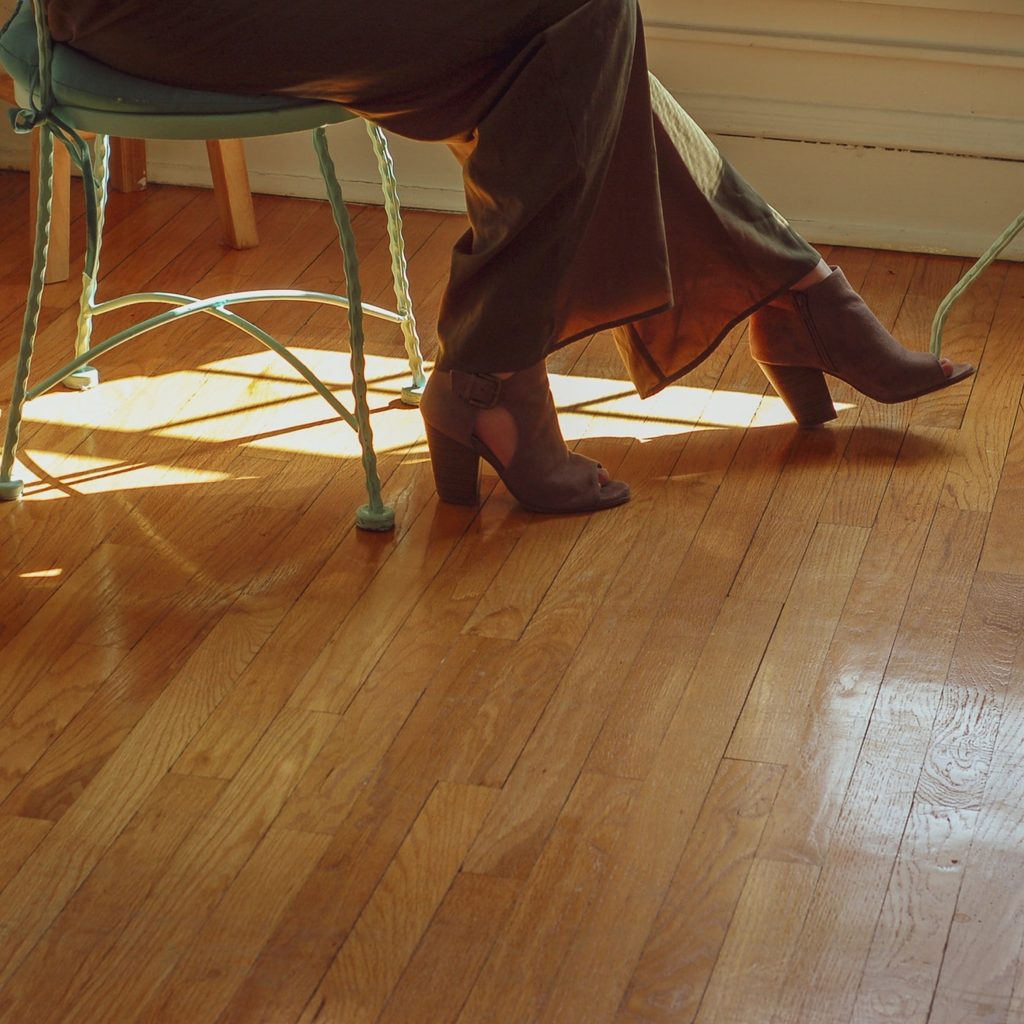
Natural wood floors are a timeless look that’s simply gorgeous. While they last a long time compared to other types of flooring, wood floors can easily lose some of their luster if damage to the material is left untreated. To prevent your beautiful floors from starting to look worn, dated, or unkempt, it’s a good idea to address even small imperfections as soon as possible. The good news is, there are some easy fixes you can perform on your own. We’ll walk you through some of the most common damages and how to fix wood floors so that you can maintain the charm of this classic look for years to come.
Common wood floor repairs
The most common damages to wood floors happen with regular wear and tear, and they are small enough damages to address on your own if you have any level of DIY capabilities. You can do most of these repairs with a combination of wood stain, wood putty, and a sander.
Scratches
Wood is fairly durable, but it can get scraped up easily over time with the amount of walking and moving around that happens on your floors. After a few years, you’re bound to see some scratches thanks to moving furniture, dropped items, and even debris on your shoes. For light, minor scratches, you can use a wood floor restoring product like this one from Weiman. Be sure to clean the floor thoroughly with a cleaner that’s appropriate for use on wood floors. If scratches are a bit too deep for this fix, you’ll need to sand down the area until the scratch disappears. Then, re-stain the wood.
Be sure your floors are cleaned completely before applying any products to them. This will help to prevent further scratching from debris left on the floor. Also, it’s a good idea to test on a smaller area to be sure the color and sheen of the product match the rest of your floor.
Larger scrapes and gouges
For larger, more noticeable gouges and scrapes, you’ll likely need to fill the flaw in with wood putty. Once dried, you can sand down the putty so that it’s level with the rest of the floor, and then apply a stain that matches the floor.
Cracked planks
Over time, the individual planks on your wood floor can crack due to moisture level changes and even dropped objects or heavy furniture. If the cracked wood is bad enough, you may be better off replacing that particular plank with a new one. However, for smaller splits, you can use wood putty to fill the area and then sand and stain the area.
Worn down areas
Worn spots of wood floors typically appear in areas of your home that tend to have higher traffic. A worn-looking area is essentially an area where the wood’s stain has been rubbed off after repeated contact. To repair a worn floor, you need to re-stain the affected area to bring it back to life. Again, be sure to test any new staining product for color and sheen match on a smaller area before applying it to the larger worn spot.
Loose plank
A wood plank on your floor can occasionally be knocked loose or wiggle free from its place over time. If you find a loose plank, you can nail down the plank against the subfloor underneath. Keep an eye out for more loose planks, though, as a reoccurring issue with looseness could indicate an issue with the original installation.
Preventing damage to your wood floor
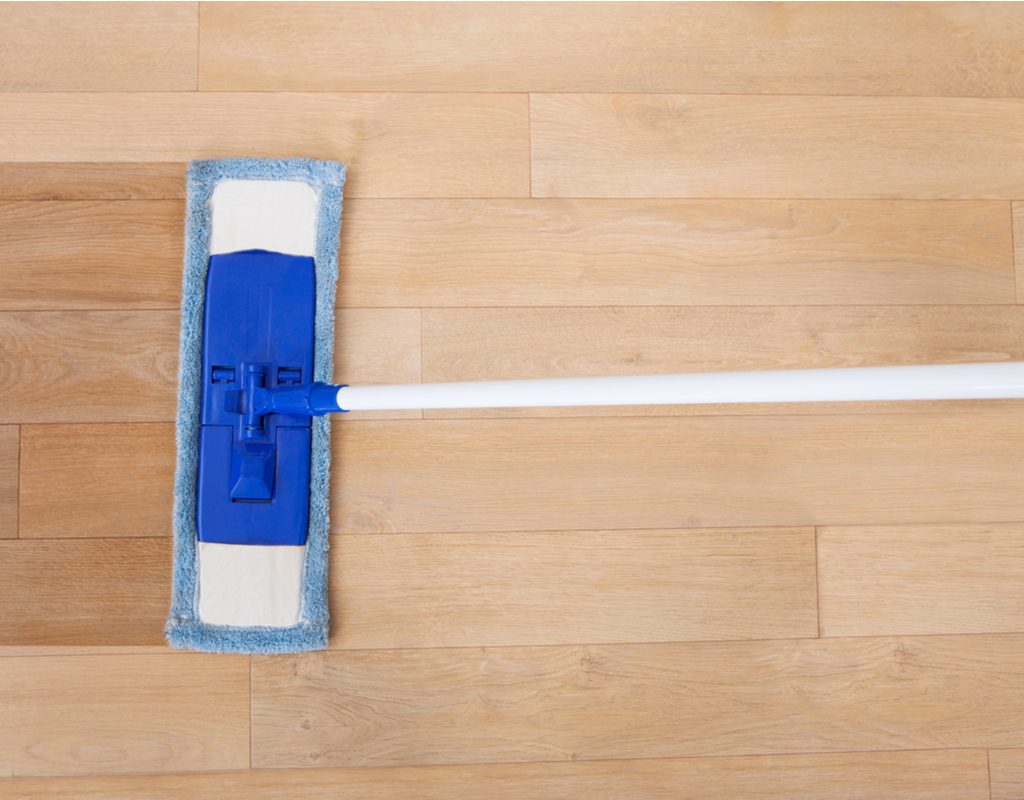
The most effective method for preventing damage to your wood floor is to keep it as clean as possible at all times. Even a fairly small amount of dirt and debris on your floor can easily scratch up your beautiful wood. Be sure to clean with a product that’s specifically formulated for wood floors, like Bona Hardwood Floor Cleaner. Standard floor cleaners can strip the wood of its stain or finish.
When to call a professional
It would be great if you could fix all your wood floor damages on your own and save some cash, but there are some situations in which it will actually be safer and more economical in the long run to call a professional in to help. Some of these more serious damages indicate an underlying problem such as excessive moisture or improper installation.
- Buckling
- Warping
- Cupping
- Significant gaps
- Multiple loose planks
The breathtaking aesthetics of wood is certainly unmatched in the world of quality flooring. Your wood floors are an essential piece of your home’s character, and they should be cared for, maintained, and repaired properly to lengthen their lives. Proper cleaning can also go a long way in keeping your hardwood floors stunning and free of flaws.


