
How to create a gorgeous vertical garden

Whether you’re an avid gardener with sizable garden beds filled with tasty treats or a simple city dweller looking to obtain a green thumb, vertical gardens may be the way to spruce up your outdoor space and take your gardening to a whole other level.

Vertical gardens are a fantastic solution to liven up ordinary garden spaces or take advantage of limited square footage in your yard, patio, or balcony. They’re a versatile way to grow plants of all kinds, allowing anyone to garden nearly anywhere. We’ll discuss the benefits of vertical gardens for every plant lover and then offer a few methods to transform your garden into an efficient, stunning setting.

vertical garden with plants on shelves
Image used with permission by copyright holder

Why you need a vertical garden

Vertical gardens don’t have to be left to the pros. Whether you have an expansive backyard or a tiny apartment balcony, you can take advantage of vertical gardens to help renovate your space and begin reaping the harvest of your new plants. Below are some of the benefits to having a vertical garden.

Recommended Videos

Saves space

The greatest advantage of vertical gardens is their ability to save space. It’s not uncommon to organize inside your home to eliminate floor clutter and provide more room to move around. Why should the outdoors be any different?

As their name suggests, vertical gardens allow growers to plant in a way that encourages plants to grow upwards. Doing so eliminates the need for large grow-beds or excessive space for potted plants.

Transforms your curb appeal

Another allure of vertical gardens is how they can transform your curb appeal. A vertical garden adds interest to your landscape by drawing the eye upwards rather than horizontally across your yard. For devoted gardeners, this can elevate the beauty of your garden by creating a more dimensional effect.

Best for vine plants

If you intend to grow vine plants like beans, tomatoes, cucumbers, or grapes, a vertical garden not only appears beautiful but also serves the function of supporting your plants as they grow. Efficiency is just as important as appearance, and vertical gardens certainly offer the proper stability to encourage vine plants to grow.

Types of vertical supports

If you’ve decided that a vertical garden is just what your outdoor space needs, you may be wondering what options are available to you. Thankfully, there are several ways to include a vertical garden in your space.

Teepees

Teepees are aptly named, coned-shaped garden supports perfect for growing beans, peas, tomatoes, and peppers. They often consist of three to five angled wooden stakes, tied at the top, with wire caging around the structure to offer additional support to plants. Teepee vertical structures can range in size from a mere three feet to six feet in height, making them a great addition to many gardens varying in size.

A-frames

If you’re looking for something larger that offers more stability with a similar framework, a-frames offer a great solution. A-frames are built with two wooden stakes angled towards one another at either end, with a longer wooden piece joining the two ends at the top.

A-frames often have multiple smaller stakes angled in the middle of the frame or a wire cage attached at the ends to offer support for growing plants. While this vertical garden isn’t ideal for smaller yards or apartment settings, it can be a stunning addition to larger, more established gardens.

Fence trellis

Perhaps one of the most common types of vertical gardens is the fence trellis. There is something to be said about the mystical, alluring look of vines weaving up a beautiful wooden fence. Gardeners and backyard entertainers alike have found fence trellis’ to increase their landscape’s interest while also providing adequate support for luscious greenery.

Fence trellises are easy to assemble and provide a long-lasting opportunity for gardens and plant growth. There are several styles, sizes, and frames to choose from, so you’re sure to find something that blends in seamlessly with your space.
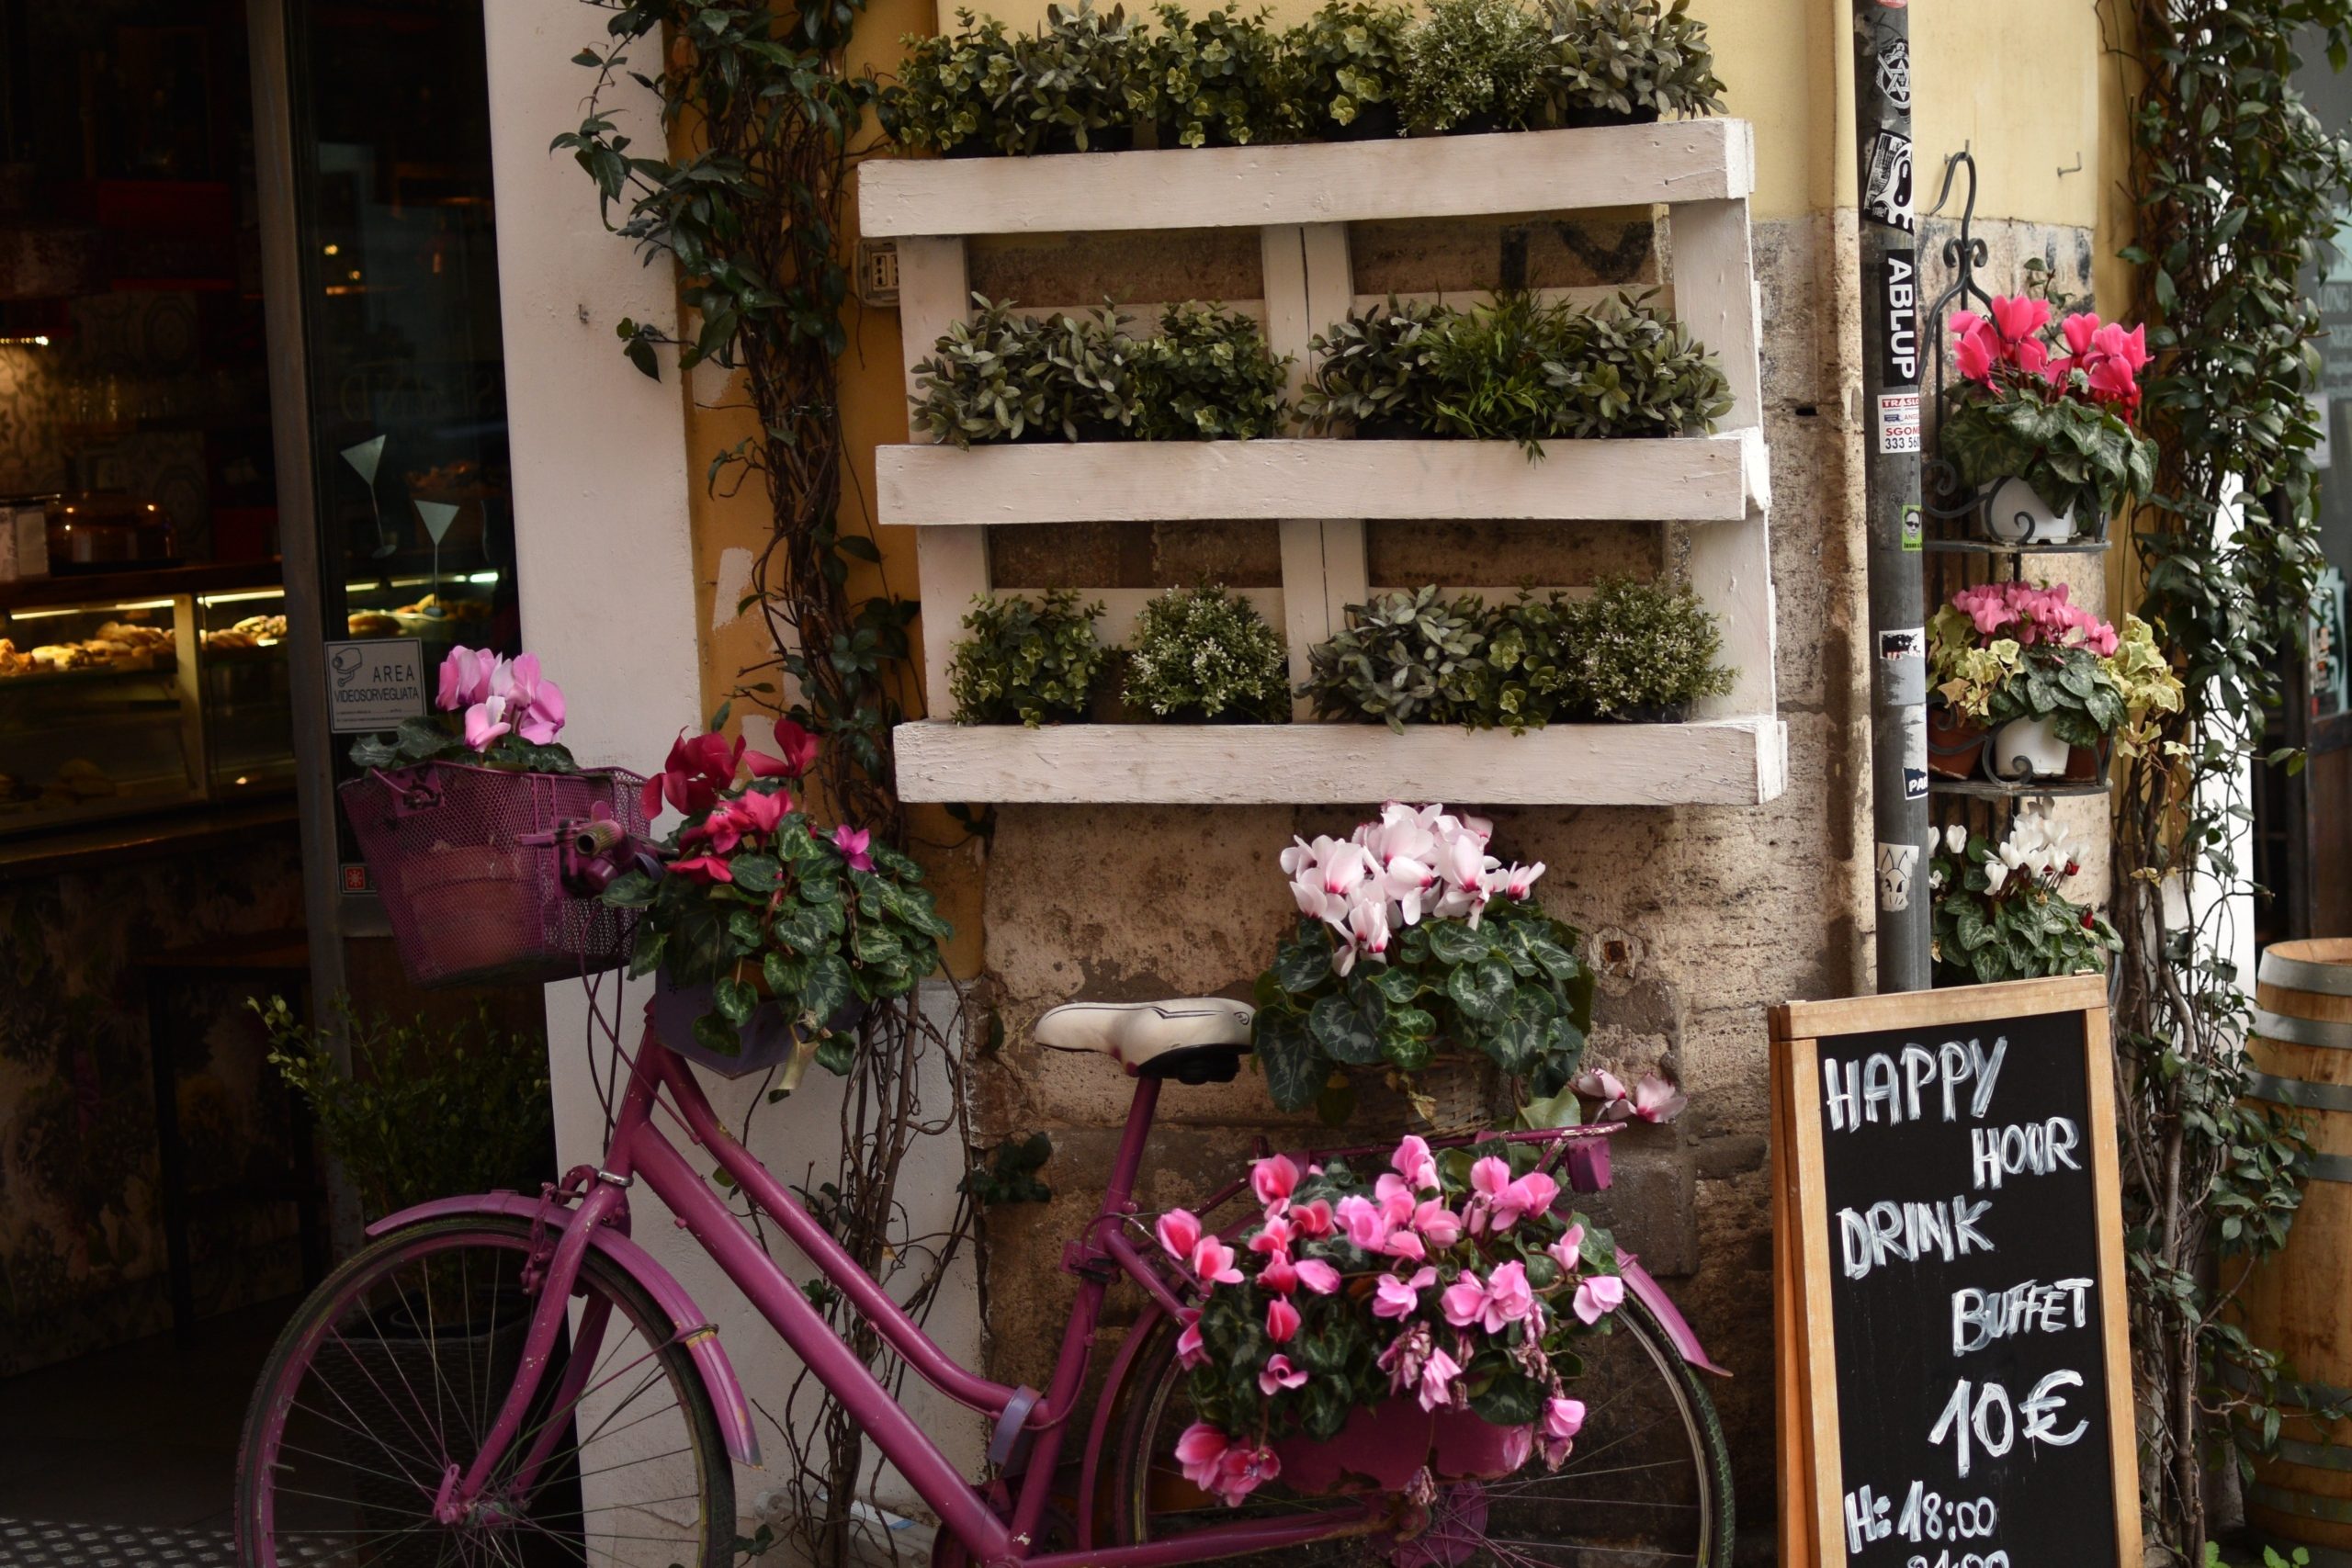
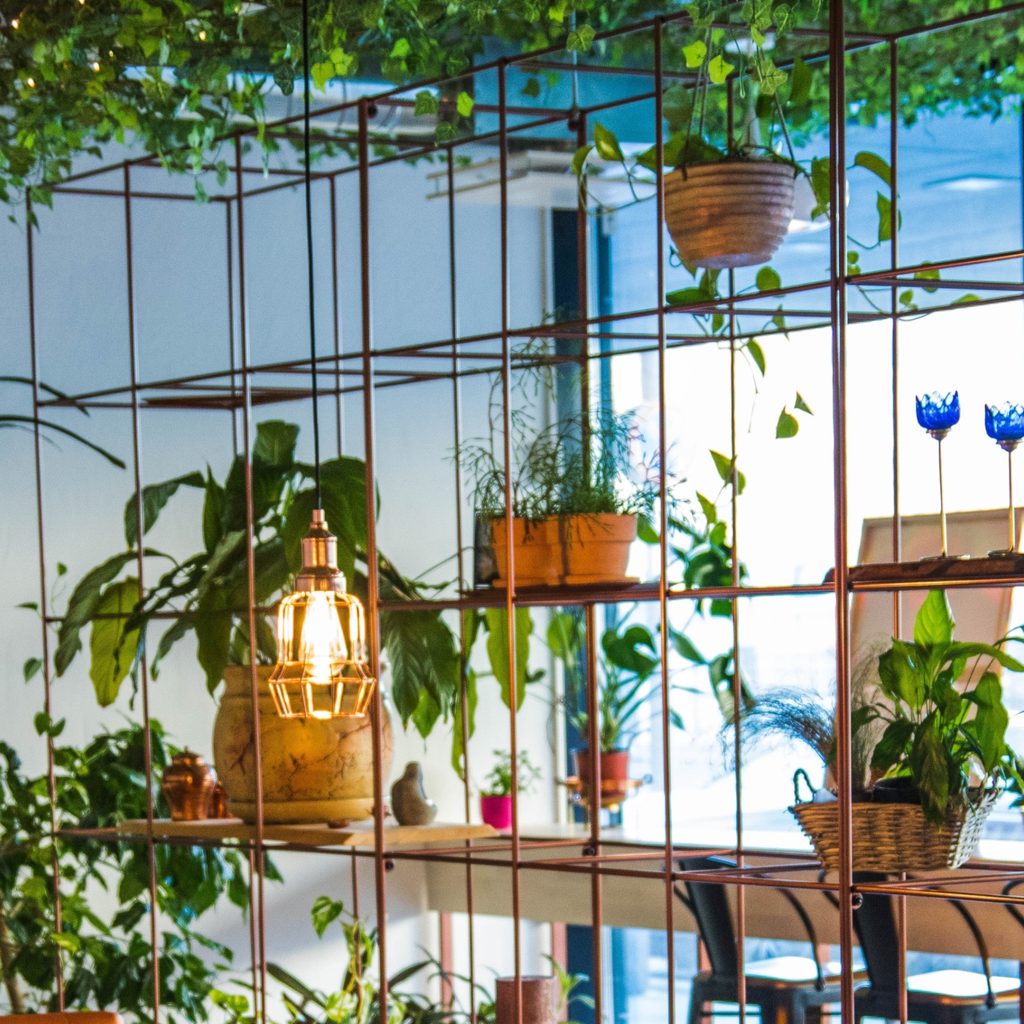
vertical pallet garden repurposed
Vicknes Vinayak Veerappan/Pexels

Garden wall

Recently, garden walls have become quite the showstopper of any backyard or patio landscape. Garden walls are comprised of many different materials. The most common garden walls are often made of a wooden frame stacked with wooden crates to hold plants of all shapes and sizes. Alternatively, it is not uncommon to see DIYers utilize wooden pallets to simulate the garden wall aesthetic.

The best part about garden walls is that they are easy to build and allow growers to plant more than just vine plants. If you want to grow strawberries, peppers, or aesthetic hanging plants, garden walls are a must.

Whether you go the DIY route or choose to find the perfect pre-made garden wall, you’re bound to walk away with a unique and gorgeous vertical garden setup to enhance your garden’s functionality and efficiency by creating a space-saving, attractive solution that is sure to impress guests and delight your eyes every time you step outside. Whether you opt for supports listed in this article or choose to utilize supports not mentioned like arbors, tripods, or hanging baskets, you’re sure to find a solution suitable for your home.

Editors' Recommendations

Amelia Wilson
Amelia Wilson (author pen name Amelia J. Wilson) is a content writer in Greenwood, IN. She often enjoys topics on…
Avoid a huge fire risk in your home: How to clean your dryer vent
Use these tips and tricks for a safer, more effective dryer
Outside dryer vent

A clean home can cultivate peace and kick stress to the curb, but it can be difficult to keep up with those often-neglected areas of the home. The laundry room is one of those areas, but it's also a space that's downright dangerous to neglect. In fact, FEMA reported that clothes dryers cause around 2,900 fires in residential buildings every year, resulting in widespread damage, serious injury, and even death.

However, you can prevent catastrophe in your home by cleaning your dryer regularly. If you don't know where to start, don't worry. We’ll walk you through how to clean the dryer vent so your laundry room and your home will be both clean and safe.
What you need
Before you begin, gather these items:

Read more
How to clean glass shower doors the right way (say goodbye to streaks)
The natural way to get a sparkling, clear shower door — without all the chemicals
Shower with a glass door

Glass shower doors add a touch of elegance to any bathroom, but they can quickly lose their sparkle because of soap scum, grime, and pesky streaks. Fear not! With the right cleaning techniques and a few simple ingredients, you can restore your glass shower door to its pristine condition. Let's explore effective methods for how to clean glass shower doors without leaving behind streaks.
What is the best thing to use to clean glass shower doors?

When it comes to cleaning glass shower doors, you have two primary options: DIY natural cleaners or commercial glass cleaners. DIY solutions are often cost-effective and environmentally friendly, while commercial cleaners may offer convenience and specialized formulas for tough stains.
White vinegar and dish soap for cutting grime
For a powerful yet natural cleaning solution, mix equal parts white vinegar and water in a spray bottle, adding a few drops of dish soap. Spray the solution onto the glass surface and let it sit for a few minutes to loosen the grime. Then, scrub gently with a sponge or microfiber cloth and rinse thoroughly with water. However, exercise caution when using vinegar on surfaces like natural stone, as it can cause damage.
Baking soda and dish soap instead of vinegar solution
If you prefer to avoid vinegar, a mixture of baking soda and dish soap can also effectively tackle grime on glass shower doors. Create a paste by mixing baking soda with a small amount of dish soap, then apply it to the glass using a sponge or cloth. Scrub gently in circular motions, focusing on areas with stubborn stains, before rinsing thoroughly.
Lemon and lemon oil to kick streaks to the curb
Harness the power of citrus to banish streaks from your glass shower doors. Simply cut a lemon in half and rub it directly onto the glass surface, focusing on areas with visible streaks. The acidic properties of the lemon help dissolve residue while leaving behind a fresh, citrusy scent. For added protection against future water marks, lightly coat the glass with lemon oil after cleaning. Your glass won't streak again for a long time!
Tips for keeping your glass shower doors clean and streak-free

Read more
How to remove stripped screws without any hassle
Unlock our best solutions for this common DIY woe
Single screw pointed up on a wood surface

Stripped screws can be a frustrating obstacle that can easily halt the progress of your DIY building or repair project. However, with the right methods and a bit of patience, you can tackle this problem effectively. Let's explore the various techniques for how to remove stripped screws, ranging from simple tricks to more advanced solutions for those severely stripped screws.
How to remove stripped screws: Initial methods to try
Here are a few simple methods to employ when the screws aren't too much of a problem.

Remove the screw with pliers
One of the simplest methods involves using a pair of pliers. Grip the head of the screw firmly with the pliers and slowly turn it counterclockwise. Apply steady pressure to prevent slipping and gradually loosen the screw from its position.
Use the rubber band method
If the screw head has enough grip left, place a rubber band over the head before inserting the screwdriver. The rubber band fills the gaps and provides extra friction, enhancing your grip on the screw. This method works particularly well for smaller screws like those on old wood furniture or screws with shallow stripping.
Try using a different screwdriver
Sometimes, the head of a stripped screw may still have one or two slots that can accommodate a different type or size of screwdriver. Experiment with various screwdrivers in your home toolkit, such as switching from a Phillips to a flathead screwdriver or adjusting the size of the screwdriver to fit the remaining slots.
Next steps: Take your removal method up a notch
Here, we have some more advanced options when the job isn't so simple.

Read more