
The irregular spacing of flagstone has a certain casual charm about it. Even new flagstone seems to have a sort of worn and comforting look about it. It just looks inviting and appealing. There are some tricks to doing a DIY flagstone patio, but it’s not as difficult as you may think. And even doing a small area can be a great “refresh” to a yard that needs a boost.
What is flagstone?
Flagstone is the generic term for flat stone cut in square or rectangular shapes. It usually has a thickness of between 1 and 3 inches and can also come in irregular shapes. It has great do-it-yourself (DIY) appeal because it can be used for pathways or to finish off irregularly-shaped areas in the yard.
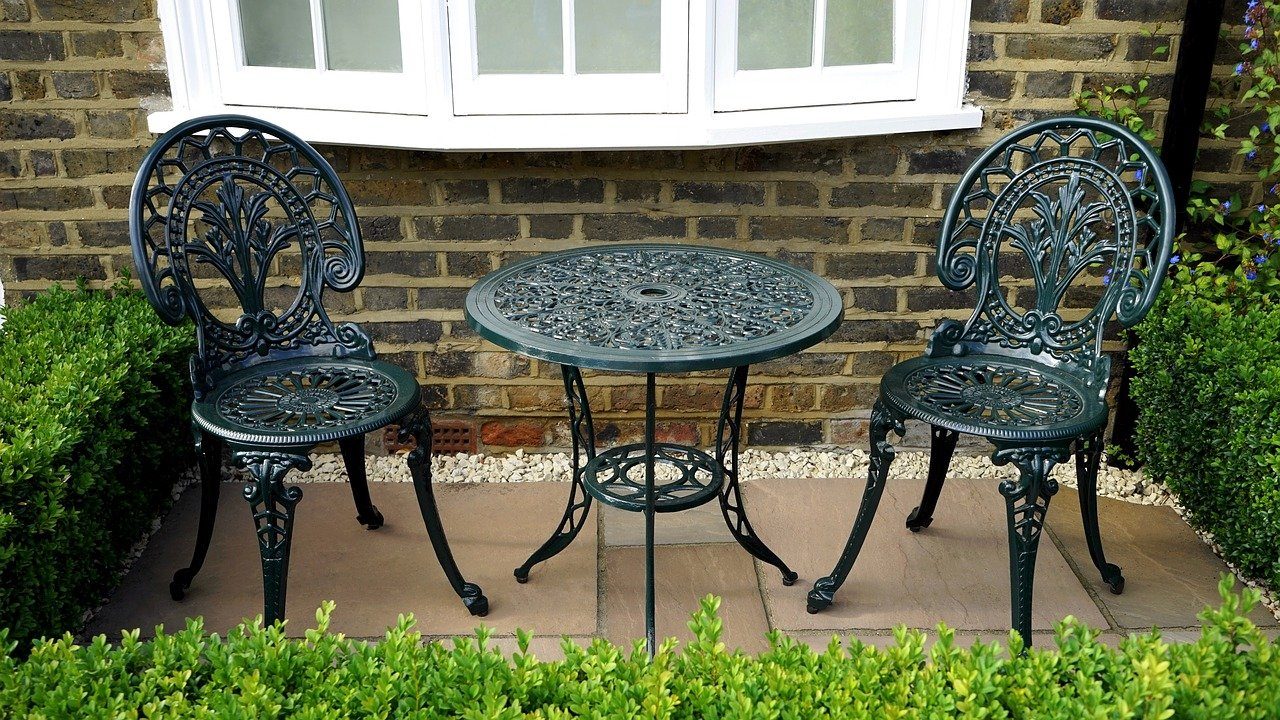
The slightly rough texture offers good traction, making it perfect for a path, and if care is taken during installation, it can provide a flat enough surface to set up a cute space with an outdoor cafe table and some chairs.
While pavers and bricks require cutting if doing an irregularly-sized area, flagstone can be installed like putting a puzzle together.
The most difficult part is putting it down to make sure it fits and then picking it back up again to prep the area and install it.
If you are using it as stepping stones or you’re “flooring” an outdoor area, it should be at least 1.5 inches thick to avoid cracking.

Design your space
Similar to designing a bricked area, you do need to dig an area out. Always make sure you have utility and any other underground lines marked before you dig. You will need to go about 10 inches down, so think about avoiding tree roots even if that shaded area is appealing.
Remember, too, that you will be transporting materials to the area that you are doing your DIY flagstone patio. Some areas may be harder to get to than others.
You can make your space curved or curvy and irregular, or try to set a circular pattern with larger pieces on the outside and smaller pieces of flagstone in the middle.
If you are doing a path — and who doesn’t think a flagstone path is just about the most charming thing ever in a yard? — here are some measurements to remember.
The path needs to be between 30 to 36 inches wide for one person to comfortably walk along and about 48 inches for two people to walk side by side. Now, this might be important to think about: It needs to be between 50 to 60 inches wide to accommodate the average riding lawnmower.
You will need to dig out the area, lay down about 6 inches of gravel, tamp it down, and then cover with landscaping fabric.
Installation options
One of the main decisions to make before the installation of your flagstone patio is mortar versus sand. After you put down the Buy at Amazon , you are going to put down sand to raise the area up to a depth that will put your stone at grass level.
If you are setting an area that you want smooth, like a floor, or you want a tidy look on your path, then you want to do concrete and mortar. Eventually, in 10 years or so, you will have to repair the mortar, so keep that in the back of your mind.
If you are doing concrete and mortar, you dig the area out, lay down gravel, pour concrete to raise the level, set the stone, and then mortar in the areas around the stone. Use landscape edging around the edges. It is flexible enough to use even if you are doing a circular or curved space.
Work end to end instead of one person starting at each end and meeting in the middle because you will end up with an area in the middle that will be tricky to fill in with the flagstone, even if you’ve laid out the entire space beforehand.
If you’ve fallen in love with a certain color of flagstone and it is thinner than 1.5 inches, then setting it in concrete and using mortar is your best bet to prevent it from cracking when you walk on it.
Sand and ground cover
If you are using sand, use landscaping fabric over the gravel layer to raise the stone to grass level. Do buy the correct sand. It should be Buy at Amazon which contains silica. It won’t wash away over time, and moisture will activate it, so over time, it will bind to the flagstone. Set the flagstone in sand that you have wet down and then pour sand on top and sweep it into the cracks. Wet and repeat, wet and repeat.
A third option is ground cover between the flagstones. Put a layer of dirt on top of the sand to raise the flagstone to ground level and, after consulting a garden center, plant low-growing plants. This will soften the look of the entire area, but it may take a year or two for the plants to fill in. A really cool option is to plant herbs like thyme so walking on the path will perfume the area.
A DIY flagstone patio is affordable and charming. It takes some planning, but if you like putting puzzles together, a flagstone patio will be easy.


