
Poorly maintained driveways become unsightly and even dangerous over time. Cracks, heaving, and broken pavement are all serious trip hazards. Additionally, the wear and tear only accelerate from there, as the open surface is more sensitive to weathering and deterioration. Replacing a driveway will set you back between $2,000 to $6,000, and you’ll have to have to put up with the headache of the construction process. Prevention is key here: It pays to take care of the driveway you have.
A well-maintained asphalt driveway should last about two decades, while one made of concrete should remain functional for a half-century. Luckily, driveway maintenance is fairly easy and relatively inexpensive. Most projects, such as sealing and crack repairs, are simple fixes that homeowners can do for themselves within the span of a weekend.
DIY or time to hire a pro?
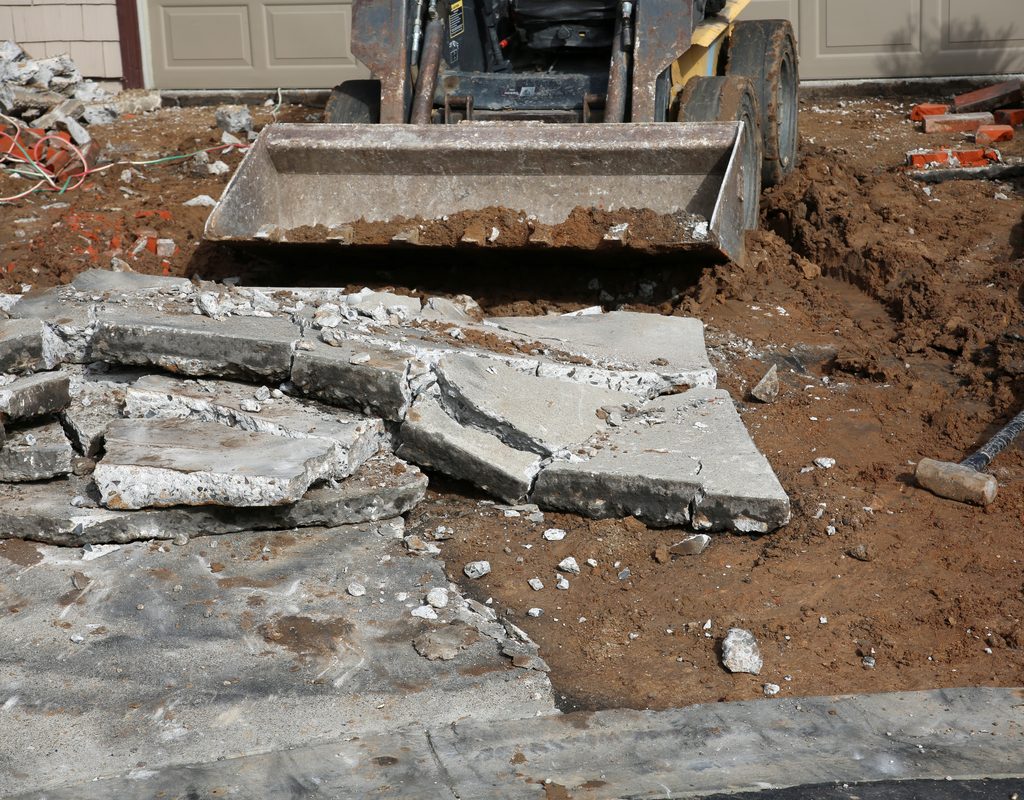
A crumbling, heaving, or sunken driveway is a major problem. For these issues, hire a professional. Odds are, you’re in need of a total replacement. These types of projects require expert knowledge to address all of the variables that led to the driveway’s demise, from tree roots to erosion and beyond.
Preventative maintenance and basic repairs are DIY-level projects that many homeowners can tackle. Protecting your driveway involves small, regular tasks such as cleaning, sealing, and maintaining the edges. Even with the best maintenance, cracks may still pop up from time to time. If addressed early, driveway crack repair can be a simple DIY project, requiring a handful of materials from the local home improvement store.
How to know if it’s time to repair a driveway
Time and condition will tell you when it’s time to repair the driveway. While you should seal the surface regularly, plan to tackle other repair projects on an as-needed basis.
Driveway surface sealing
Conventional concrete and asphalt driveways rely on their impervious surfaces to hold up against weathering. When water intrudes, the driveway becomes subject to the damaging freeze-thaw cycle that causes spalling and cracking. To keep water from penetrating the material, periodically reseal the surface. Most concrete driveway sealants last up to five years, whereas asphalt driveways require resealing in three-year intervals. To check if your driveway is ready for a new seal, pour some water on it. If the water beads nicely, the material is well sealed. If not, it’s time for a repair.
Small cracks
Concrete or asphalt cracks that are only a half-inch wide or less can be repaired in just a few minutes with a caulk gun and either a concrete crack filler or asphalt sealant. Simply apply the product directly into the crack to prevent water intrusion and further expansion.
Asphalt can sometimes crack in a thin network or spiderweb-like fractures. Instead of caulking, close these off with a mop-on asphalt sealer. It’s a more efficient way to seal all the cracks, and you can apply it quickly and easily without heat.
Large cracks
To fill wider cracks, those that are more than a half-inch wide, you’ll need a filler rod, rope, or tubing that will fill the void. Simply fill the crack with a piece of foam backer rod, then seal with an appropriate crack filler. For asphalt repairs, lay down a filler rod and melt it into place with a heat gun.
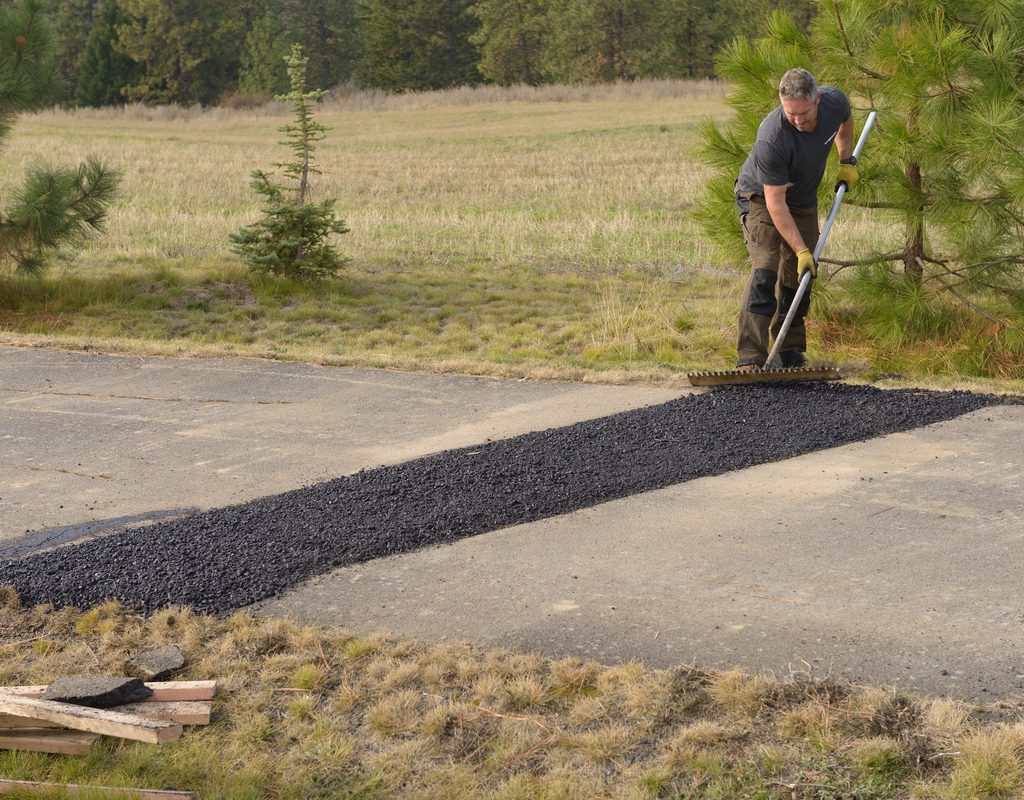
Potholes
Repairing potholes is often a job for the pros, but homeowners can tackle the less serious occurrences. First, clean out the crumbly material down to a sound base. Ensure that the ground beneath the damage is sound, filling and compacting as necessary. Use asphalt patch to fill holes in blacktop driveways. For a concrete driveway, just mix up a batch of regular concrete. After the concrete patch cures, seal the perimeter with concrete crack filler to keep moisture out.
Concrete spalling
Flaking or crumbling concrete surfaces exhibit a condition called “spalling.” Driveway spalling often results from excess moisture in the concrete mix at the time of installation, rainfall on the new concrete, or poor finishing. Small areas of spalling just need a product like Quikrete Re-Cap Concrete Resurfacer to contain the flakiness. To begin, clean and prepare the surface according to product directions. Then mix and apply the resurfacer with a squeegee to create a smooth, new surface.
Petroleum stain removal
Oil and grease stains ruin the appearance of the driveway, and they can also eat away at the sealant and compromise the surface integrity. In the event of a petroleum leak or spill, don’t wait to clean it up. Use kitty litter to absorb the bulk of the material, then apply a waterless microbial cleaner to safely eliminate the stain.
Prevent small driveway repairs from growing
Don’t wait for a surprise. Inspect the driveway at least once a year to uncover small issues and fix them before they lead to more costly repairs. Regular maintenance is key here, so repair small issues as they arise, direct runoff away from the driveway, use caution during snow removal to prevent chipping, and keep the surface clean and weed-free.
Though the task may seem daunting, driveway repairs are mostly DIY-friendly. Regular inspections and preventative maintenance are simple tasks that eliminate surprises and keep the driveway looking its best.


