
Your water heater is a crucial item in your modern home. There’s little that’s as unpleasant as taking a cold shower because your water heater is malfunctioning. Caring for your water heater is important since you can both extend its life and put off costly repairs or replacements. Inspecting your water heater a couple of times a year for rust, corrosion, and leaks is a good start, but did you know you should also empty your water heater periodically? We’ll walk you through why and how to empty a water heater to extend its life as well as save you some cash and sanity.

Why you need to drain your water heater
Water contains minerals and sediment that can build up in your water heater’s tank over time. This buildup can interfere with your water heater’s operation, clog up the drain, and it can also make your water heater work a lot harder than it needs to. This leads to increased energy costs and maintenance or replacement being necessary earlier than you’d planned. Good water heaters tend to last close to 10 years before needing major repairs or replacement, but mineral buildup shortens that time significantly.
How often do you need to drain it?
It’s recommended that you drain your water heater and clear out mineral buildup and sediment collection once every one or two years. Well water is known to be higher in sediment and mineral content, and some cities’ water sources are higher in content than others. If this is the case for your water, you may need to empty your water heater’s tank more often. If you notice that your water is taking longer to heat up, it’s not getting as hot as it used to, or it’s not staying hot as long as it should, chances are your water heater is overdue for a flush.
How to drain a hot water heater: Step-by-step
It may sound like a daunting task, but you can actually drain your water heater in a few simple steps with minimal tools required. Just be sure to follow the instructions in your water heater’s manufacturer’s manual for optimal safety precautions. We’ll walk you through the steps with some safety guidance and some instances where you should get a professional involved.
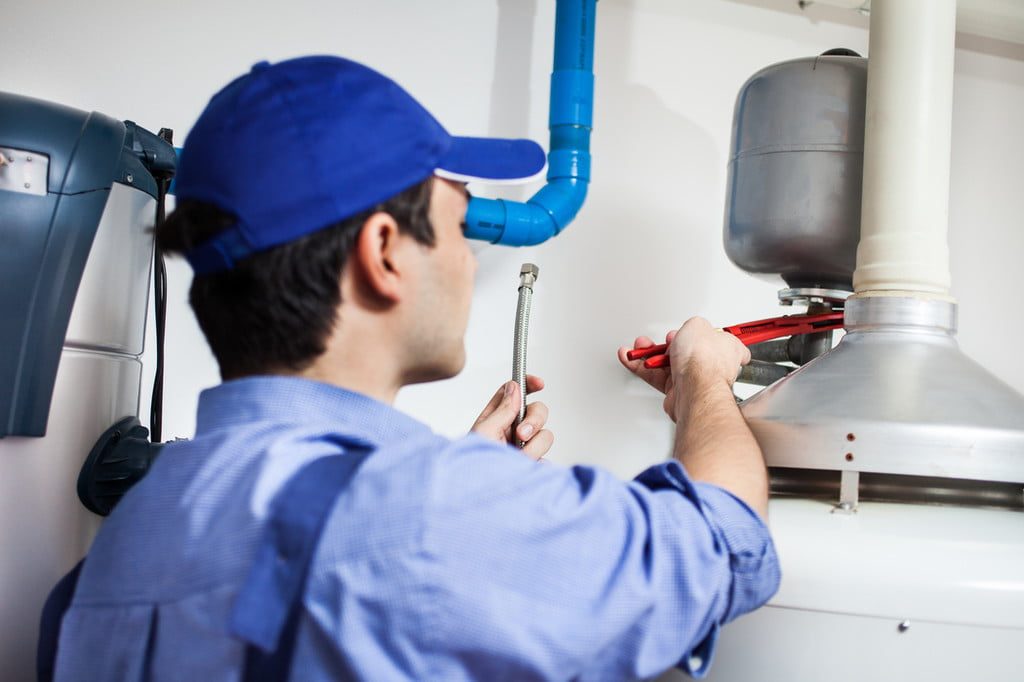
Turn off the water and power supply
You can stop water from reaching your water heater by closing the cold water supply at the top of the unit. Then you’ll shut off the power to the water heater. If it’s gas-powered, turn the gas knob to “pilot” to turn off power to the unit. If you have an electric water heater, you’ll need to visit the main panel of your circuit breaker and shut off the power supply to the unit from there. At this point, the water in your water heater will still be boiling and will need to cool for several hours before it will be safe for you to drain the water. It’s a good idea to leave the water to cool overnight.
Hook up a hose
Your water heater is equipped with a drain valve, so locate the valve and attach a hose to it. You can use a regular garden hose for this step. Point the other end of the hose to where it can be appropriately drained, such as your basement’s floor drain, large buckets, or even out into your driveway if your hose is long enough.
Turn on the tap
Find the closest hot water faucet and turn on the hot water, leaving it running during the draining process. This will allow the water to drain easily from the water heater since pressure will be released from the system.
Open up the drain valve
Now comes the draining. Locate the drain valve and open it up using any tools required according to the unit’s manual. If the water struggles to drain, sediment build-up may be clogging the drain, and it might be best to call a professional. If not, allow the tank to empty completely, watching the color and cloudiness of the water as it drains. Then turn on the cold water supply to the tank for a few seconds. This will break up any sediment and mineral buildup that’s remaining at the bottom of the tank. When the water that’s draining appears to be clear, you have got all the gunk out.
Refill your tank
Close up the drain valve and disconnect your hose before turning the cold water supply to your water heater back on. At this point, run the hot water faucet until the water runs smoothly, and then turn off the faucet.
Restart the water heater
Once the water heater has filled with water, return power to it by returning the gas valve to its original position or turning the power back on at your circuit breaker. To avoid possible damage, don’t restore power to your water heater until the tank has completely filled.
While these steps may sound like the makings of a daunting project, draining your water heater is definitely something you can do on your own. It’s only a couple of times a year and takes only a few hours of work, but you’ll be glad you did it. With some simple tools and a bit of patience, you can keep your water heater in great working condition for years to come.


