
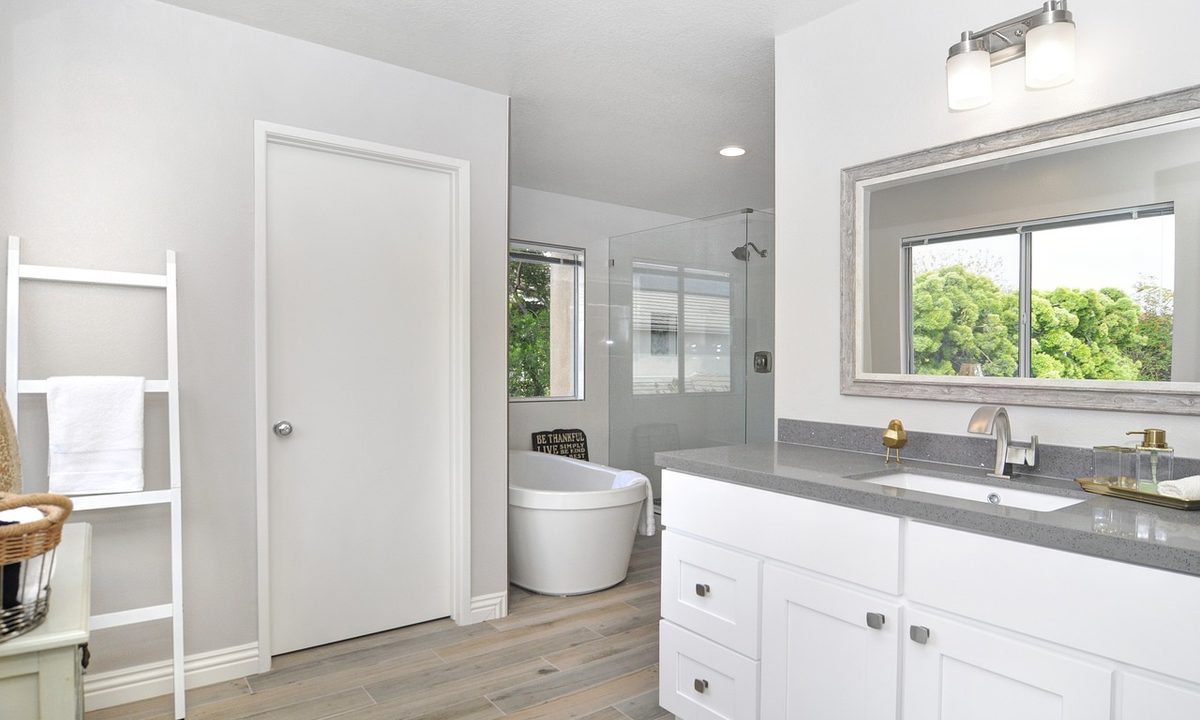
You want your bathroom to be a spa-like retreat, but it sees a lot of use throughout the week. While it’s best to freshen as you go to prevent a build-up of dirt and grime, sometimes it just needs a deep clean. The thought of diving into the sink, toilet, and shower can be a bit overwhelming, though, especially at the end of a long week.
Take a deep breath — there’s no need to fear. By tackling your dirty bathroom in stages, you can clean your bathroom, from top to bottom, in 20 minutes flat. We’ll walk through all the tips and tricks you need to scrub your bathroom and still have time left on your podcast.
How to clean a bathroom: Step by step
In general, it’s best to clean your bathroom in stages. First, apply cleaning agents that need to sit for a few minutes. While they soak, start on the least germy areas and work your way to the filthiest spots. Leave your bathroom floor for last since cleaning other areas may result in dust and dirt falling onto the floor.
What you’ll need
- Rubber cleaning gloves
- Paper towels or washable rags
- Scrubber sponges
- Toilet brush
- Toilet cleaner
- All-purpose cleaner with bleach
- Window cleaner
- Tile cleaner/mildew remover
- Broom
- Mop and bucket
- Floor cleaner
Before you clean
- Spray down your tub or shower with soap scum and mildew-fighting spray. Let it sit.
- Pour toilet bowl cleaner along the insides of the bowl all the way up to the underlip and let it sit.
- Remove any items from your countertop and the top of your toilet tank.
Easy-breezy: Mirrors, windows, and countertop
- Spray windows and mirrors with window cleaner and use a paper towel or streak-resistant rag to wipe them clean.
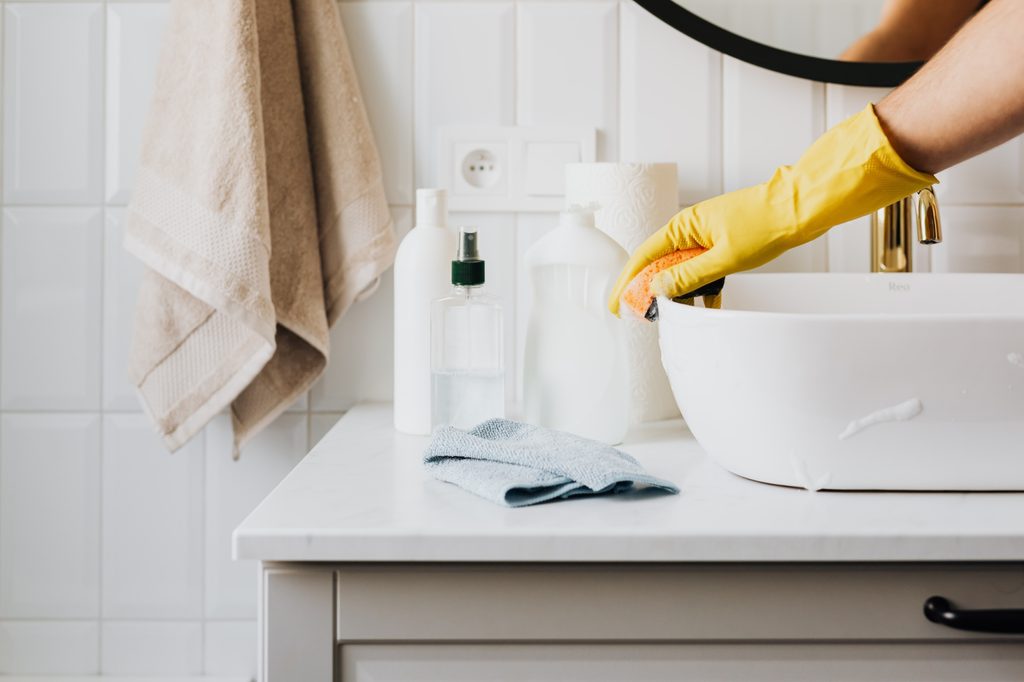
- Spray your countertop, sink bowls, and sink fixtures with a bleach cleaner, then wipe all the areas clean.
- Don’t forget to wipe down the underside of the counter’s edge.
Tackle the toilet
- Use a toilet brush to scrub the inside of the toilet bowl, paying special attention to the under-lip of the bowl. This is where mineral deposits and mold tend to collect.
- Spray all areas of your toilet (except the inside of the bowl) with bleach cleaner, from the top of the tank to the underside that meets the floor.
- Then, wipe it clean, starting with the outside of the tank, then move to the lid, seat, outer rim of the bowl, and finally, the outside of the toilet.
Make your shower sparkle
- Once the tile cleaner has set for 5 to 10 minutes, cleanse your shower using a scrubber sponge.
- Clean in a top-down direction, starting with the shower walls, followed by the shower fixtures, and finally, the tub.
- Turn the shower on and rinse all areas until no more soap runs down the drain.
Wipe out cupboards and storage closets
- Remove all items from the cabinets and bathroom storage areas.
- Dust shelves and surfaces with a microfiber cloth. Wipe them down with a damp cloth and a mild cleaner.
- Scrub any stains or grime on the interior with a gentle scrub brush or sponge.
- Use a dry cloth to remove moisture.
- Discard expired products and neatly return items to their places, using bathroom organizers if needed.
- Wipe the exterior of cabinets — including the top of the cabinet doors where dust often accumulates — for a spotless finish.
Final steps: The floor
- Use a broom to sweep your bathroom floor and remove all clumps of dust and hair.
- Spray floor cleaner onto the corners of the floor as well as around the area where the toilet meets the floor. These areas tend to collect a lot of grime over time, so spend a little extra time cleaning these spots with a scrubbing sponge.
- Fill a bucket with warm water and floor cleaner and mop the remainder of the bathroom floor.
Tips to keep a clean bathroom
- Keep the countertop clutter free and wipe it clean daily. If your countertop is full of clutter, chances are you won’t give it a wipe-down very often. Store all of your toiletries and cosmetics in drawers, cupboards, or wire baskets on the counter. Keeping your countertop clear makes it much easier to give it a daily clean.
- Store extra cleaning supplies in the bathroom. Make daily or weekly maintenance easy by keeping cleaning supplies stored close by.
- Buy a daily shower cleaner spray. These handy shower sprays are easy to use, and they keep your shower walls and curtain clean for longer. Simply give your shower a good spray after every use — you don’t even need to wipe or rinse the spray for it to work.
- Clean your toilet bowl daily. The inside of your toilet bowl gets gross pretty quickly. Keep it clean by scrubbing it daily with a few drops of toilet bowl cleaner and a brush. We recommend installing a daily toilet cleaner that releases a cleaning agent every time you flush.
- Use a disposable bag in the garbage can. Lining the garbage can with a disposable paper or plastic bag makes disposal quick and easy. Keep some extra bags stored in the bathroom so you remember to replace the liner.
Your bathroom is one of the most frequently used rooms in your home, which means it’s usually the first to accumulate dirt and grime. Cleaning the bathroom can be a daunting task, particularly if it’s been a while since the last good deep clean. By following this step-by-step guide and keeping up with daily cleaning habits, your bathroom can maintain its sparkle daily.


