
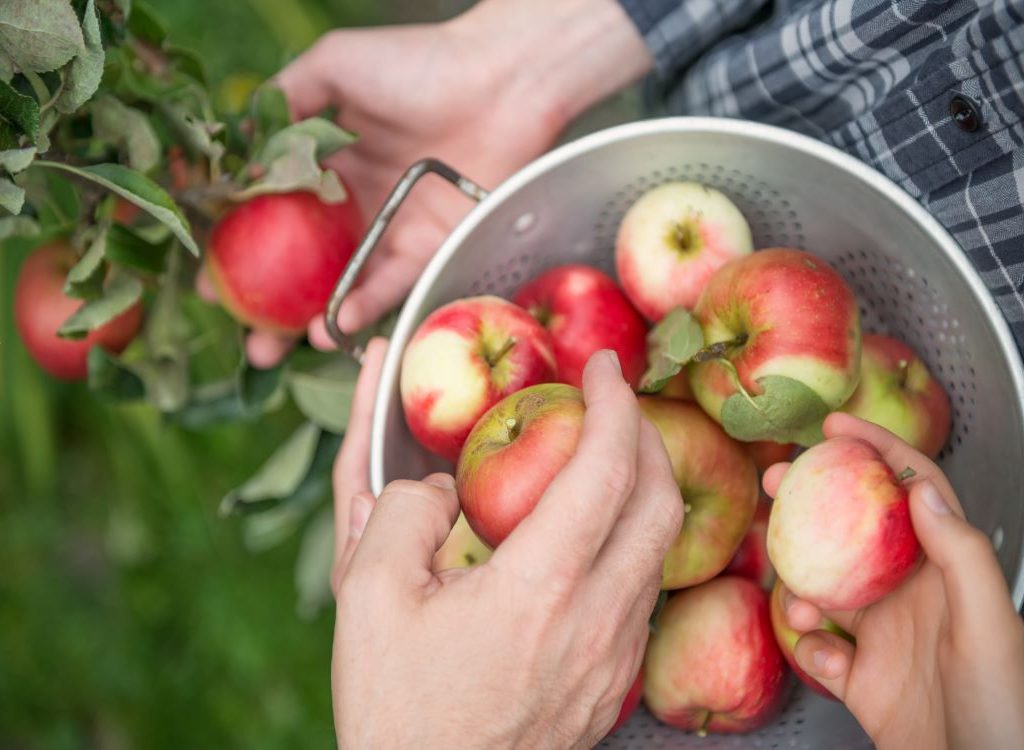
If you’ve ever ruled out growing your own fruit because you thought you didn’t have enough room — it’s time to reconsider that notion! Turns out that there are ways to grow fruit in a small space quite successfully, and we’ve got the master gardener tips to prove it. Fresh fruit lovers gather ’round and feast your eyes on what you need to know to start growing your own fruit at home!
Growing your own fruit at home, even if you have a small space
Depending upon which kinds of fruits you like, you can probably grow your own fruit at home if you learn and implement some new techniques. Fruits like blackberries, blueberries, strawberries, gooseberries, currants, nectarines, cherries, figs, peaches, grapes, kiwi berries, apples, pears, and plums should all grow easily in your limited space, according to world-renowned gardener Lucy Chamberlain.
Be sure when you set off hunting for fruit trees that you ask the nursery for the most compact varieties available. Some are naturally small and can fit into pots easily. Ask about dwarfing rootstocks as well; these can be grafted onto the trees’ roots in order to keep them from growing beyond a certain desired size.
Which fruit trees grow well this way?
As long as the climate you’re in works well with the tree (check that by looking up your USDA Hardiness Zone in this chart), several options of fruit tree should be possible. Empress of Dirt recommends apple, peach, apricot, nectarine, plum, cherry, fig, pear, currant, gooseberry, and tropical fruits (lemon, lime, guava, etc.), granted that the lighting is adequate, soil is well-drained, and space is sufficient. Blueberries, strawberries, blackberries, and other non-tree fruits work very well in pots, too.
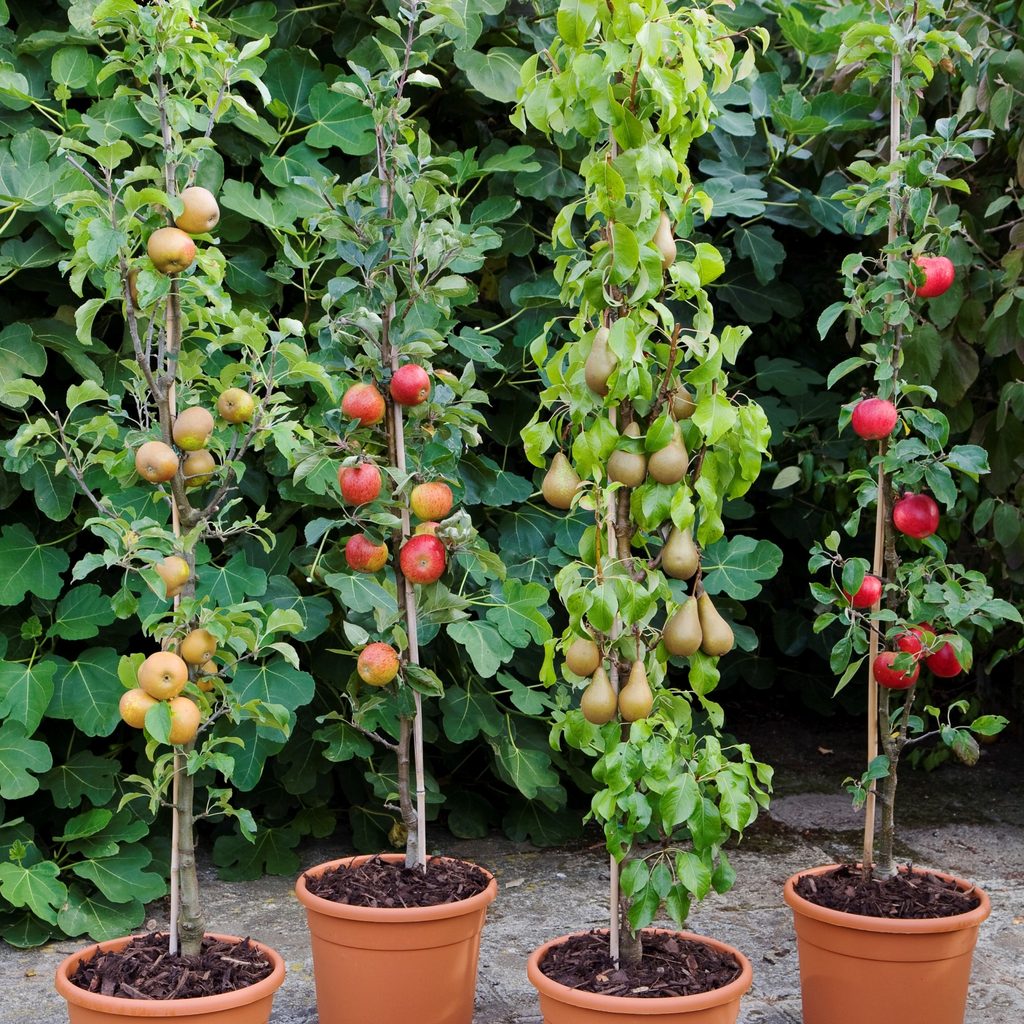
Below you’ll see apple trees and pear trees growing in plastic pots.
Sweeten them up with time in the sun
Where exactly should you set up your little fruit garden? Right in the the most sunlight, of course! Chamberlain explains that, “The sweeter the fruit tastes, the more sun it needs.” This means you should plant your sweet fruits in sunny spots where can they soak up the most sun possible; strawberries can grow up trellises, cherry trees can flourish in large pots placed in direct sunlight, and grapes can be draped over pergola or other types of sun-drenched archways. Plant them in full, direct sun — but do keep an eye on the younger, more fragile plants to make sure they don’t need a little shade cover to keep from burning. Water it all daily until well-established, and make sure you use well-drained soil.
Want to try something new? How about wall-training, or ‘espaliering’?
Want to get away from pots altogether? Fruits that grow on trees can be wall-trained as well, also called “espaliering” or “fan-training” in small spaces. While it may be new to today’s aspiring gardeners, this gardening method truly isn’t new at all. Some historical sources show that espaliering dates back even as far as 1400 B.C. when Egyptians discovered hieroglyphs of espaliered fig trees in ancient tombs.
Espaliering helps trees to grow right up against a wall in most cases, never growing more than approximately 9 inches away from the wall at any point. Espaliering trees will grow stretched out across the outer surface of walls, gates, or other vertical spaces, ensuring the sun can reach all parts of the tree evenly while keeping it confined to a very slender growing area to save space.
Which fruits grow best this way?
Apples, pears, peaches, and pomegranates wall-train easily, as long as the climate is well-suited. As previously stated, go for the dwarf varieties if available, and look into dwarfing root stocks as well. Also be sure to ask the nursery you’re visiting if their fruit trees are self-pollinating. If not, you might want to ask them for any suggestions about your getting a fruit tree (i.e. you may need more than one.)
See image below for an example of wall-training.

Consider vertical gardening for a space-saver as well
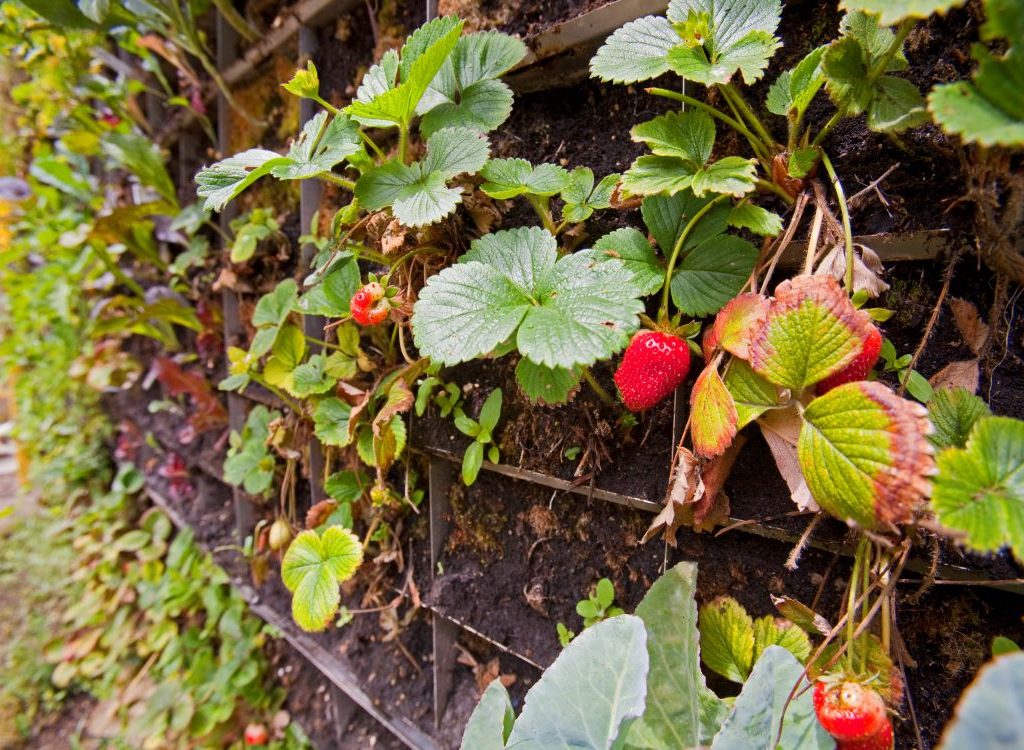
Other small-space gardeners have had good luck with vertical gardening as well. Fruits like strawberries, melons, kiwi, and herbs are best for vertical gardening. Vining fruits grow extremely well in vertical gardens. Plant these fruits, like strawberries and kiwis, at the top of your structure and let the vines trail down. Allowing them to climb a trellis works nicely too.
For some plants, like the kiwis, you’ll need a male and female plant in order to grow fruit, so keep that in mind as you plan your garden, and ask plenty of questions when you’re at the nursery. Strawberries do remarkably well in containers on a vertical garden, and should be planted in at least somewhat acidic soil and around 8 hours of sunshine daily.
The image below was taken of the Edible Garden Wall created at Skid Row by Urban Farming for the Weingart Center in downtown Los Angeles.
Now that you’ve had a chance to consider the option of growing your own fruit, hold onto this handy guide for the specifics on exactly what to do for each step. You’ll need to think about/decide how to:
- select your plants and decide whether you’ll order them by mail or pick them up locally
- choose exactly where on your property you’ll be planting
- pollination issues
- insect and disease control
- pruning and care of your trees/plants
Keep in mind you’ll want as much sunlight as possible for most of the fruits we discussed, but watch out for the younger plants to show signs of wilting; they may need to be covered part of the day. Well-drained soil, the appropriate hardiness zone, proper slope direction, and other issues will all be important to consider for healthy fruit to grow.
We hope you will enjoy getting started with growing your own fruit at home, and that you’ve found this information helpful. And when you’re successful at doing it, please do share your fruit widely and inspire others to grow their own fruits at home too. It’s a wonderfully healthy pastime for all communities!
*all images from GettyImages


