
Is there anything better than the succulent flavor of smoked meat? With the savory, woodsy taste infused into every juicy bite, smoking gives beef, pork, chicken, turkey, and even vegetables a distinctive flavor that’s unlike any other.
Learning to use a smoker effectively may take a little time, but the results will be well worth your efforts. You can find so many delicious smoker recipes featuring various marinades, dry rubs, techniques, and woods, each lending their own unique flavors and qualities to the food.
For smoker cooking, you’ll also find an array of recipes to try within specific temperature ranges. We’ve pulled together a few of our favorite recipes for when your smoker is at 225 degrees.
The 411 of smoker cooking
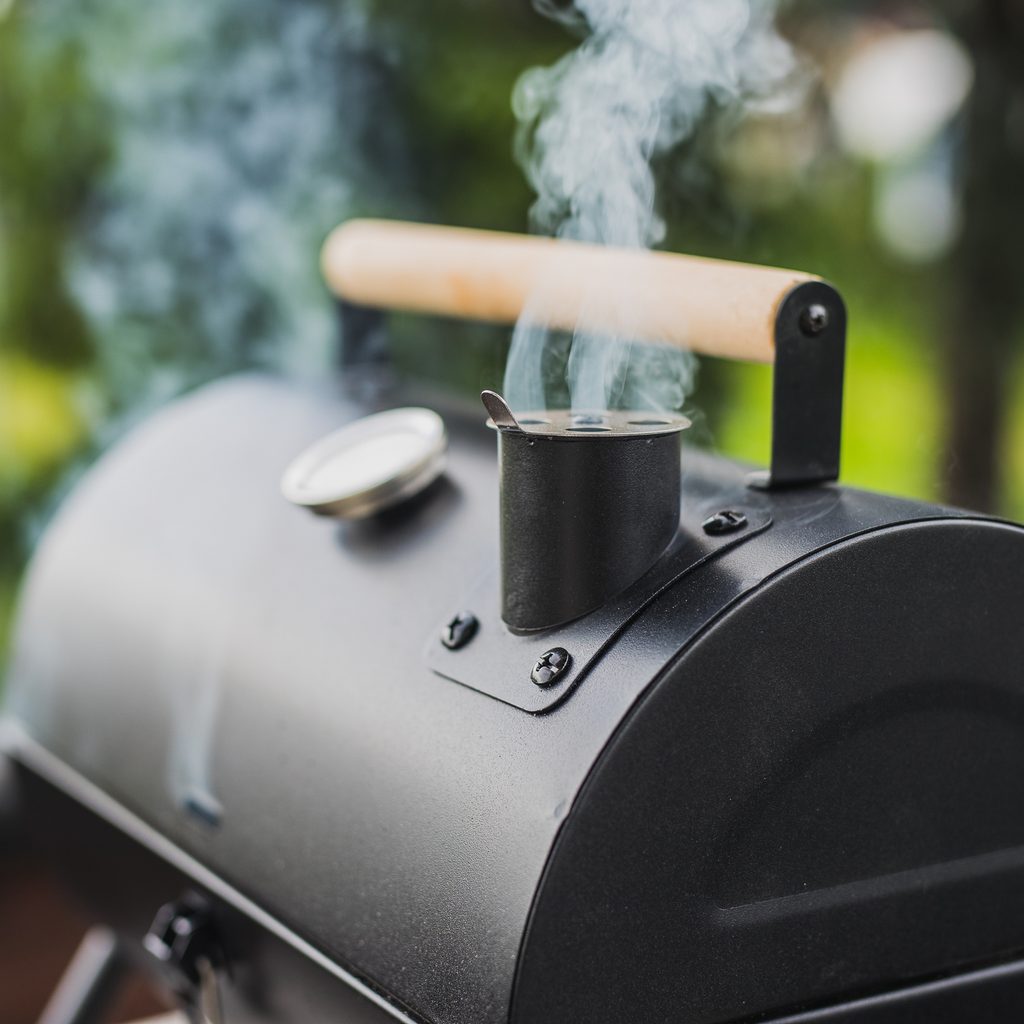
Cooking in a smoker is very different from cooking in your oven. For example, smoker recipes often provide a range of temperatures rather than a precise one, and smoker cooking is about low and slow, meaning the foods will cook at lower temperatures over longer lengths of time. The result will be flavorful, supremely tender and juicy meats with an outer “bark,” or crust, that is a real treat for your tastebuds.
In smoking, the doneness of the meat is always determined by the internal temperature, which is why you should get yourself a reliable meat thermometer before you attempt to make your first slow cooker recipe. Stick your thermometer into the meat when it feels done to the touch. To prevent puncturing the meat, you can opt for a thermometer with a remote or wired sensor. (Note: Never slice into the meat while cooking to gauge if the meat is done, as this could end up drying out the meat.)
Recipes to try when your smoker is at 225 degrees
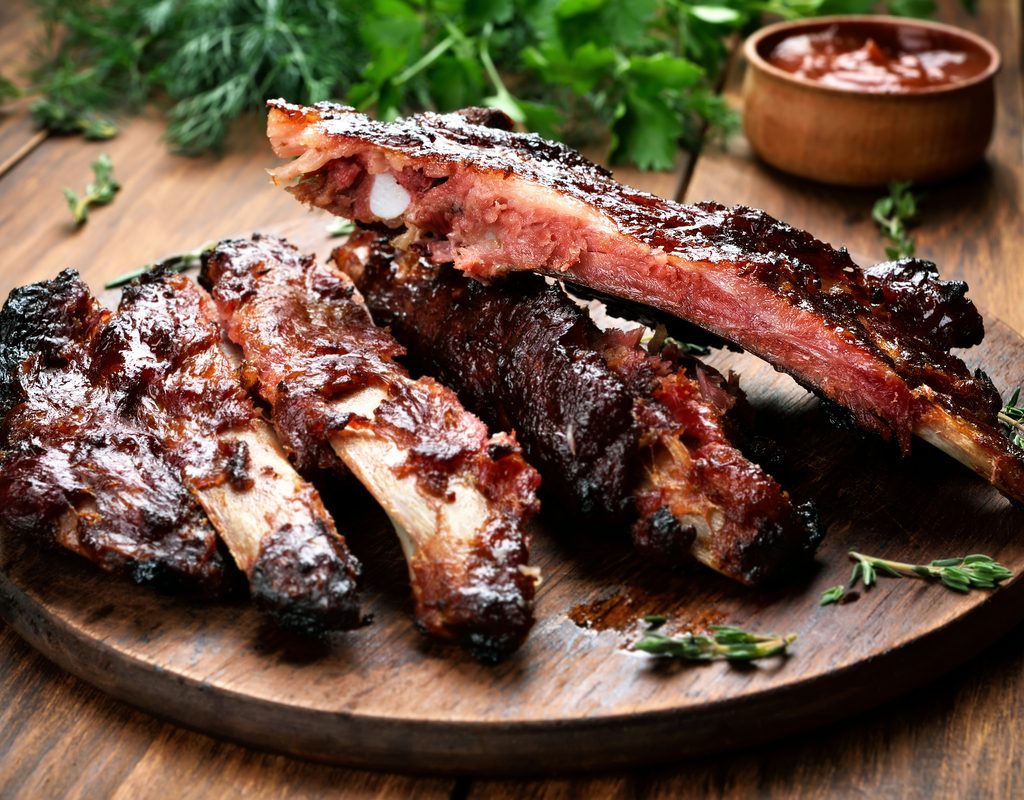
Smoked ribs (3-2-1 method)
Looking to make ribs that will literally fall off the bone? This is the recipe to try. It’s actually more about the cooking method than about the marinade ingredients (although the marinade is heavenly). You start with a dry rub, place the ribs on the smoker, and brush them with BBQ sauce before eating. The 3-2-1 method is foolproof, so even a beginner can make ribs like a pro.
So, what exactly is the 3-2-1 method? Simply put, it’s an easy way to achieve the most tender, perfectly cooked smoked ribs you’ve ever had! For the best results, remove the membrane on the ribs and coat with yellow mustard and your homemade dry rub the night before you plan to do the smoking.
- Smoke for 3 hours. Preheat the smoker to 225 degrees. Place the prepared ribs, bone side down, on the smoker for three hours. Spray with the apple juice mixture every 30 minutes (this will help to keep the meat moist and flavorful).
- Wrap for 2 hours. After removing the ribs from the smoker, lay the ribs on aluminum foil and pour the apple juice mixture and BBQ sauce into the foil. Fold the foil and seal it to ensure that nothing leaks out. Place the ribs back on the smoker for another two hours.
- Sauce and smoke for 1 hour. Take the ribs off the smoker and brush with more BBQ sauce. Place them back on the smoker — bone side down — and smoke for one more hour. Then remove them from the smoker, brush a final time with BBQ sauce, and serve.
Simple smoked brisket
Preparing brisket on a smoker can be daunting, particularly if it’s your first time. This recipe goes over every single step in exacting detail, so you’ll be sure to get it perfect. You’ll discover:
- The proper way to trim a brisket
- The perfect brisket rub
- Exactly how to smoke a brisket
- How to slice your brisket after it’s smoked
Smoked sides and desserts
Yes, you can smoke vegetables! After all, you’ll need some side dishes to go with all that delicious smoky meat.
When smoking brussels spouts, you’ll need to put them in a container to keep the moisture in; otherwise, they’ll become dry and inedible. You can create the perfect steaming containers with aluminum foil packets, or you can roast them in a lasagna pan covered in foil.
Easy to prep, packed with buttery, salty flavor, and able to toss on the smoker with whatever else you’re cooking, this is one smoked side dish that goes with just about any smoked main course.
Could this possibly be the perfect smoked dessert? We think so. Cobblers are super easy to make and so delicious. Top with a dollop of vanilla ice cream, and you’ve achieved dessert nirvana.
Once you master the basics — meat, of course — get ready to expand your smoker expertise to include a plethora of side dishes, desserts, and more. Smoking takes time and a bit of patience, but the results are always worth the wait.


