
When your plant begins to wilt, wither, or overextend itself beyond its pot, it usually means it’s time to transfer it to a new home. Repotting your plants doesn’t have to be stressful. If you take careful measures to protect you and your leafy friend, you can have a plant that lives for years to come.
Below is a step-by-step guide on repotting your favorite plants to increase their lifespan and create a healthier home that encourages growth.
Why you should repot your plants
If you’re wondering why or how to repot old plants, then you’re not alone. Many people aren’t sure what difference repotting makes for their plants. Here are a few reasons you should consider repotting.
Small pots stunt growth
As your plant grows, its roots grow as well. Small pots condense root growth and inevitably stunt your plant in the long run. This is because the plant requires its roots to be as close to the size of its above-ground portion as possible to ensure there is adequate water intake for survival.
If a pot is too small, the plant will stop growing to preserve its ability to survive. Stunted growth may not sound like an issue, but it could lead to death later on.
You could kill your plant
As we mentioned above, stunted growth due to a small pot is a surefire path to plant death. However, it isn’t just stunted growth that causes a hindrance.
As the plant grows, its roots soak up vital nutrients in the soil that keep it healthy and strong. Over time, the nutrients in the soil are depleted. Repotting your plant now and again re-introduces key nutrients to the roots, allowing your plant to thrive.
When to repot a plant
Believe it or not, repotting your plants is not something you should frequently do. The repotting process can put stress on the plant and cause damage to it or stunt its growth. You should only repot your indoor plants at certain points throughout the life of the plant, and the process should be carefully done to minimize stress.
After purchasing the plant
When you purchase a new house plant, wait several days to repot it. Give your new green baby some time to get accustomed to your home’s light, climate, and airflow before you put it through the stress of repotting.
After 12-18 months
As we mentioned, potted plants need their soil to be replenished occasionally so that they continue to soak up nutrients. It’s a good idea to repot every year or so, even if the plant isn’t showing signs of outgrowing its pot. This timeline will ensure that the soil around its roots is continually beneficial to the plant.
When the plant outgrows its pot
If your plant gets too big for its planter, it will eventually stop growing and possibly even start to yellow or wither. After you’ve had your plant for a while, you may notice some tell-tale signs that it’s starting to outgrow its potted home. Look for these signs and be ready to repot your plant into a bigger home soon after the signs start to show.
- Roots are growing out of the drainage holes
- The plant dries out more frequently than when you first got it
- You can see excessive amounts of roots amid the soil
- The top of the plant is tilting from being too top-heavy
- The plant’s growth has slowed or stopped
What kind of pot should you transfer to?
Consider the size, material, and drainage in your new pot. A too-big pot will make it so that water drains without reaching the plant’s roots. It’s best to gradually increase the pot size by 1 or two inches for smaller plants and 3 or 4 inches for larger floor plants. If your plant requires lots of water, pick a pot that traps moisture like plastic or ceramic. If your plant requires less water, a terra cotta pot pulls moisture away from the soil. Select a pot with drainage holes or use rocks at the bottom of the pot to help with drainage.
How to repot your plants
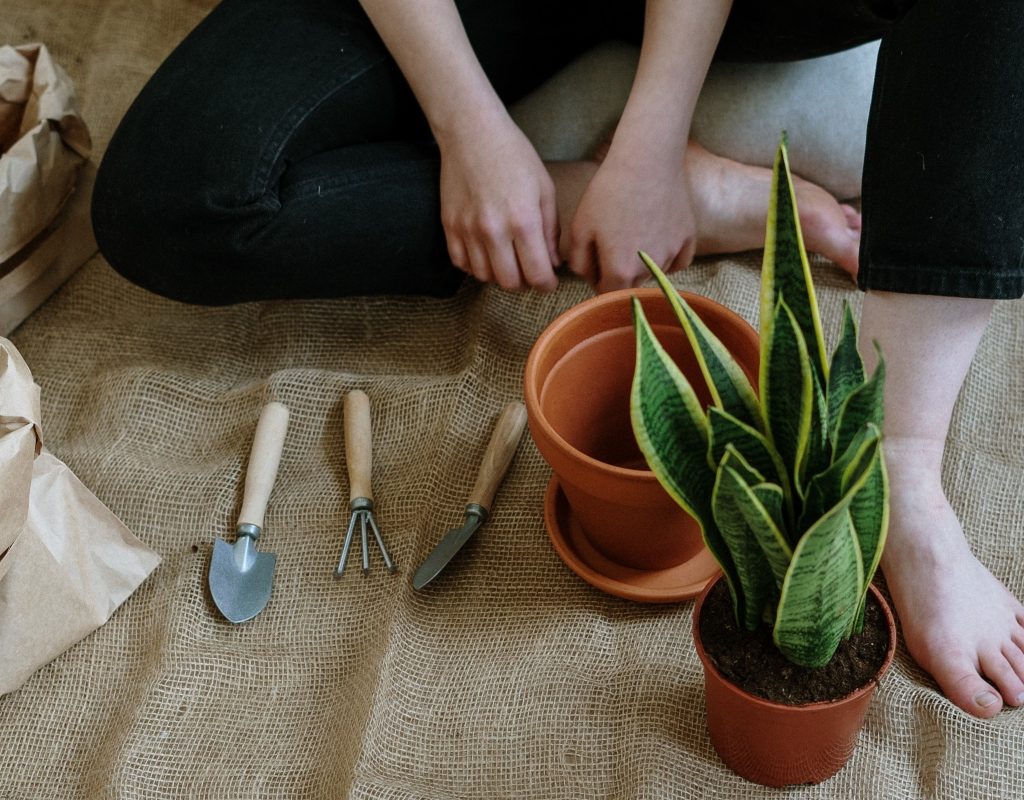
Before you begin repotting your plant, make sure you have all of the tools you’ll need.
- Your plant
- Fresh potting mix
- The old or new planter
The most important thing to remember when repotting your plant is to be gentle and take your time. You don’t want to stress out your plant or break off leaves and stems. Remember to act slowly and remain gentle with your houseplant.
Step one: Remove the plant
First, you’ll need to remove your plant from its old pot. Tilt the plant and pot sideways and hold the plant at its base. Be sure to hold the stems and leaves securely without adding too much pressure. Gently tap the bottom of the pot to loosen the plant. If you’re having trouble, gently tug on the plant to pull it out. It should slide out easily.
Step two: Remove old soil
Next, you’ll want to remove the old soil from the pot and the roots. Stretch out the roots if they are coiled together and trim any long ends. Be sure to leave the thicker, primary roots of the plant alone.
Shake off about one-third or more of the old soil and empty the pot. Your plant likely removed all of the valuable nutrients in the soil, so it’s best to clear it away to make room for the new potting mix.
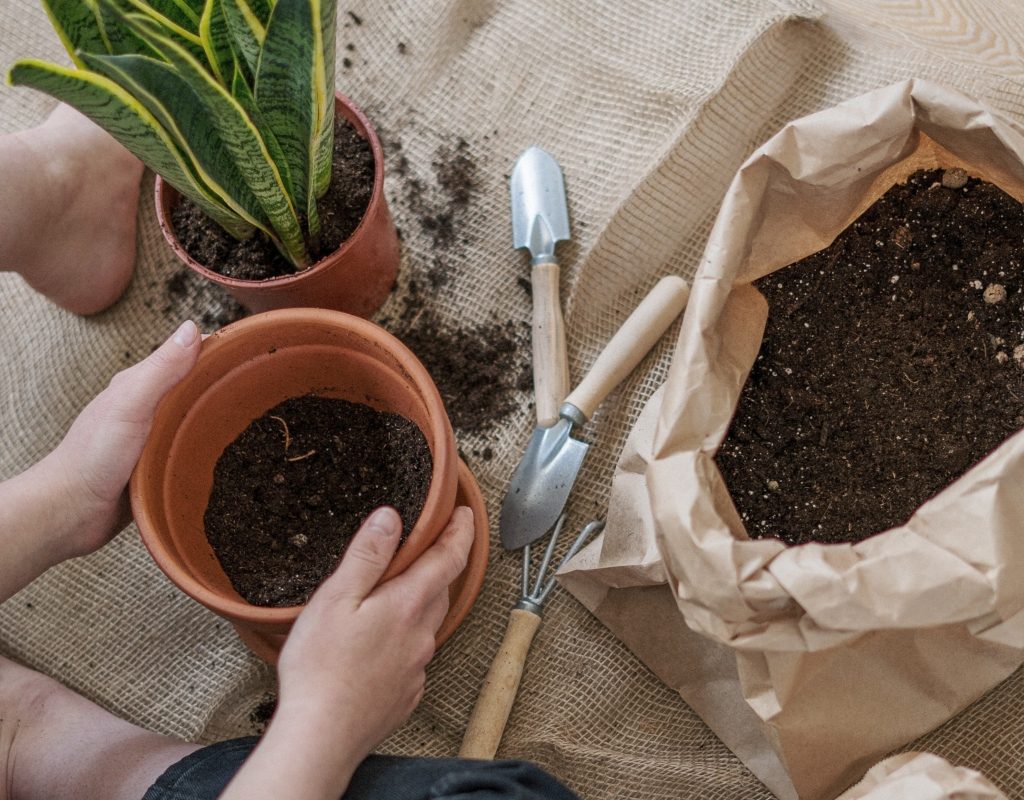
Step three: Add new soil
Now, you’ll add the new potting mix to the new or old pot. If your new pot doesn’t have a drainage system, lay down some rocks on the bottom to protect your plant’s roots from excessive moisture.
Step four: Add your plant
Add your plant to the new pot and top it off with the new potting mix. Make sure you secure the plant in the pot and do your best to keep it centered. You don’t need to add a lot of soil. Just add enough to keep the plant secure and standing upright.
Step five: Water
Finally, you’ll need to water your plant. Give it a thorough drink to moisten the new soil. Once you’ve watered your plant, place it back in its original location or recommended lighting and water normally.
Following these steps will ensure that your plant remains healthy and strong. Monitor your plant for any signs of stress like wilting or dying leaves. While this reaction is expected, it shouldn’t continue for weeks. If it does, examine your watering habits and ensure that you aren’t overwatering due to a larger pot. In time, your plant will grow accustomed to its new home and will grow and thrive as it should.


