
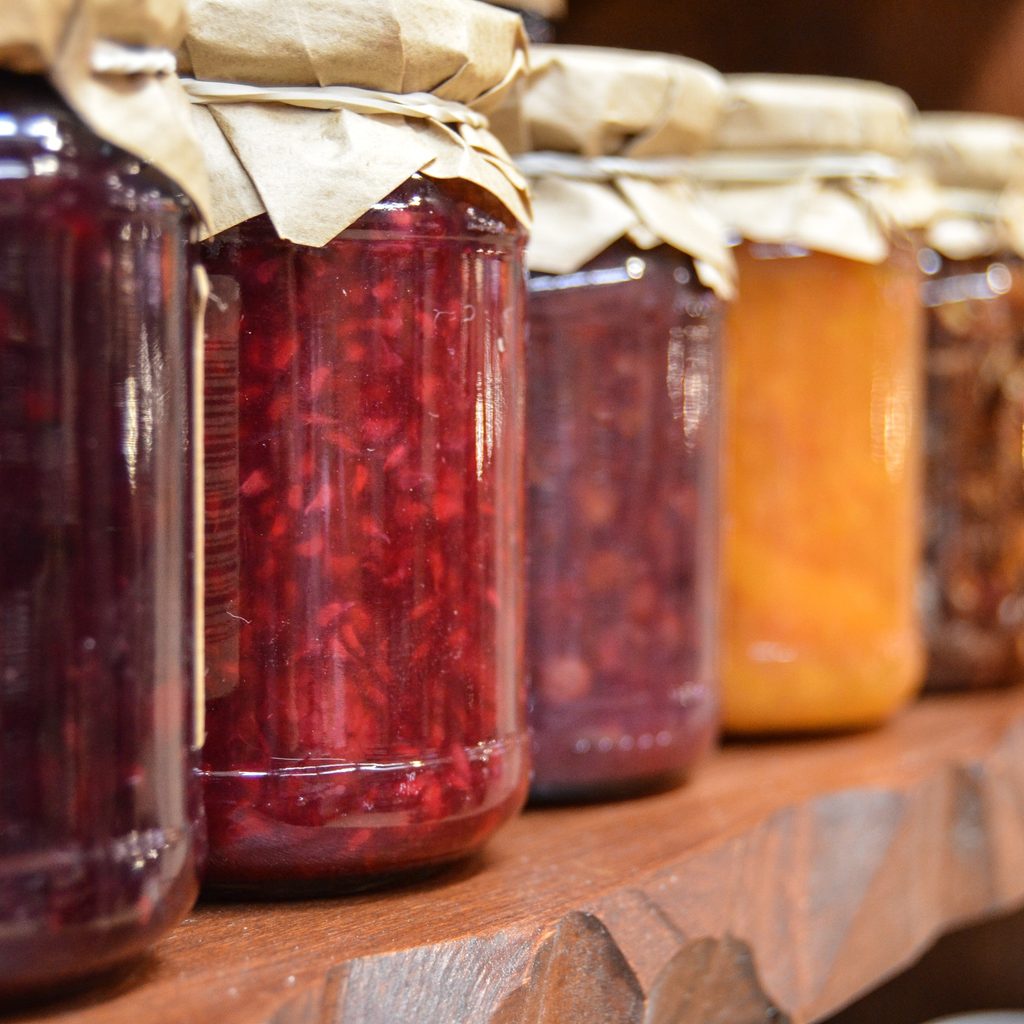
Food changes with the seasons, and the menus adjust to reflect in-season ingredients. When the weather starts to cool, typical summer foods like watermelon, fresh lemonade, and creamy cucumber salad give way to savory recipes for dishes like roast turkey, butternut squash soup, or a hearty south-western chili. To properly prepare your kitchen, you need to update your pantry for fall cooking.
However, cleaning out and organizing a pantry to make way for new ingredients may feel like an overwhelming task. Never fear, because, with a few tips and tricks, you can carefully and efficiently stock your cupboard with tried and true autumn staples that will last long after the first snow has fallen.
Measure your pantry twice
Measuring your pantry gives you a good idea of what size shelves, bins, and containers will best fit in the space.
This process should take a maximum of around thirty minutes, and all you need is measuring tape. Measure the depth and width, paying special attention to whether there are obstacles you’ll need to remove in order for the new shelves to fit. Write down all your measurements so you can reference them later when selecting your new racks.
Research and purchase your shelving
No rule says that you must update your whole pantry space and food stores all in one day. Take your time doing some research and perusing all of your options before settling on one. As you search for new shelves, we recommend checking out ContainerStore.com, Organize.com, or EasyClosets.com for high-quality, affordable pieces.
Make an inventory of what’s in your pantry
Overshopping is a surefire way to find yourself with a cluttered pantry, so before you purchase your fall staples, take stock of what you already have. Take a moment to write down everything you’ve got in your pantry, and organize it by categories such as:
- Canned goods
- Dry goods
- Grains
- Condiments
- Spices
During this time, make a note of the expiration dates as well. Throw out any expired food, and put the goods you’re unlikely to use in a separate container to donate to a food bank or other program.
Dump, sort, clean, and purchase containers
After you’ve done all your research on how exactly you’re going to layout your pantry, it’s time to work on your containers. Pull everything out of the pantry and set them on the kitchen table and counters.
Here’s a place where the categories you wrote down can come into play. As you go through your pantry, sort everything out by items that are alike. This will also help you determine how many containers you need and what size they should be. Once your pantry is empty, remove the old shelving if you intend to replace it. If you’re keeping the existing organization structure, begin an in-depth, good old-fashioned cleaning. Don’t forget to sweep the floor as well, as it often collects crumbs and other debris over the years.
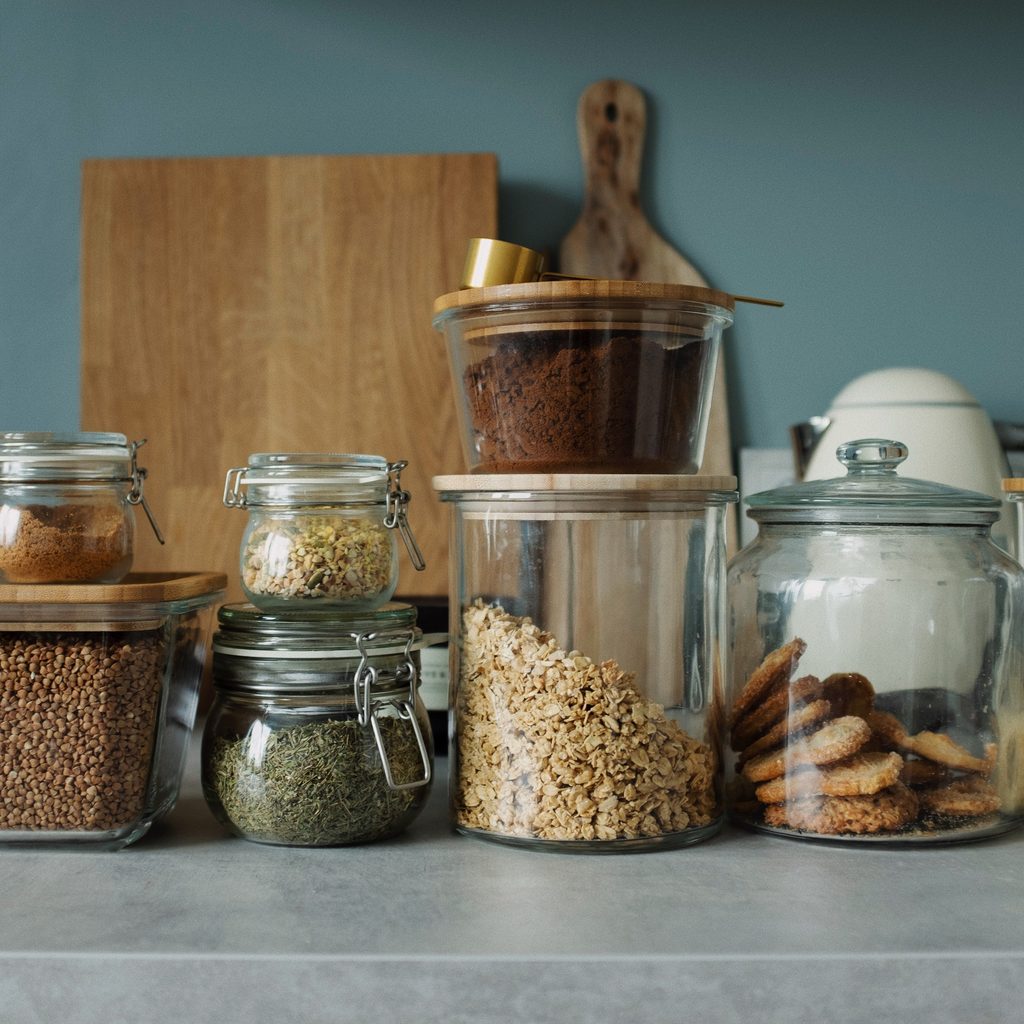
Now, it’s time to purchase containers. They don’t have to be expensive, but they do need to be tailored to your lifestyle and your space. Plastic transparent bins are helpful for collecting cans, whereas glass jars work well for baking ingredients like flour, sugar, oats, and the like. If you have young kids, make sure you invest in containers that are easy to access so they can grab their snacks whenever they need them.
Add to your pantry
Now that you’ve got plenty of pantry space and the means to organize everything, it’s time for the fun part. Head to the grocery store or local farmer’s market to stock up on traditional autumn fare.
While your grocery list depends on your palate, we recommend purchasing mustard, which goes perfectly with cold-weather foods like steak and chicken and gives balsamic vinegar dressing a slightly sweeter flavor. This is a very versatile ingredient, so try out different kinds including spicy brown, yellow, honey-dijon, and spicy brown.
Don’t forget to add all the ingredients you need for delicious autumnal stews, soups, and chilis, so stock up on packaged items like chicken or vegetable broth, stewed tomatoes, tomato paste, and canned beans. For produce, pick up some root vegetables like potatoes and onions, and finish it off with the best fall herbs and spices including rosemary, thyme, oregano, pumpkin pie spice, and cinnamon.
With everything stocked up for the fall, your kitchen is well prepared for the months ahead, be it large holiday celebrations or cozy family dinners.


