
Are you looking to add a touch of style and functionality to your living space? Curtains serve both practical and aesthetic purposes in a room. They not only block out light and offer privacy, but they also contribute to the overall decor. However, to achieve the desired effect, it’s crucial to hang your curtains correctly. From selecting the right size curtains and rod to choosing the appropriate mounting options, every step plays a crucial role in ensuring your window treatments look their best. Let’s walk through everything you need to know about how to hang curtains like a pro.
What size curtains should you have?

Choosing the correct size curtains is essential for achieving a polished look in your space. Curtains that are too short, too long, or an improper width can disrupt the balance of the room and detract from its overall appeal.
Curtain width
For example, the total width of your curtain panels should be approximately two times the width of your window. This ensures that when the curtains are drawn, they fully cover the window without looking stretched.
Curtain length
When it comes to length, your curtains should hang just above the floor. Curtains that are too short can make the room appear smaller, while those that are too long can create a messy, unkempt look. Additionally, curtains that pool on the floor collect dust and dirt easily. Aim to hang the top of the curtain between 4 and 6 inches above the top of the window frame for optimal aesthetics.
What size curtain rod should you have?
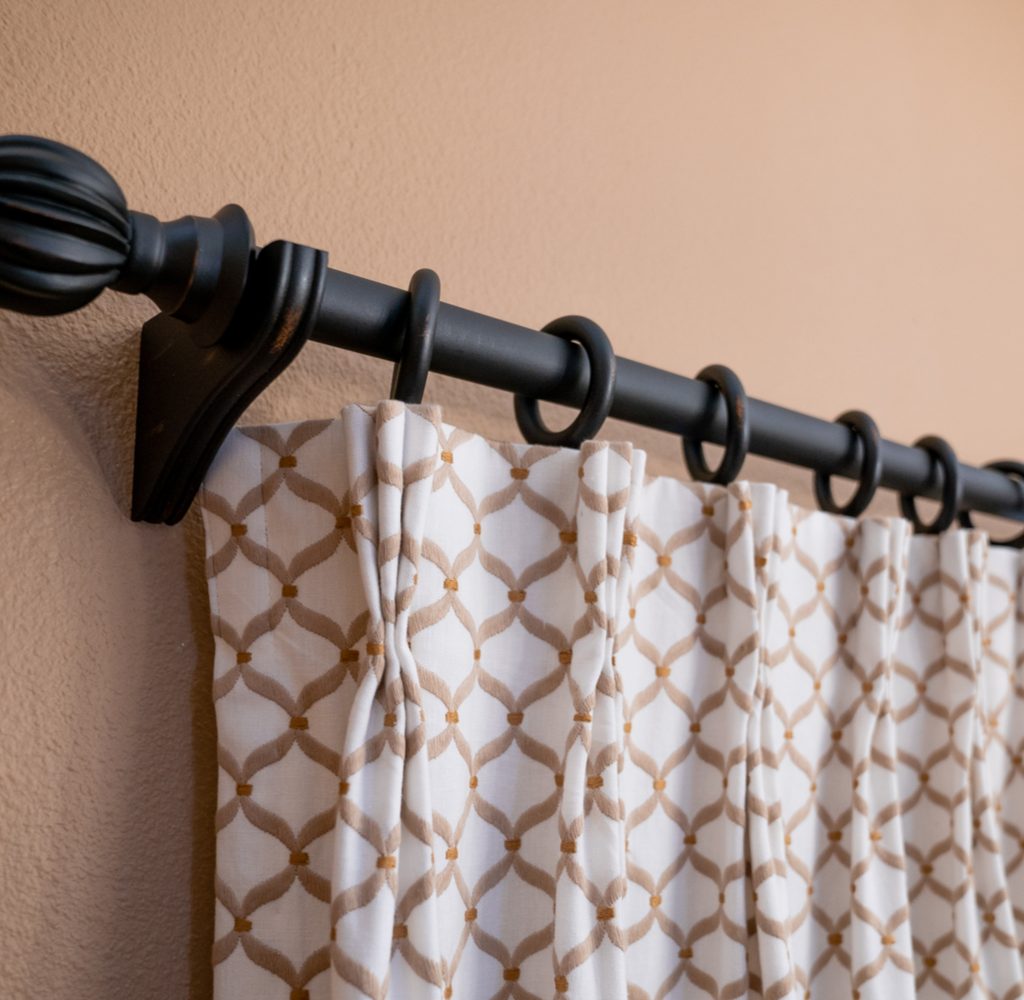
Selecting the right curtain rod is equally important for achieving balanced and visually appealing window treatments. Your curtain rod should be 8 to 12 inches longer than the width of your window. This extra length allows for the curtains to hang gracefully when open, without obstructing the window or limiting natural light.
Choose a curtain rod material and style that complements your curtains and the overall decor of the room. Whether you opt for a sleek metal rod or a rustic wooden one, ensure they enhance the aesthetic appeal of the space.
Bracket size matters, too

Did you know that your brackets can be the wrong size? When installing curtain brackets, it’s crucial to consider the depth of your window molding. The brackets should extend past the depth of the trim to ensure proper curtain installation. Installing brackets that are too shallow can result in curtains that don’t hang properly.
Also, to ensure stability and support for your curtains, install brackets approximately every 3 feet along the length of the curtain rod. This prevents sagging and ensures that your curtains remain securely in place.
How to hang curtains the right way

Now that you know how to make the necessary measurements, it’s time to hang your curtains. Follow these steps for a flawless curtain installation.
1. Collect your tools and materials
Before you begin, gather the following tools and materials:
- Curtain rod
- Curtain panels
- Curtain brackets
- Measuring tape
- Drill and screws
- Level
- Pencil
2. Make your measurements
Using a measuring tape, determine the appropriate height for your curtain rod and mark the placement of the brackets with a pencil accordingly. Use your level to ensure that the measurements are accurate to achieve a symmetrical look.
3. Mount your brackets
Using a drill, secure the brackets to the wall at the marked locations. Make sure the brackets are level to prevent uneven hanging.
4. Prepare the curtain rod and curtains
Slide the curtain panels onto the rod, ensuring that they are evenly distributed. If necessary, iron or steam the curtains to remove any wrinkles or creases.
5. Hang the rod on the brackets
Carefully lift the loaded curtain rod and place it onto the installed brackets. Double-check the levelness of the rod before tightening the screws to secure your curtains in place.
Alternative mounting options

While traditional curtain rods are the most common choice for hanging curtains, there are some alternative options to consider.
Tension rods are ideal for lightweight curtains or temporary installations. They require no drilling and are easy to adjust to fit various window sizes. Curtain tracks offer a sleek and modern alternative to traditional rods. Providing smooth and silent operation, they are ideal for heavy or floor-to-ceiling curtains.
You can also consider creative mounting options, like modern adhesive hooks, sleek copper piping, or even a rustic-style tree branch in place of a standard curtain rod.
What if my window goes all the way to the ceiling?

For windows that extend to the ceiling, you have a couple of options when installing curtains. You can install the curtain rod directly onto the ceiling to create the illusion of height and elongate the window. Another option is to install a track system onto the ceiling, which is particularly appropriate for heavier curtains used on larger windows.
Opt for curtains that extend all the way to the floor to accentuate the height of the room and create a sense of drama and elegance.
Hanging curtains may seem like a simple task, but attention to detail is important to achieve professional-looking results. Whether you prefer traditional rods or alternative mounting options, the key is to ensure that your curtains enhance the aesthetic appeal of your home while also providing functionality and privacy. So go ahead, unleash your creativity, and give your windows the treatment they deserve!


