
Growing a pristine garden is a horticulturist’s pride and joy. That makes a weed infestation a gardener’s greatest nemesis. Weeds not only make your garden look messy and unkempt, but they also suck up a lot of nutrients from the soil and weaken your prized plants. That’s why we’re going to discuss how to clear a garden full of weeds so you can save your gorgeous outdoor space.
Sure, the best weed management method is prevention, working to tackle weeds before they sprout, but this isn’t always possible. So, if your garden or lawn becomes overgrown with unwanted weeds, you’ll need a game plan. This growing season, keep your garden lush and tidy with these tips and tricks for clearing a mountain of weeds (and some bonus tips for how to prevent them from returning).
How to clear a garden full of weeds
The first step in addressing an overrun garden is the hardest: removing all the weeds. While there’s no way to get around the work involved in garden and lawn care, there are some methods and tools that can ease the labor-heavy process.
Method #1: Pull weeds manually
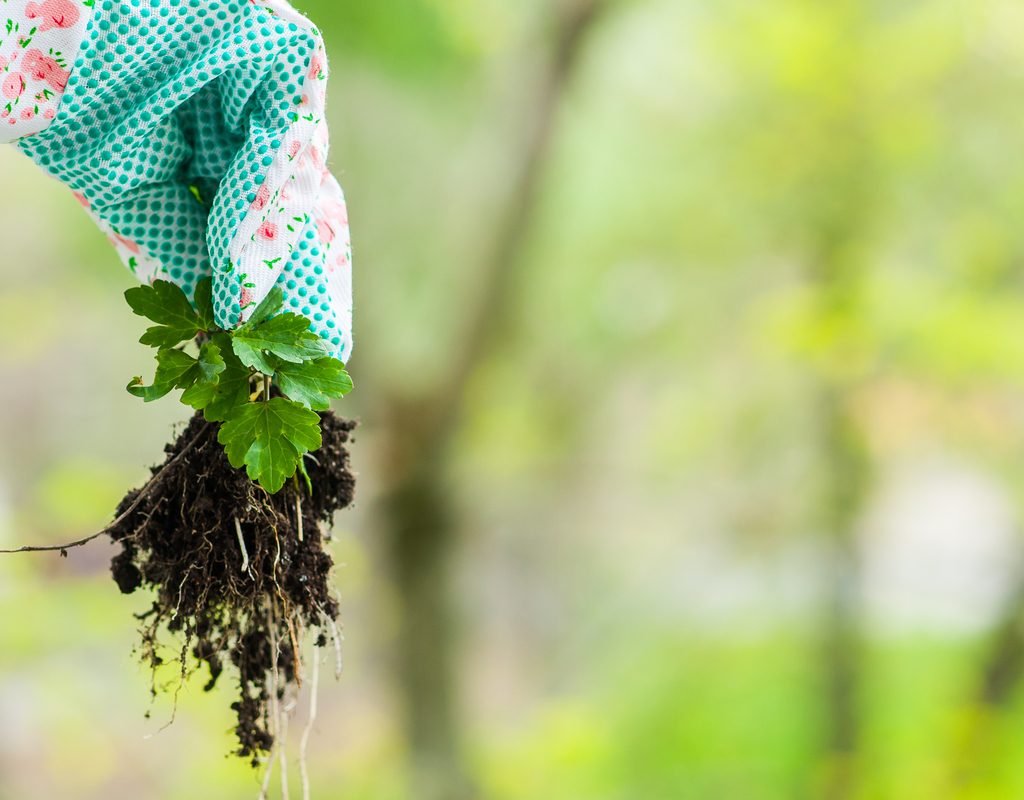
If your weed problem is moderate, take some time to pull the weeds right out of the soil. Make sure you grab each plant by the stem, as close to the soil as possible. This makes it easier to pull up the entire root so the weed can’t grow back.
Method #2: Invest in a weeding tool
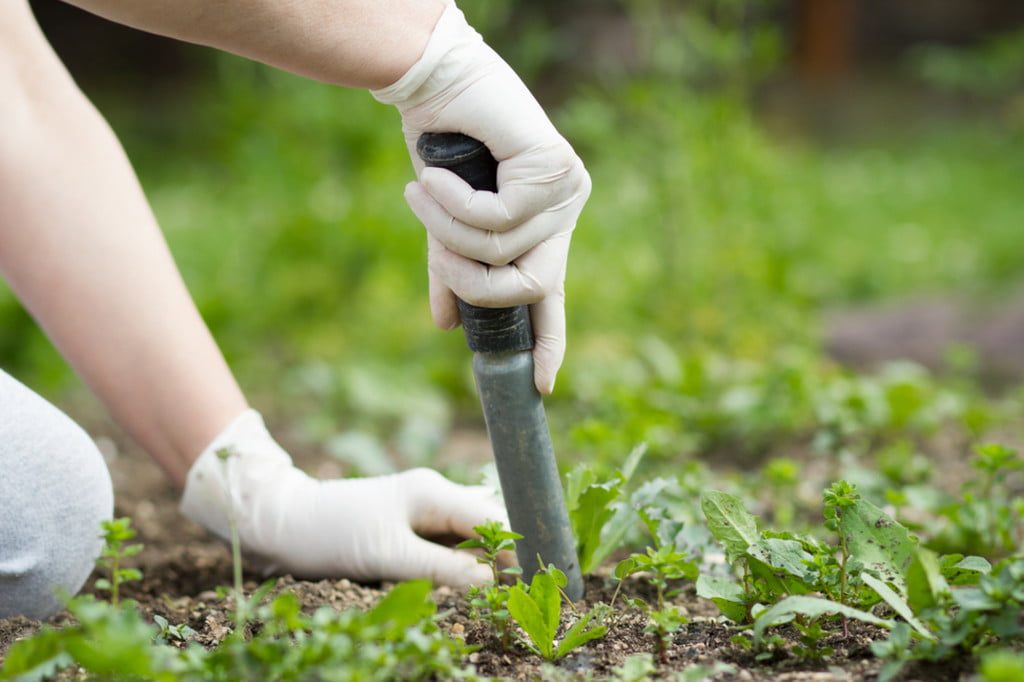
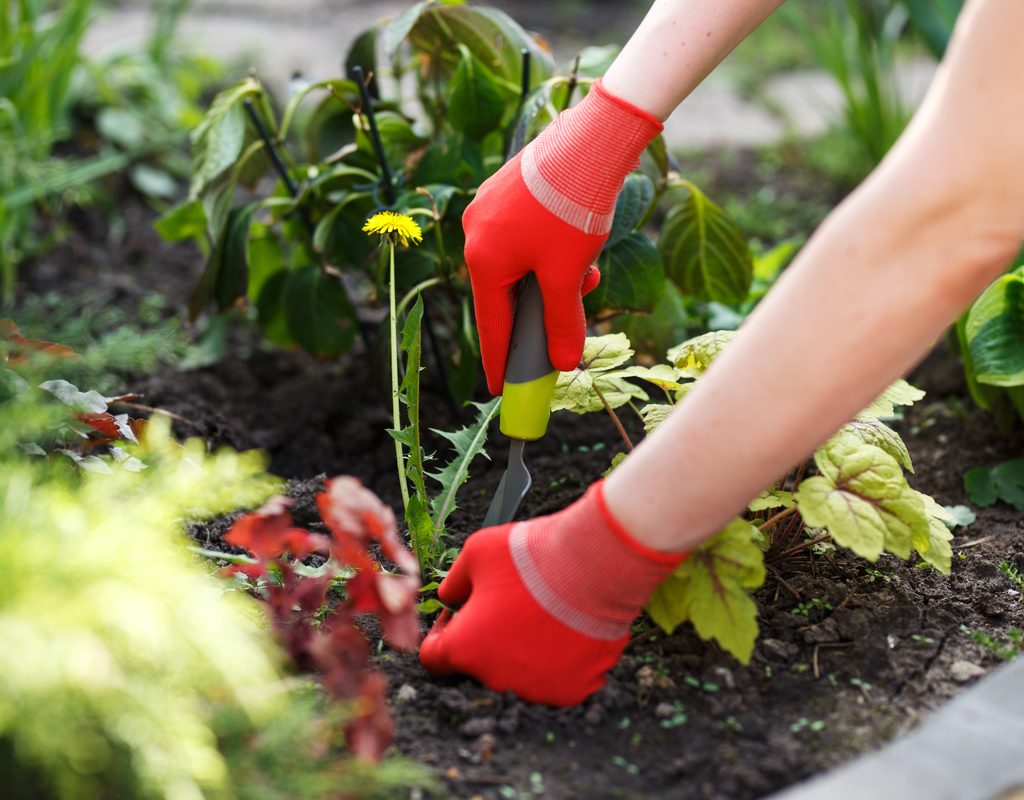
When your garden is full of overgrowth, it can be back-breaking work to pull all those weeds by hand. Prevent hand cramps by investing in a few simple gardening tools. For example, a hoe with a long handle ensures you can work across a large area without needing to bend over. You can also use a more specific tool, like a weed puller claw, to dig around the root and pull it out more precisely.
Method #3: Pour boiling water on the area
If you’re looking for an easy, organic method for killing a large patch of weeds, boiling water is your ticket. The scorching heat kills any plant life it touches, so this method is only useful in areas that don’t also have intentional flowers or plants you tend to. This is also a great method for killing weeds that have grown between the cracks of your garden path’s pavers.
Method #4: Use baking soda or vinegar
Alternatively, you can also use baking soda or vinegar as an organic weed-killing solution. This is more precise than the boiling water method since you can apply the solution to individual plants. To use baking soda, simply wet the weed and sprinkle the baking soda directly onto the leaves. You can also fill a spray bottle with distilled white vinegar and spray it directly onto the plant.
How do you get rid of thick weed roots?
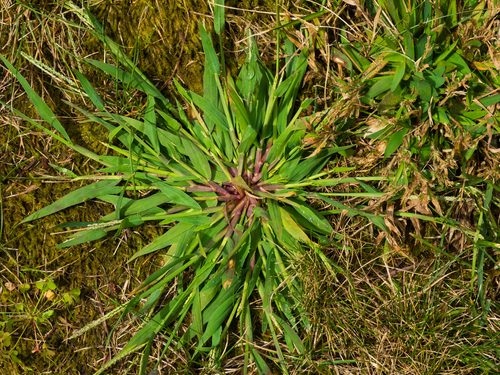
When weeds have time and space to grow, they become hardy and establish strong roots. Mature weeds are difficult to pull out of the soil, but it’s not impossible to kill those resilient and beastly plants.
Method #5: Grab a weed burner
A weed burner is an electric gardening tool that applies extreme heat in a small, precise location to kill the weed’s leaves. Once the leaves are dead, photosynthesis won’t be possible, so the plant will soon die. Multiple weed burner treatments may be necessary to kill the plant for good, particularly if the roots are strong and deep.
How do I keep my garden weed-free?
Since the best offense is a good defense, get ahead of the game with a soil treatment plan to kill weed seeds before they sprout.
Method #6: Apply soil treatment
Sprinkling a pre-emergent product onto your soil can prevent seeds from germinating. Apply the product according to the instructions, then water the area to allow the herbicide to soak into the soil. All pre-emergents, even the organic ones, prevent germination, so be especially careful when applying. Otherwise, you might prevent the growth of your flower and vegetable plants. For the best result, use this product once your other plants have already sprouted.
Method #7: Line your garden
When planting your garden, consider adding a weed-proof membrane before tossing down your gravel or mulch. These linings are available at home and garden stores and can prevent overgrowth on both traditional and raised beds.
Method #8: Lay mulch
Just like any other plant, weeds can’t grow without sunlight. To reduce their exposure to this necessity, lay mulch over the soil. Once your plants have matured, toss down a layer of mulch to prevent weed growth and add some aesthetic charm to your garden.
Method #9: Don’t leave open space
Weeds need space and nutrients to grow. That’s why, when you make the most of every inch in your garden, you’re actually keeping those pesky weeds at bay. By filling up your space with a variety of plants, there’s not much room left for those unwanted intruders.
You work hard to make your garden flourish, so it’s a shame when weeds arrive to detract from the visual appeal of your garden and the overall health of your plants. With these weed-killing and prevention methods, your garden will be lush and healthy all season long.


