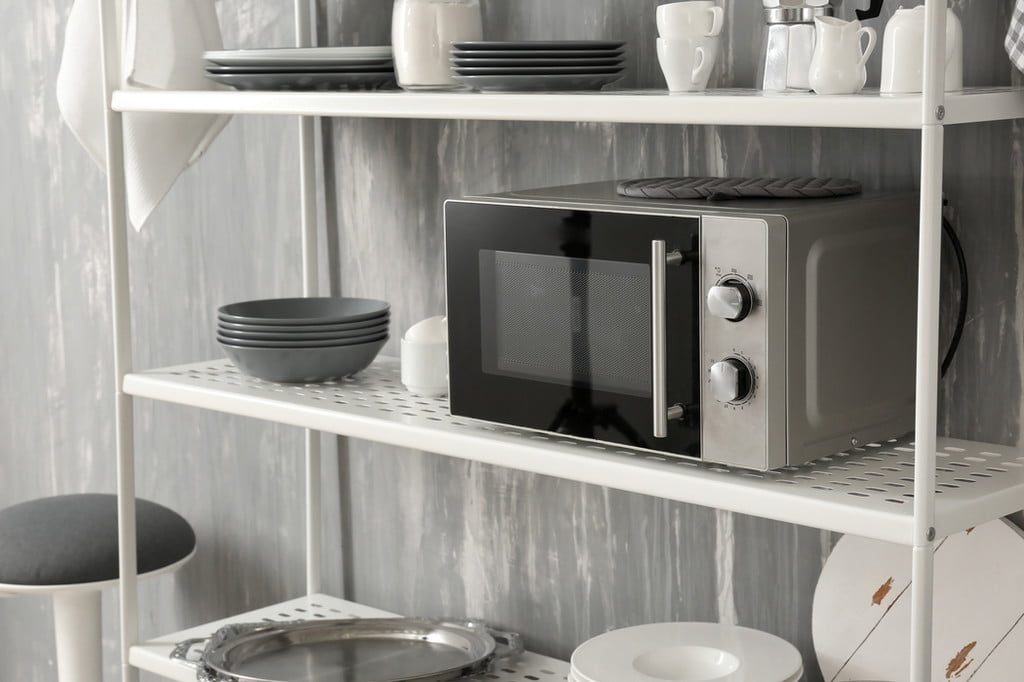
21OAK may earn a commission when you buy through links on our site.

How to properly clean your microwave

Microwaves are one of the most-used small appliances in a typical kitchen. Though you may not cook your whole dinner in them like people did when they first came onto the scene, they are still used frequently to warm up pizza, melt butter, boil water, and more. Using a kitchen item so often means it needs to be cleaned frequently, but no one likes to clean their microwave. It has hard-to-reach corners and can be tough to get that stuck-on food off the door and ceiling of the appliance. Don’t worry, though, we have some tips and tricks for you to make cleaning your microwave quick and easy.

Microwave Kitchen
Dane Deaner on Unsplash

Method One: White Vinegar

The first tried-and-true method for cleaning your microwave utilizes one of my favorites (thanks, Mom) cleaning products — white vinegar, says The Kitchn. If you can handle the smell of the vinegar, it is one of the best cleaners for everything from carpet stains to windows and glassware. Simply pour one cup of white vinegar and one cup of water into a microwave-safe bowl. Place the container in the microwave and set the time for 5 – 10 minutes depending on the strength of your microwave. When the time is up, use a potholder to remove the bowl from the microwave — the bowl will be super hot.

Recommended Videos

Next, use a microfiber cloth to wipe the inside of your microwave clean. The steam that the water and vinegar mixture created will have loosened up the cooked-on food splatters, making it easy to wipe them clean. If your microwave has a glass turntable, you can take that out and run it through the dishwasher or wash it like you would any other dish.

Getty Images

Method Two: Lemon Juice

If you can’t handle the smell of white vinegar, fear not. This second method uses the leftover lemons that you have already squeezed the juice out of (you can use a not-squeezed lemon instead if you want). Take the lemon and cut it in half, if it is not already, and place it on a microwaveable plate. Add a tablespoon of water to the plate. Microwave for 1 – 2 minutes or until the lemon is hot and the inside of the microwave is steamy. When the time is up, use a potholder to remove the plate from the microwave — the dish will be super hot.

You can now use a microfiber towel or paper towels to wipe away all of the mess that was inside the microwave. Again, the power of steam combined with the natural essential oils from the lemon will have loosened up the stuck-on food, thus making it easy to remove with little to no effort at all.

Bonus Tip 1

To get the outside of your microwave as shiny and clean as the inside now is, pour a bit of rubbing alcohol onto a microfiber cloth or paper towel. Use the cloth or paper towel to buff the outside of the microwave until it shines like new.

Bonus Tip 2

Used lemons are a fantastic and natural way to disinfect and clean your garbage disposal. Cut the lemon you used to clean the microwave into smaller pieces put them in the disposal. Run really hot water down the drain while the disposal is running. This will clean the drain and leave it smelling fresh.

Bonus Tip 3

The Spruce suggests using baking soda. Mix baking soda and vinegar and you have a natural, powerful cleaning agent. It’s not only used for making volcanoes erupt in science class.

Editors' Recommendations

Deb Goncalves
Former Digital Trends Contributor
Deb's work has appeared on Moms, Babygaga, and WorldAtlas. When she's not working (that's hard to say about a Capricorn), she…
How to clean glass shower doors the right way (say goodbye to streaks)
The natural way to get a sparkling, clear shower door — without all the chemicals
Shower with a glass door

Glass shower doors add a touch of elegance to any bathroom, but they can quickly lose their sparkle because of soap scum, grime, and pesky streaks. Fear not! With the right cleaning techniques and a few simple ingredients, you can restore your glass shower door to its pristine condition. Let's explore effective methods for how to clean glass shower doors without leaving behind streaks.
What is the best thing to use to clean glass shower doors?

When it comes to cleaning glass shower doors, you have two primary options: DIY natural cleaners or commercial glass cleaners. DIY solutions are often cost-effective and environmentally friendly, while commercial cleaners may offer convenience and specialized formulas for tough stains.
White vinegar and dish soap for cutting grime
For a powerful yet natural cleaning solution, mix equal parts white vinegar and water in a spray bottle, adding a few drops of dish soap. Spray the solution onto the glass surface and let it sit for a few minutes to loosen the grime. Then, scrub gently with a sponge or microfiber cloth and rinse thoroughly with water. However, exercise caution when using vinegar on surfaces like natural stone, as it can cause damage.
Baking soda and dish soap instead of vinegar solution
If you prefer to avoid vinegar, a mixture of baking soda and dish soap can also effectively tackle grime on glass shower doors. Create a paste by mixing baking soda with a small amount of dish soap, then apply it to the glass using a sponge or cloth. Scrub gently in circular motions, focusing on areas with stubborn stains, before rinsing thoroughly.
Lemon and lemon oil to kick streaks to the curb
Harness the power of citrus to banish streaks from your glass shower doors. Simply cut a lemon in half and rub it directly onto the glass surface, focusing on areas with visible streaks. The acidic properties of the lemon help dissolve residue while leaving behind a fresh, citrusy scent. For added protection against future water marks, lightly coat the glass with lemon oil after cleaning. Your glass won't streak again for a long time!
Tips for keeping your glass shower doors clean and streak-free

Read more
How to remove stripped screws without any hassle
Unlock our best solutions for this common DIY woe
Single screw pointed up on a wood surface

Stripped screws can be a frustrating obstacle that can easily halt the progress of your DIY building or repair project. However, with the right methods and a bit of patience, you can tackle this problem effectively. Let's explore the various techniques for how to remove stripped screws, ranging from simple tricks to more advanced solutions for those severely stripped screws.
How to remove stripped screws: Initial methods to try
Here are a few simple methods to employ when the screws aren't too much of a problem.

Remove the screw with pliers
One of the simplest methods involves using a pair of pliers. Grip the head of the screw firmly with the pliers and slowly turn it counterclockwise. Apply steady pressure to prevent slipping and gradually loosen the screw from its position.
Use the rubber band method
If the screw head has enough grip left, place a rubber band over the head before inserting the screwdriver. The rubber band fills the gaps and provides extra friction, enhancing your grip on the screw. This method works particularly well for smaller screws like those on old wood furniture or screws with shallow stripping.
Try using a different screwdriver
Sometimes, the head of a stripped screw may still have one or two slots that can accommodate a different type or size of screwdriver. Experiment with various screwdrivers in your home toolkit, such as switching from a Phillips to a flathead screwdriver or adjusting the size of the screwdriver to fit the remaining slots.
Next steps: Take your removal method up a notch
Here, we have some more advanced options when the job isn't so simple.

Read more
This is how much it really costs to replace the windows in your home
From window type to material, the scope of your project will affect your window replacement costs
Man installing bottom of window trim

Replacing a window is a bigger project than many homeowners realize. With so many options to choose from, windows come in a variety of materials and styles, each affecting their overall cost. Today, we’re discussing the window replacement cost, so you can get an idea of what to expect for your next renovation.

How much does it cost to replace a single window on average?
The cost to replace a window can range from anywhere between $450 and $1500, with the average price of a window replacement costing $730, according to MarketWatch. Depending on the type of window, the material, and the location you live, window replacement prices can change based on the scope of your project.

Read more