
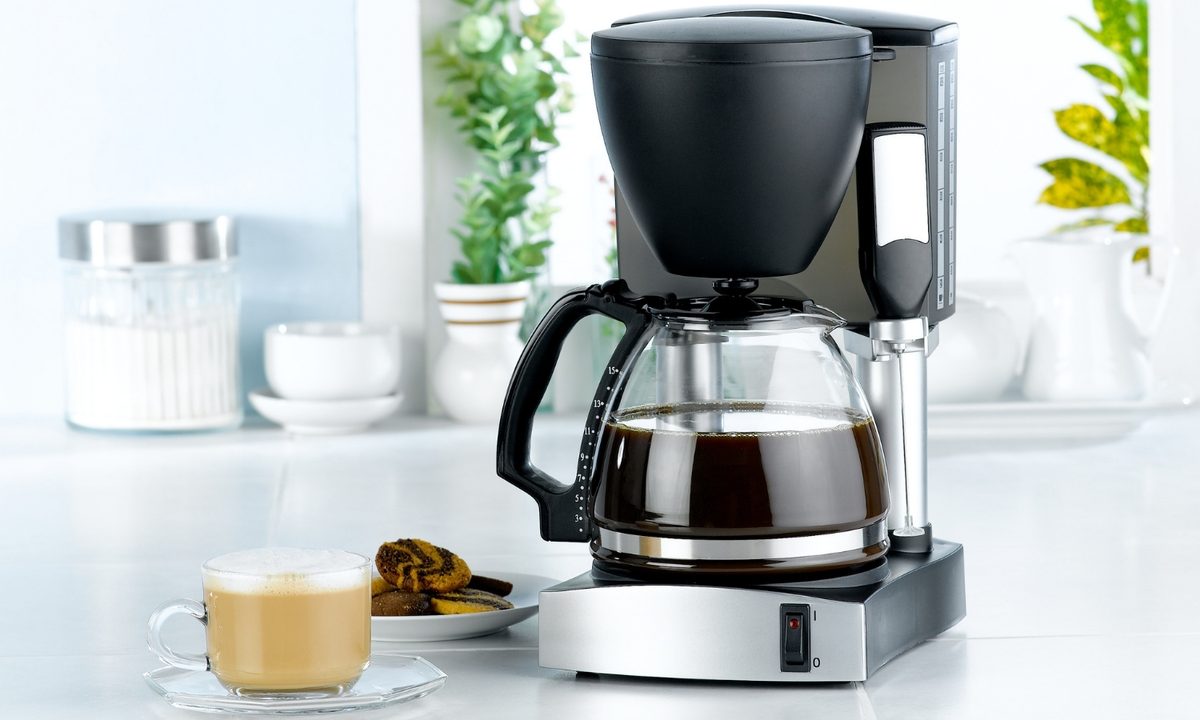
A clean coffee maker is essential for a great-tasting cup of morning brew. Over time, mineral deposits and coffee oils build up in your machine, affecting the flavor of your java and potentially harming your health. In this guide on how to clean a coffee maker, we’ll walk you through the steps to ensure your awesome home coffee bar remains in top condition, providing you with the best possible coffee every morning.
Why do you need to descale your coffee maker?
Descaling your coffee maker is a crucial maintenance task. As you use your coffee maker, minerals from the water accumulate inside the machine, creating scale buildup. This scale can affect the temperature and efficiency of your coffee maker, leading to weaker coffee and potentially shortening the lifespan of your machine.
Additionally, coffee oils can build up over time, leading to rancid flavors in your coffee. Regular descaling removes these deposits, ensuring your coffee tastes fresh and your machine runs efficiently.
What are the signs that your coffee maker needs to be descaled?
Signs that your coffee maker needs descaling include slower brewing times, unusual noises during brewing, a decrease in coffee quality, and a bitter or metallic taste in your coffee. Additionally, visible mineral deposits or scale buildup inside the water reservoir or on the coffee maker’s components indicate it’s time to descale.
How to clean a coffee maker the simple way
Cleaning your coffee maker doesn’t have to be a daunting task. By following a few simple steps, you can keep your machine in excellent working order. This method is effective for most standard coffee makers and will help you maintain a fresh, flavorful brew every day.
Let’s dive into the step-by-step process of how to clean a coffee maker thoroughly and efficiently.
1. Gather your materials
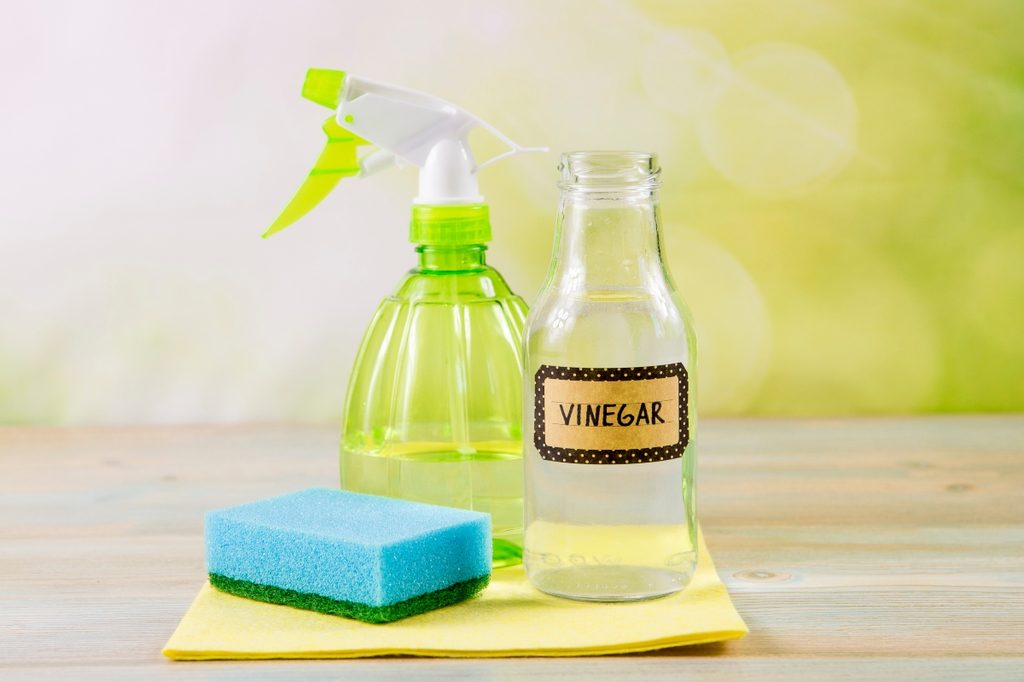
To start, you’ll need a few basic supplies: water, distilled white vinegar, and a clean cloth. These common household items are effective at breaking down mineral deposits and sanitizing your coffee machine without leaving harmful residues behind.
2. Mix your cleaning solution
Combine equal parts distilled white vinegar and water. This mixture is powerful enough to dissolve mineral deposits and coffee oils. If your coffee maker has a significant buildup, you can increase the ratio of vinegar to water for a stronger solution. Stir the mixture to ensure it’s fully combined.
3. Pour it in and brew it up!
Pour the vinegar-water solution into the coffee maker’s reservoir. Start a brew cycle, but stop it halfway through. This pause allows the vinegar mixture to sit in the machine’s internal pipes and in the carafe, thoroughly sanitizing these areas. Let it sit for about 30 minutes to an hour before resuming and completing the brew cycle. For tough scale buildup, you might need to repeat this process a couple of times to ensure the coffee maker is fully sanitized.
4. Brew up some plain old water
Once you’ve run the vinegar solution through your coffee maker, it’s time to flush it out. Fill the reservoir with plain water and run a brew cycle. Repeat this process two to three times to ensure there is no more vinegar residue in the machine and that it no longer has a vinegar smell. This step is crucial to prevent your next cup of coffee from tasting like vinegar.
What can I run through my coffee maker besides vinegar?

While vinegar is a popular and effective cleaner, there are other options you can use to clean your coffee maker. Lemon juice is a natural cleaner that works similarly to vinegar due to its acidity. You can use a lemon juice and water mixture in the same ratio as the vinegar solution. Baking soda is another alternative — mix a quarter cup of baking soda with a cup of warm water to create a cleaning solution. Run this through your coffee maker, followed by several cycles of plain water to rinse thoroughly.
Do you clean a Keurig coffee maker the same way?

Keurig coffee makers, with their single-serve design, require a slightly different cleaning process. However, the principle remains the same. Start by removing the K-cup holder and washing it with warm, soapy water. For the internal components, fill the water reservoir with a vinegar and water mixture (equal parts). Run several brew cycles without a K-cup, discarding the vinegar mixture each time.
After completing the vinegar cycles, run multiple cycles with plain water to rinse out any remaining vinegar. Additionally, Keurig recommends using its descaling solution for optimal results, following the instructions provided with the product.
Tips for how to clean a coffee maker effectively

- Clean it often: Clean your coffee maker every one to three months, depending on how often you use it.
- Use filtered water: Using filtered water can reduce mineral buildup, extending the time between cleanings.
- Rinse it well: Ensure you thoroughly rinse out all cleaning solutions to avoid altering the taste of your coffee.
- Clean removable parts, too: Don’t forget to clean removable parts like the carafe and filter basket with warm, soapy water regularly.
- Watch for the cleaning indicator: If your coffee maker has a cleaning indicator, follow its recommendations to maintain optimal performance.
Keeping your coffee maker clean is essential for maintaining the quality and taste of your favorite morning drink. Regular descaling prevents mineral buildup and removes coffee oils that can negatively impact your brew. By following this step-by-step guide on how to clean a coffee maker, you can ensure your machine remains in top condition, providing you with delicious coffee every morning. So, take a few moments to clean your coffee maker and enjoy the benefits of a fresh, flavorful cup of coffee each day.


