Your hardwood floors are a major investment, and they also see significant foot traffic that can leave them worn and dirty. Properly caring for your hardwood floors can help keep them looking beautiful, maximizing your investment in your flooring. Cleaning is important to prevent scratches and other damage, especially in homes with busy families and pets. Proper ongoing care can also prolong the life of your floors, saving you money over refinishing or replacing them. These steps can help you put together your own floor care routine to help preserve and protect your hardwood floors while also keeping your home looking great.
Dust, dust, dust
Daily dusting is an essential step in caring for hardwood floors. Removing dust and dirt regularly can help prevent the floors from being scratched and damaged. As a bonus, you’ll be removing irritants and allergens like dust and pet hair, so your home will be a healthier space, too.
Make a quick dusting part of your daily routine. Use a dry mop with a microfiber cloth to attract and grab dust and pet hair. Try to add this dusting into part of your daily schedule, like dusting after dinner each night, to ensure you don’t forget this important step.
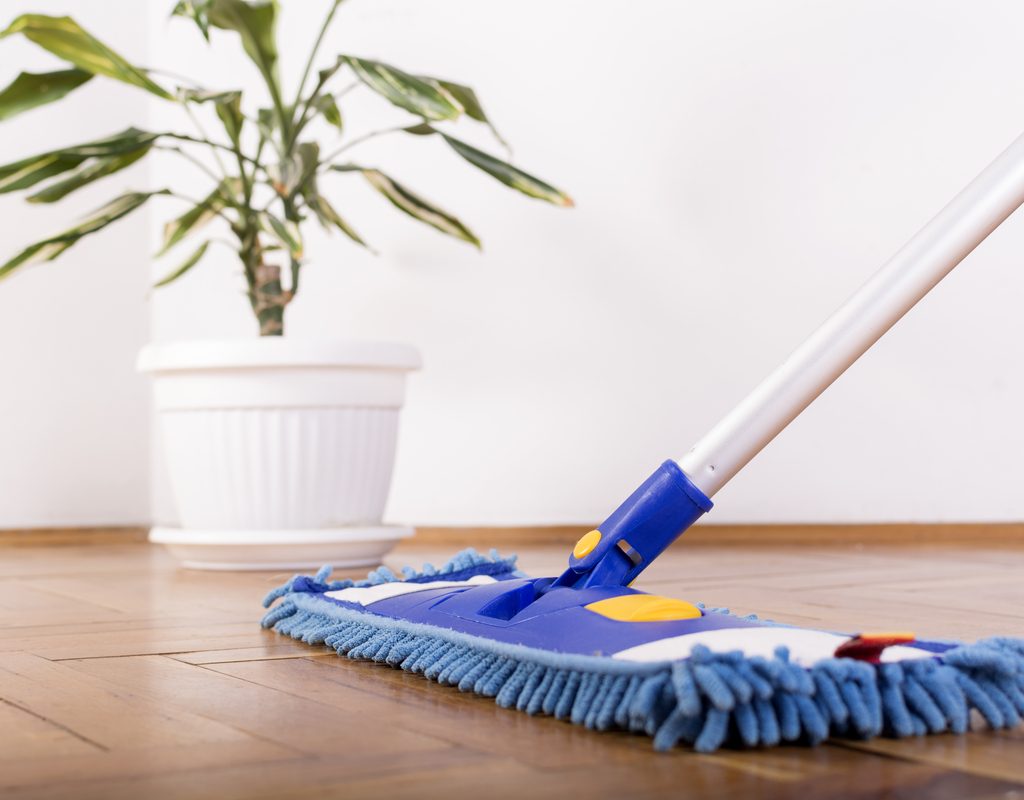
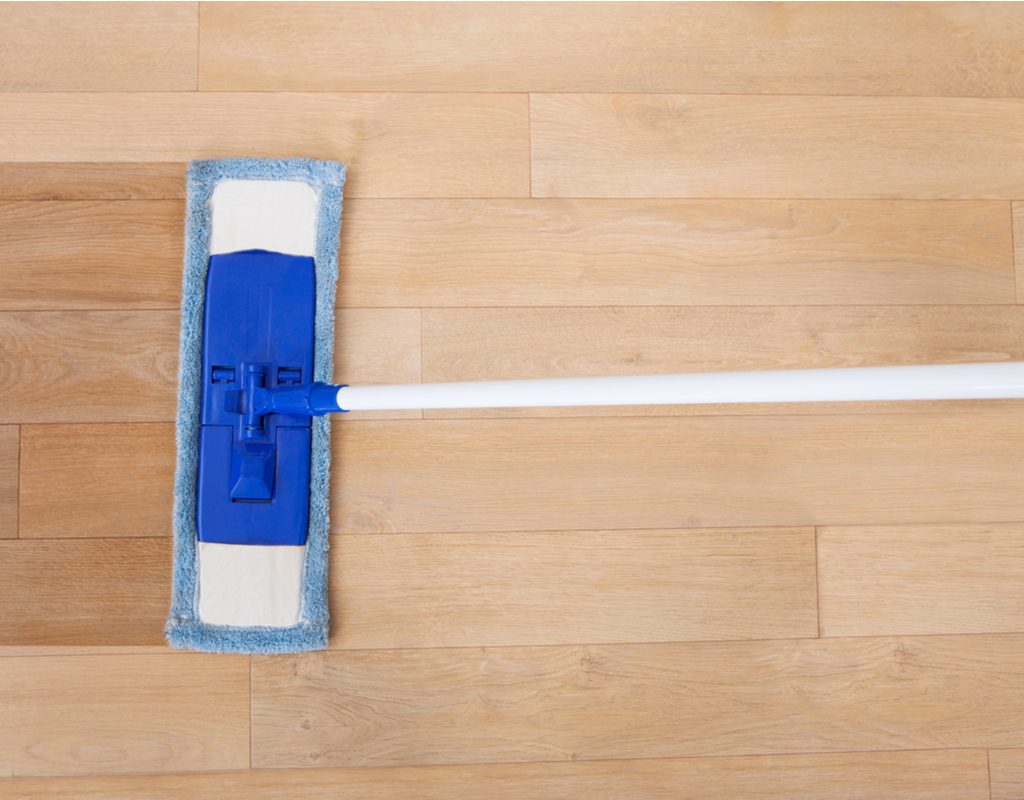
Do a weekly deep cleaning
Even with regular dusting, dirt and debris will still build up on your floors, and it’s important to remove this regularly to prevent floor damage.
Before doing your deep cleaning, do a dusting pass through to remove loose dust and pet hair. Alternatively, you can vacuum your floors with a soft brush head. This technique can help if you have wide-plank hardwood floors with spaces between the planks where debris can collect.
Next, use a floor mop and a quality wood floor cleaner. Be sure to follow the cleaner label instructions and dilute the cleaner appropriately. Wring out your mop to the point where it only feels slightly damp—you don’t want to saturate the floor. As you mop, quickly wipe up any extra liquid.
Add some polish
Polishing your floors can help to extend their life, adding extra shine and protection. Try to polish your floors four times per year.
Before you polish your floors, sweep or vacuum up any dust, so the floors are clean. You can choose from many different polishes, but be sure to follow the directions of the product you’re using. Most polishes can be applied and left to air dry.
If you have kids or pets in the home, keep in mind that the floors will be extra slippery after you’ve polished them. You may want to have your kids wear socks with rubber grips for extra traction over the first few days.
Address scratches
Polishing your floors can help to conceal some minor scratches, but larger scratches will need attention. You can use a hardwood floor crayon or pencil to fill in scratches and blend them in with your floor’s surface. Be sure to choose the crayon or pencil color that’s right for your floor for the best results.
Refinishing
Even with the best care, your hardwood floors will eventually need to be refinished. This process helps to restore your floors’ original shine, making them look like new again. Thicker hardwood floors can be refinished more than thinner floors, since the process strips away a thin layer of the wood.
If you decide that it’s time to refinish your floors, request quotes from multiple local professionals. A company will be able to come and evaluate your floors to determine if refinishing is a good option. They can also give you important information about how they operate and how long you’ll need to stay off the floors once they’ve been refinished.
Alternatively, you can refinish your floors yourself, but be prepared—this is a big job. You’ll need to evenly sand your floors down first before refinishing them with a polyurethane finish. Again, it’s important to make sure that your floors are thick enough so that the sanding won’t result in holes and uneven patches. This process takes multiple days, and you’ll want to rent a floor sander if you’re working on larger spaces.
Consistent care
Taking care of your floors is also a daily practice. Get into the practice of having your whole family take off their shoes by the door. This helps to reduce the dirt that’s tracked across the floors, and it also minimizes the amount of moisture that your floors are exposed to.
Avoid walking on your floors with high heels, and keep your pets’ nails trimmed short to help keep them from scratching the floors. Make sure that all of your furniture, particularly your chairs, have floor protectors on the legs. If you need to move furniture around, get someone to help you lift the furniture off of the floor so you don’t create scratches or gouges.
Hardwood floors require a financial investment when you first install them, but they also require an ongoing investment of time and effort in their care. Caring for your hardwood floors can help prevent damage and keep them looking great for years to come. You’ll save money on more complicated fixes, like refinishing, and will maximize your investment in your floors, too. Putting some extra effort into caring for your floors can ensure that you can enjoy them for years to come, keeping your house looking beautiful whether you’re planning to sell it or want to keep it for years.


