If you’re looking to spruce up your home to create a more attractive atmosphere, you might want to consider opting for a DIY flooring project. When we think of DIY home projects, we often think of painting walls, purchasing or building new furniture, and adding new decor pieces. Flooring is often neglected and forgotten about, but it shouldn’t be!
Changing up the look of your flooring can completely transform your space! We’ve gathered some of the best DIY home flooring projects that you can start today.
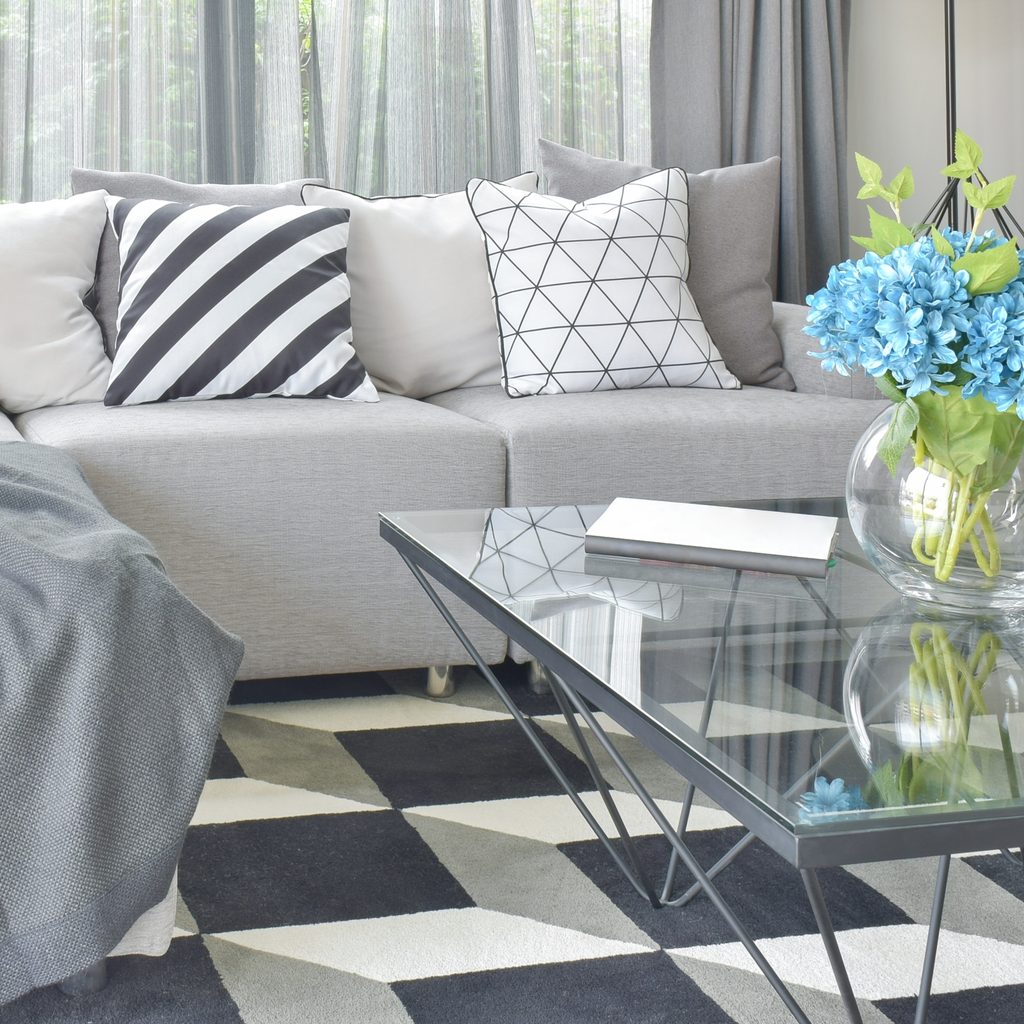
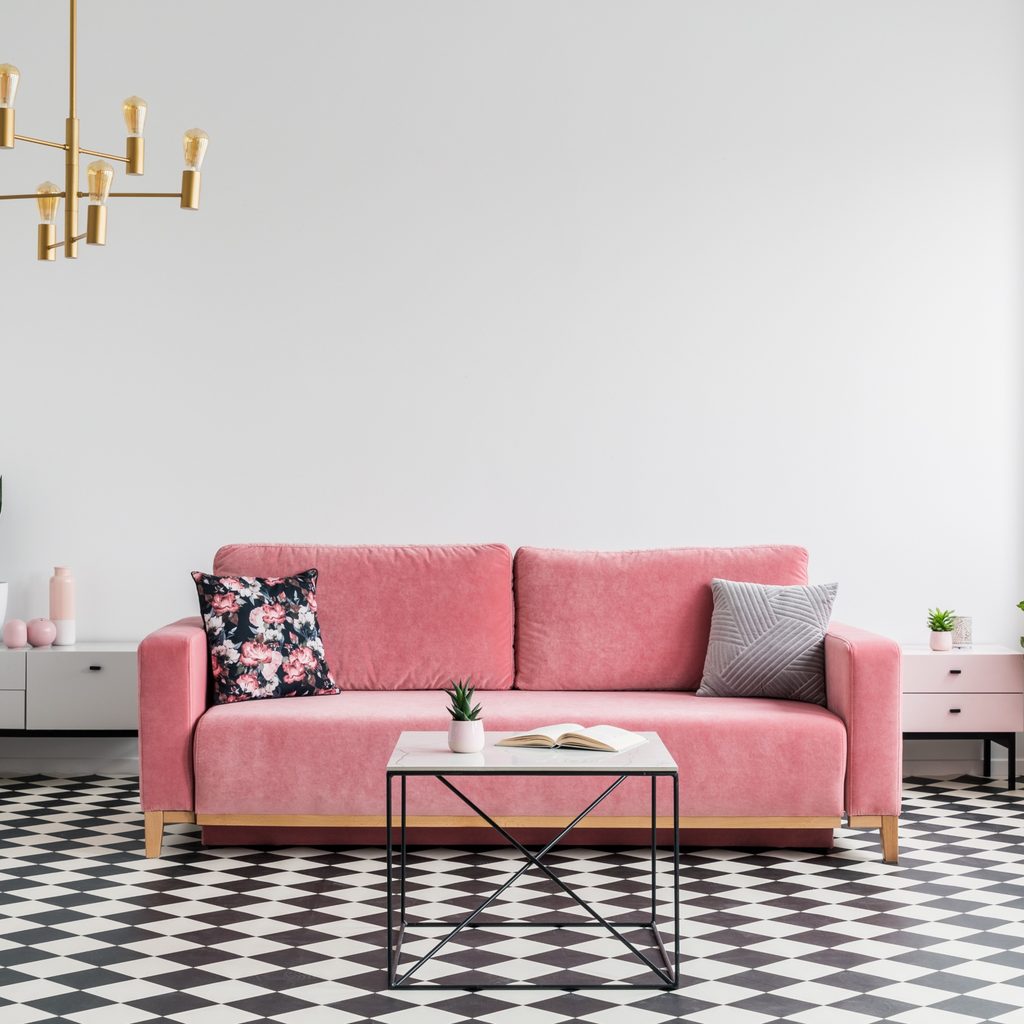
Lay down carpet tiles
When it comes to easy flooring ideas, nothing beats carpet tiles. Carpet tiles are a fantastic way to increase a space’s softness without any expensive installation or hiring a costly team of professionals to install it for you.
Carpet tiles typically include a sticky backing that adheres to the subflooring beneath. You simply peel off the protective backing and place your tile down where you want it. The reason these tiles are so unique lies in their versatility and flexibility.
The tiles are easy to cut and trim down to the size you desire, making installation a straightforward and simple process. Additionally, you can purchase tiles in many colors to add whatever patterns or designs you’d like for your space without searching for an expensive rug that would suit your needs.
Furthermore, carpet tiles better protect the subflooring beneath and do not require a special material beneath them to hold them in place. Even if you are resistant to placing the adhesive backing on your floor, you have the option to purchase tiles that connect to one another rather than the subfloor itself.
Utilize peel n’ stick vinyl tiles
Along the same vein as carpet tiles, peel n’ stick vinyl tiles are installed using similar methods. Vinyl tiles are a hot commodity in the DIY landscape, often used to add a tiled look to a backsplash, shower, or wall. As innovation carries on, newer tiles tend to be water-resistant, long-lasting, and made of higher quality materials than in the past.
If you’re considering changing up your kitchen or bathroom flooring, why not opt for these vinyl tiles? To install them, peel off the adhesive backing and lay them down where you want them to go. They are more durable than ceramic tiles, which often break or crack over time. Additionally, vinyl tiles are easier to cut and shape to your liking. So, even if your space is more complicated than a simple rectangle, you can rest assured that cutting the tiles as needed is a piece of cake.
Like the carpet tiles above, you can also change up your new vinyl flooring pattern and design. This is a great way to add a pop of color to a room or take a full retro turn to create a diner-esque atmosphere for your kitchen.
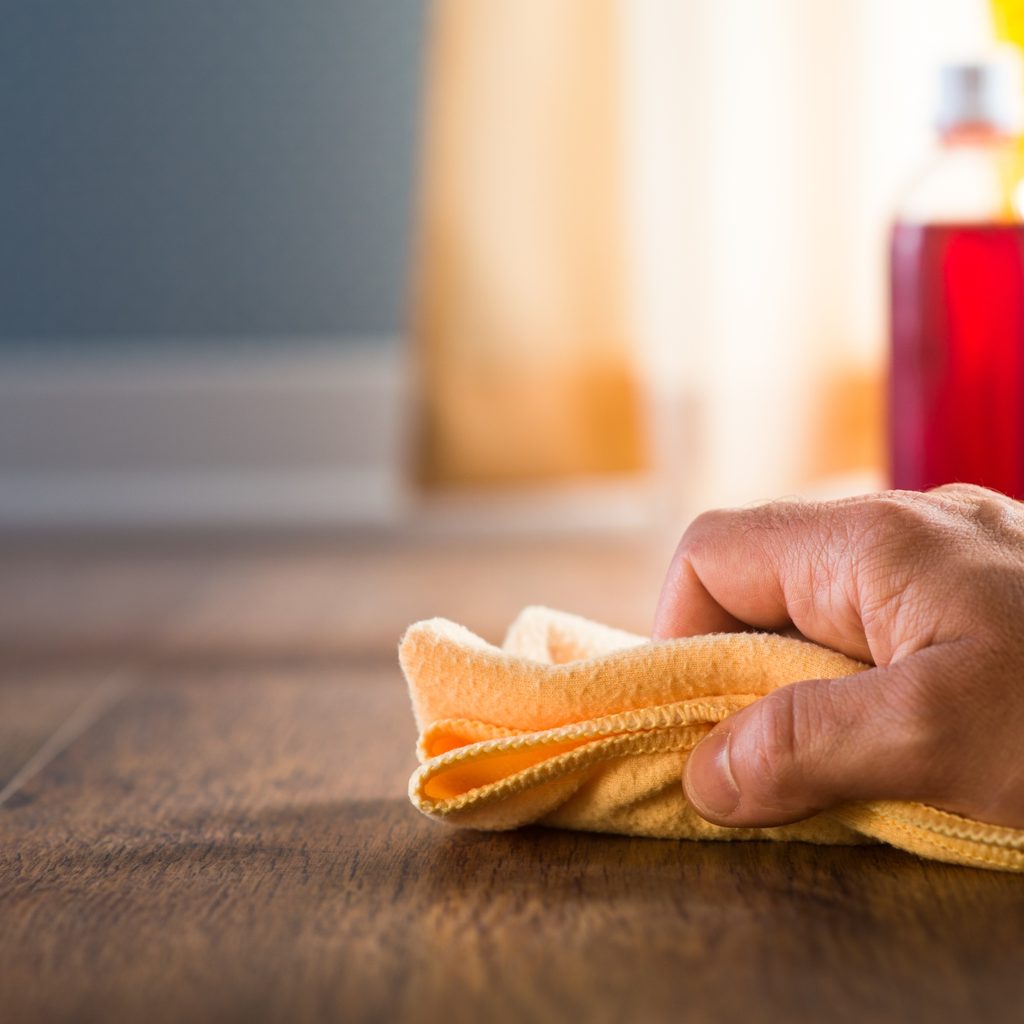
Stain your hardwood floor
A slightly more advanced method for sprucing up your flooring is to stain your current hardwoods. If you have hardwood flooring in your home, it can be fun to switch the color up a bit and stain the wood a different shade.
To do this yourself, you’ll first need to clear the room of all furniture. Unlike the above projects, this one tends to be a bit messier.
Once your flooring is cleared and vacuumed, you can sand the floors. This will require a sander and proper protective materials. After the floor is sanded down, you’ll need to condition the wood. To do this, just run a wet mop or sponge over the hardwood to raise the grains and prep the wood for staining.
Let the wood dry for about thirty minutes before staining. Using a sponge and following the instructions on the stain you purchased for your flooring, gently wipe the stain along the grain. Aim to make the spread even and don’t allow the stain to pool up in any one place.
Allow the stain to soak into the wood. The longer it absorbs, the darker the result will be. On average, it’s typically best to wait five to ten minutes. Then, you will need to use a cloth to wipe off the excess stain.
The instructions on the stain you used will recommend an expected drying time. Once completed, add a finish to the wood to offer more durability and longevity.
Changing up your flooring doesn’t have to be a daunting task. Many of these projects can be completed in a single afternoon, allowing you plenty of time to relax and enjoy your new space once it’s finished. Next time you embark on a DIY project, opt out of a simple coat of paint for your walls to create a change of atmosphere and attempt to ramp up your flooring instead.


