
How to prepare your home for hosting parties this fall

Fall is such a great time to entertain. It’s no longer hot and sticky, and even unseasonably warm days eventually give way to cooler evenings. The crisp air, colorful foliage, and cooler temperatures open up new opportunities for entertaining — both indoors and out, so you can gather, socialize, and entertain all through the season.

Getty Images

Get your home ready for a cozy outdoor gathering this fall

In terms of decor, you can’t get a better backdrop than the brilliant hues of autumn leaves. However, as the season progresses, the foliage might need a little maintenance. Once the leaves begin to fall, use a leaf blower to blow them off your deck or patio. In terms of other housekeeping duties, check your outdoor lighting to make sure all bulbs are working. If you prefer softer light, consider adding tiki torches or lanterns around the perimeter of your party zone.  

Recommended Videos

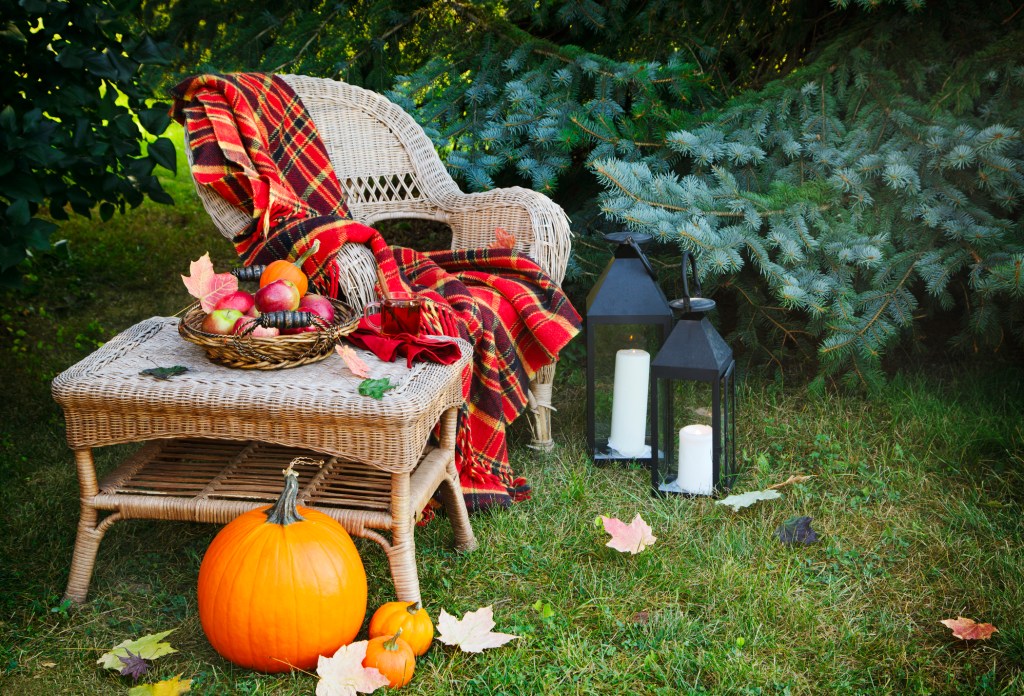
Next, set up relaxed seating to encourage socializing. If you have a fire pit, plan on using it — your guests will definitely request it. Not only is it a great way to warm up a chilly autumn evening, but it’s also a prime spot for positioning lounge chairs and accent tables to spark leisurely conversation among your guests. Not to mention, who doesn’t love making s’mores! 

Outdoor throw pillows will keep everyone cozy, and they give you an opportunity to add some autumn colors, too. Switch up the expected palette of orange and brown for shades of pine green and cranberry red. Hold blankets in a storage bin near the seating area so people can wrap themselves up when the temperature dips. 

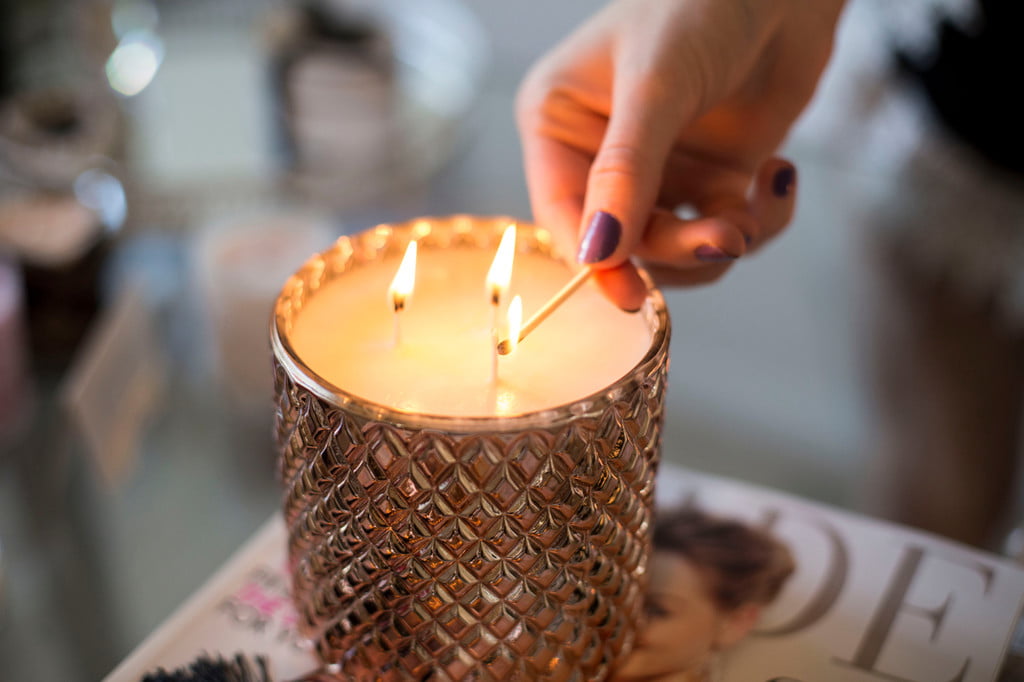
A DIY centerpiece can become the focal point of your event, especially if it’s filled with trimmings from your own garden. You can create something truly stunning using nothing more than a clear glass vessel and an assortment of pine cones, fallen leaves, autumn blossoms, and other seasonal finds from your own backyard. Then, finish off the table with large candles, and protect them from the autumn breeze with candleholders.  

As an extra precaution, place packets of antibacterial hand wipes or a bottle or two of hand sanitizer dispensers near the refreshments. Avoid bowls of chips and other snacks which require sharing with other guests. Instead, opt for individual snacks set up on trays. Autumn leads right into flu season, so practice good sanitary practices and keep everyone at the party healthy and happy.

Image used with permission by copyright holder

Indoor entertaining ideas

Sometimes, the weather isn’t cooperative enough for an outdoor bash. Don’t fret — you can be just as creative when bringing the party indoors. 

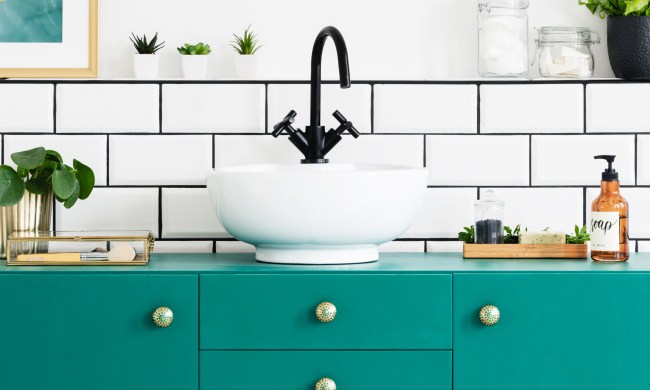
Before the party, give your entertaining spaces a good cleaning, making sure the powder room, kitchen, dining room, and lounge areas are freshly swept, vacuumed, dusted, and wiped down. Tidy up the clutter and take advantage of storage items like consoles or ottomans to pack away the things you won’t need during your event. 

Since some guests might be wearing a light jacket or sweater, ensure your hallway coat closet is presentable and that you have an ample number of available hangers. If you’re using a bedroom to pile jackets and purses, be sure the bed is made and the room is neat and tidy.

Spread out your seating area so your guests aren’t right on top of each other. While there’s room to mill about outside, there’s only so far your guests can wander within your home without being rude. With multiple entertaining areas, your guests can feel free to get away from the hustle and bustle of the main living room in favor of a more intimate setting. Always be sure that you have more seating than you have guests — you never know who might show up with an unplanned ‘plus one.’

Fragrance can set the right mood, so whether you opt for scented candles, reed diffusers, or simmer potpourri on the stovetop, fill the house with a seasonally appropriate scent.

Bring the outdoors in when it comes to your centerpieces and other decorative elements. Grab flowers and leaves from your own yard, or visit your local nursery for more options. Don’t forget that pumpkins and gourds will be out in full force, so add a few to the space. It isn’t really a fall theme without them. 

Last but not least, keep pump dispensers of hand sanitizer at the ready, particularly near the bar area or wherever food is being served. 

The fall conjures up a sense of family, community, and, of course, coziness. Whether you decide to host an outdoor or an indoor event, you’ll find autumn gatherings are some of the best of the year. With these tips at the ready, your party is sure to be a hit.

Editors' Recommendations

Kim Renta
Former Digital Trends Contributor
Kim has written for Bloomingdales, Movado, and various e-commerce wine sites. When she's not writing about wine and…
6 home pieces you should always buy at thrift stores (and 6 you shouldn’t)
Thrift store shopping tips
Multiple antique mirrors on gallery wall

Somewhere along the turbulent line of the last decade or so, thrift store shopping became cool again, and we are all for it. More and more people are rebelling against generic, cookie-cutter styles and want their homes to look more personalized, more unique, and more one-of-a-kind. At long last, your living room looking exactly like the Pottery Barn catalog doesn't necessarily make yours the epitome of style. Individualism is the more sought-after decor style now, and we couldn't love it more.
When shopping secondhand, be it at a thrift store, online auction, or garage sale, there are some general guidelines to keep in mind, and that's where we come in. By remembering these helpful tips, you can take advantage of the perks and avoid the pitfalls of secondhand shopping.

Do: Wooden furniture

Read more
How to clean glass shower doors the right way (say goodbye to streaks)
The natural way to get a sparkling, clear shower door — without all the chemicals
Shower with a glass door

Glass shower doors add a touch of elegance to any bathroom, but they can quickly lose their sparkle because of soap scum, grime, and pesky streaks. Fear not! With the right cleaning techniques and a few simple ingredients, you can restore your glass shower door to its pristine condition. Let's explore effective methods for how to clean glass shower doors without leaving behind streaks.
What is the best thing to use to clean glass shower doors?

When it comes to cleaning glass shower doors, you have two primary options: DIY natural cleaners or commercial glass cleaners. DIY solutions are often cost-effective and environmentally friendly, while commercial cleaners may offer convenience and specialized formulas for tough stains.
White vinegar and dish soap for cutting grime
For a powerful yet natural cleaning solution, mix equal parts white vinegar and water in a spray bottle, adding a few drops of dish soap. Spray the solution onto the glass surface and let it sit for a few minutes to loosen the grime. Then, scrub gently with a sponge or microfiber cloth and rinse thoroughly with water. However, exercise caution when using vinegar on surfaces like natural stone, as it can cause damage.
Baking soda and dish soap instead of vinegar solution
If you prefer to avoid vinegar, a mixture of baking soda and dish soap can also effectively tackle grime on glass shower doors. Create a paste by mixing baking soda with a small amount of dish soap, then apply it to the glass using a sponge or cloth. Scrub gently in circular motions, focusing on areas with stubborn stains, before rinsing thoroughly.
Lemon and lemon oil to kick streaks to the curb
Harness the power of citrus to banish streaks from your glass shower doors. Simply cut a lemon in half and rub it directly onto the glass surface, focusing on areas with visible streaks. The acidic properties of the lemon help dissolve residue while leaving behind a fresh, citrusy scent. For added protection against future water marks, lightly coat the glass with lemon oil after cleaning. Your glass won't streak again for a long time!
Tips for keeping your glass shower doors clean and streak-free

Read more
How to remove stripped screws without any hassle
Unlock our best solutions for this common DIY woe
Single screw pointed up on a wood surface

Stripped screws can be a frustrating obstacle that can easily halt the progress of your DIY building or repair project. However, with the right methods and a bit of patience, you can tackle this problem effectively. Let's explore the various techniques for how to remove stripped screws, ranging from simple tricks to more advanced solutions for those severely stripped screws.
How to remove stripped screws: Initial methods to try
Here are a few simple methods to employ when the screws aren't too much of a problem.

Remove the screw with pliers
One of the simplest methods involves using a pair of pliers. Grip the head of the screw firmly with the pliers and slowly turn it counterclockwise. Apply steady pressure to prevent slipping and gradually loosen the screw from its position.
Use the rubber band method
If the screw head has enough grip left, place a rubber band over the head before inserting the screwdriver. The rubber band fills the gaps and provides extra friction, enhancing your grip on the screw. This method works particularly well for smaller screws like those on old wood furniture or screws with shallow stripping.
Try using a different screwdriver
Sometimes, the head of a stripped screw may still have one or two slots that can accommodate a different type or size of screwdriver. Experiment with various screwdrivers in your home toolkit, such as switching from a Phillips to a flathead screwdriver or adjusting the size of the screwdriver to fit the remaining slots.
Next steps: Take your removal method up a notch
Here, we have some more advanced options when the job isn't so simple.

Read more