
Painting a room can give it a fresh, rejuvenated appearance, but the ceiling is often neglected during this common home renovation project. Painting your ceiling can seem daunting since the drips and splashes are subject to gravity and could wind up all over your floors, your furniture, and yourself. We’ve got some tips for how to paint a ceiling without ruining your clothes and belongings in the process.
Be wise about what you wear while painting
When you dive into any painting project, the risk of getting paint on your clothes and body is high. While paint splatters and drips are unavoidable, you don’t have to take huge risks. First, make sure you wear older clothes that you don’t typically don at holiday parties. It’s also a good idea to wear clothes that are the same color as the paint you’re using. That way, if paint splatters, it won’t be entirely noticeable on the fabric.
You can also wear some protective items to minimize the clothing and skin cleanup later. Some good protective gear includes a painting apron or smock and latex gloves.

Protect the rest of the room from splatters
Gravity is a pesky force when you’re painting a ceiling. If paint drips, it has nowhere to go but down. That’s why it’s important to protect the rest of the room while you’re painting, including your floors, fixtures, walls, and furniture.
How to protect your floors while painting a ceiling
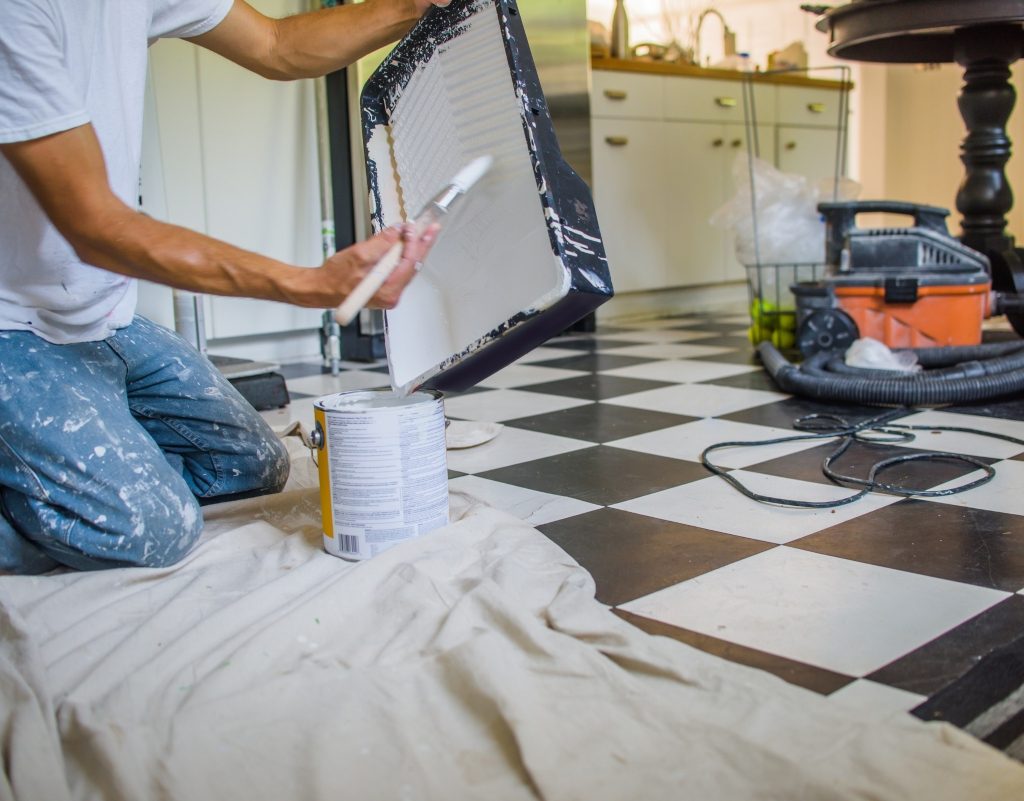
The cheapest way to cover your floors when you’re refreshing your ceiling is to use plastic sheets. Plastic slips around, however, and it’s easily ripped, so you risk your ladder not only being unstable but also ripping through the plastic and getting paint on your floor. On hard floors like wood, laminate, and tile, it’s best to use rosin paper.
Canvas drop cloths aren’t a great option for hard floors since they slide around, but canvas is ideal for carpeted floors. Your ladder will stay in place, and you won’t need to tape the cloth to the floor since it will stay in place on its own.
Step 1: If you have hard floors, tape sheets of rosin paper together using painter's tape.
Step 2: Lay the joined sheets of paper onto the floor to be sure they cover the whole area that needs protecting.
Step 3: Tape the paper sheets to the floor so it won't move around too much. The paper generally blocks paint spills as long as it doesn’t have a ton of time to soak in.

How to protect walls and fixtures while painting a ceiling
The best way to protect your walls when you're preparing to paint is to use tried-and-true painter’s tape. Fixtures on the ceiling should be removed before painting, but if they can’t be taken off, you can cover them.
Step 1: To protect the wall, tape along the edge of the wall where it meets the ceiling. We’ll discuss a painting method later that will keep your paint roller away from the walls.
Step 2: If you can't remove light fixtures, you'll be covering them, but first, be sure to turn the light off and remove the bulb.
Step 3: Use a piece of painter’s plastic and wrap it around the fixture securely.
Step 4: Use painter’s tape to keep the plastic in place.
Step 5: It’s a good idea to apply painter’s tape around the edges of the fixture where it meets the ceiling as well.

How to protect furniture while painting a ceiling
The best way to guarantee that no paint will get on your furniture while you’re working on the ceiling is to move the furniture out of the room completely. If that’s not practical, you can cover the furniture, but it’s a bit of a task. Here’s how to do it.
Step 1: Place items on furniture sliders. These will make it easier to move the pieces throughout the process without scratching hard floors or ripping carpet.
Step 2: Move all the furniture away from walls so you can move freely around the perimeter of the room with a ladder.
Step 3: Cover each piece of furniture completely with a drop cloth or plastic sheet.

How to paint a ceiling the right way
While it’s almost impossible to prevent the occasional drip of paint, especially while painting a ceiling, there are tools and techniques you can use to minimize the mess.
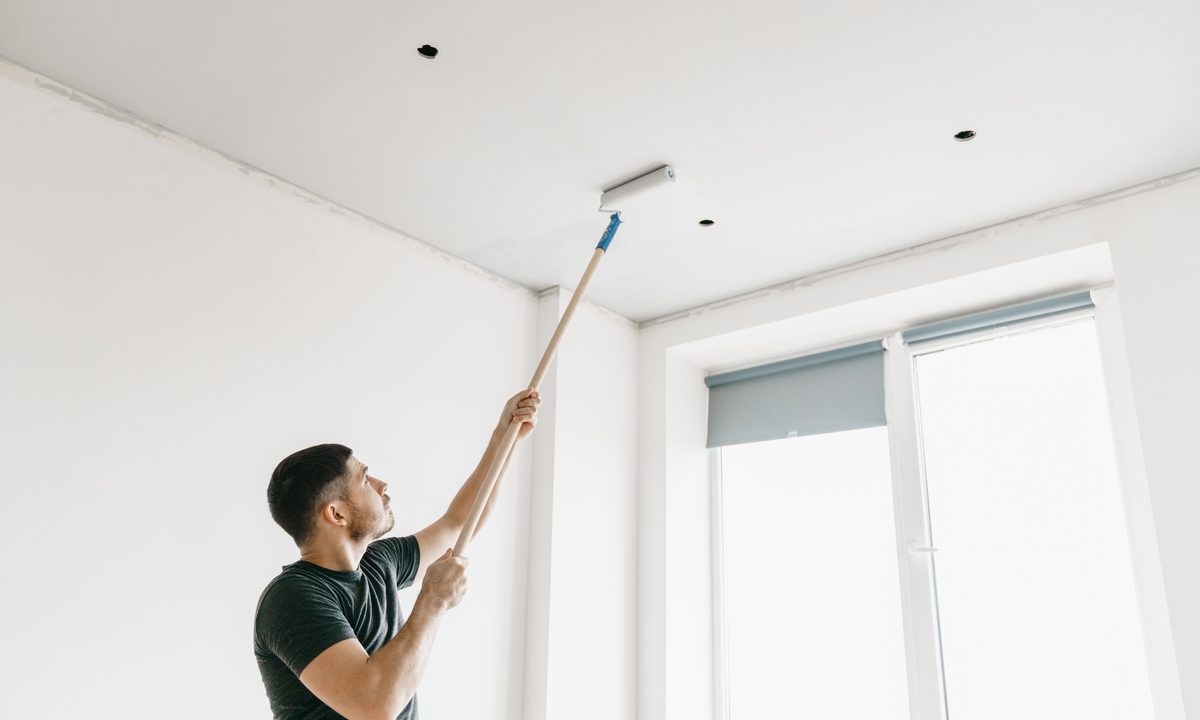
Step 1: Grab your ladder and use a paint brush to paint the corners and edges of the ceiling first. This makes it so you don’t have to use the paint roller so close to the edges where it may splash or drip onto the walls.
Step 2: Move your ladder out of the room to get it out of the way since the rest of the project can be done without it.
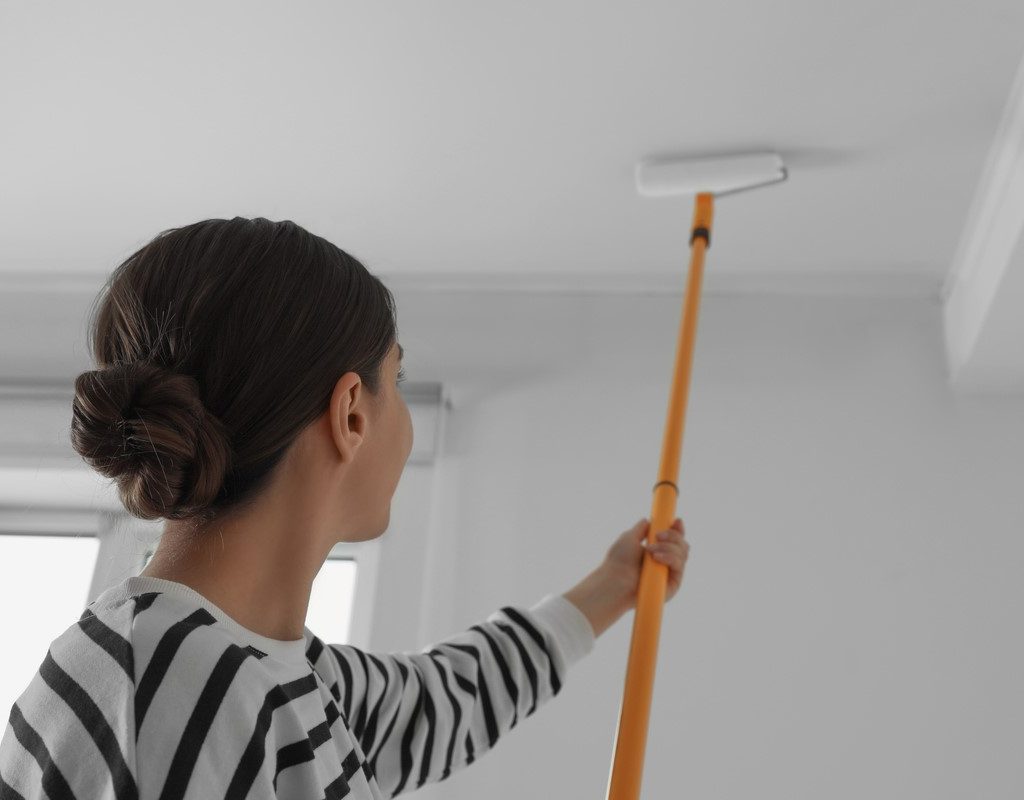
Step 3: Take an extended paint roller and attach a roller shield to the roller’s holder so that it stays in place under the roller sponge while it rolls against the ceiling. It will catch any splatters or drips that come off of the roller.
Step 4: As you use your paint roller on the ceiling, don’t use too much paint at a time, and don’t rush. Gobs of paint drip easily, and quick movements cause splatters and spills.

What not to do when painting a ceiling?
We've covered all the dos of protecting your space and proper ceiling painting; now it's time for the don'ts. When painting a ceiling:
- Avoid using the wrong type of paint. Flat paint is ideal, as it minimizes glare and hides imperfections.
- Don’t skip cleaning the ceiling first. Dust and stains can affect paint adhesion.
- Don't forego the tape. Failing to use painter’s tape around edges can lead to messy lines, so always tape off walls and fixtures.
- Avoid using a roller with the wrong nap length. A thicker nap is better for textured ceilings.
- Don’t forget proper lighting. Shadows can make it hard to see missed spots.
- Avoid rushing. Multiple thin coats provide better coverage than one thick coat.
Figuring out how to paint a ceiling the right way may seem like a tough task to tackle, but with the right precautions, tools, and techniques, it’s an easy job for any DIYer. With this guide, you can easily give your ceiling the facelift it needs and beautifully refresh your room.


