
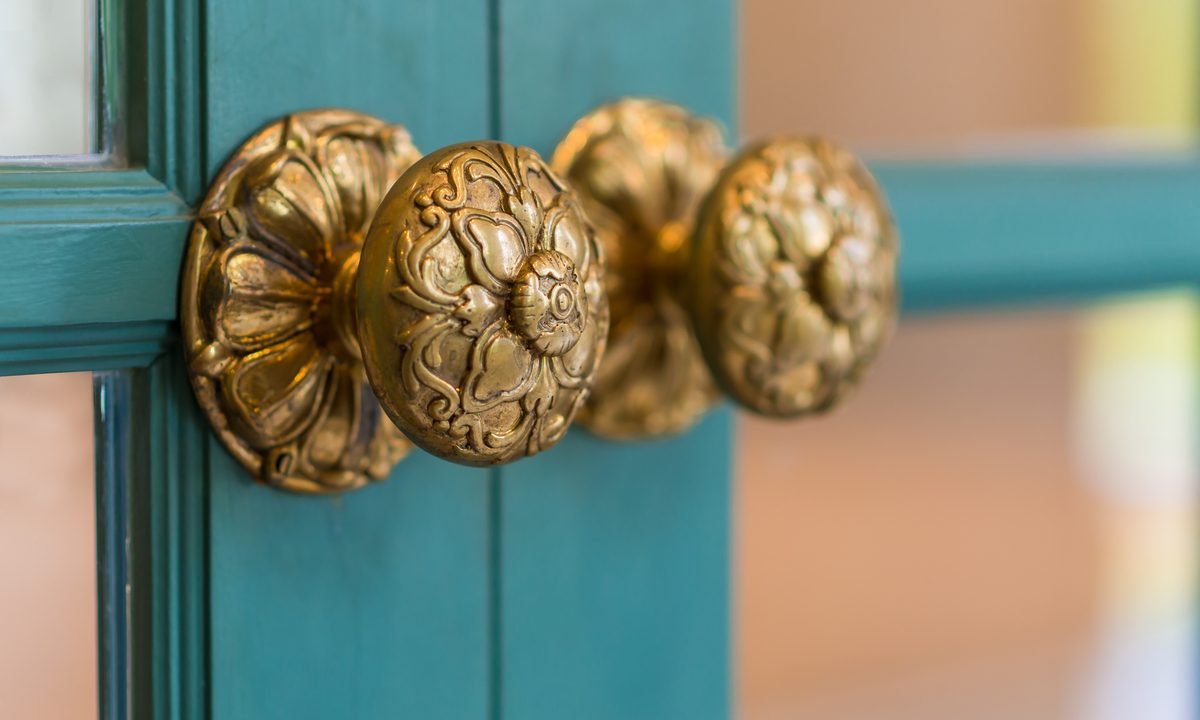
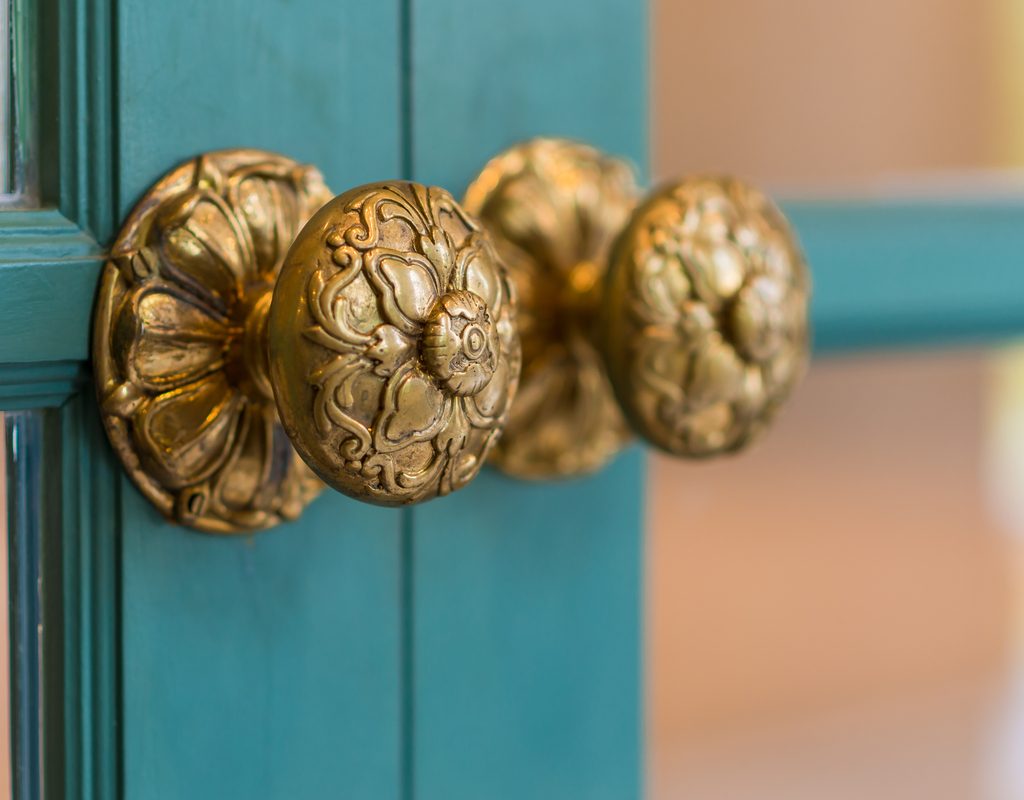
Brass accents, whether they're the handles of your gorgeous kitchen cabinets or the lap stand on the end table, give a stylish pop of color to any room. Unfortunately, brass eventually tarnishes and starts to look dull and dated. The good news is that with a bit of work, your brass pieces can look as good as new. So, how do you clean badly tarnished brass? We'll get into a few methods here.
How to clean brass: First things first
Before you dive into cleaning that tarnished brass item, there are a few things you need to figure out. Jumping in headfirst could lead to unsatisfactory results or even a damaged item.
Two important things to determine are:
- Whether the brass is lacquered
- Whether the item is brass-plated or made entirely of brass
Lacquer is a protective coating added to brass in order to prevent tarnishing. Brass that has been lacquered cannot be polished, unfortunately. To determine whether your brass has a layer of lacquer already applied, check to see if there are any areas that appear to have a shiny layer of finish coming up. That's lacquer, and if you see it on your item, it will need to be professionally refinished.
Brass-plated items should not be polished since the process could actually scrape off the layer of brass. To determine whether an item is pure brass or brass plated, try to stick a magnet to it. If it doesn't stick, your item is completely brass and can be polished. If it sticks, however, that means there's a different metal under the surface and you shouldn't polish the item.
How to clean brass using brass cleaner
One of the most tried and true methods for polishing brass is to use a brass-specific cleaner. Some popular options are Bar Keeper's Friend, Brasso, and Wright's Brass Polish.
Step 1: Mix together water and mild dish soap.
Step 2: Dip the cloth into the mixture and wipe the brass item clean.
Step 3: Apply the moistened cloth to the brass, and rub it until all dirt, dust, and debris has come off.
Step 4: Apply the brass cleaner according to the product's instructions.
Step 5: Use a cloth or super fine steel wool to work the brass cleaner into crevices until the tarnish is removed.
Does WD-40 clean brass?
You've probably used WD-40 to oil up door hinges and fix those annoying squeaks. This versatile lubricating product, however, can also be used to remove tarnish from brass. If you don't have brass cleaner on hand but you have some WD-40, you're in good shape.
Clean the brass first, the same way you would in the steps above if you were using a brass cleaner. Then, attach the plastic tube applicator to the can of WD-40 and spray some of the product onto a soft, clean cloth. Apply it to the brass by rubbing it with the cloth in a circular motion until the tarnish has disappeared.

What is the best homemade brass cleaner?
If you're not comfortable using chemical-based products on your brass items, there are a variety of natural methods for removing brass tarnish with common household items. These methods often require a bit more work, but you'll be able to breathe easy while saving a bit of cash. Read on for some of the more popular options.
Make a paste from lemon juice and baking soda
Step 1: Mix together a teaspoon of baking soda and the juice from half of a lemon until it forms a paste.
Step 2: Use a soft, clean cloth to apply the paste to the brass item.
Step 3: Let the paste sit on the brass for at least 30 minutes.
Step 4: Rinse away the paste with water, dry the brass, and repeat until the tarnish has disappeared.
Make a paste from vinegar, flour, and salt
Step 1: Mix together equal parts vinegar, flour, and salt.
Step 2: Use a soft, clean cloth to apply the paste to the brass item.
Step 3: Let the paste sit on the brass for at least 60 minutes.
Step 4: Rinse away the paste with water, dry the brass, and repeat until the tarnish has disappeared.
Use a salted lemon to remove tarnish
Step 1: Cut a large lemon in half and sprinkle the cut side with salt.
Step 2: Rub the salted lemon directly onto the brass. Make sure to squeeze the lemon a bit so that the acidic juice runs over the item.
Step 3: Let the salt and juice sit on the brass item for 60 minutes.
Step 4: Rinse away the juice with water, dry the brass, and repeat until the tarnish has disappeared.
Tomato products can save the day
Tomatoes are highly acidic, so tomato products work similarly to lemon juice to remove tarnish from brass.
Step 1: Apply a thick layer of tomato paste, tomato sauce, or even ketchup to the brass item.
Step 2: Allow the tomato product to sit on the brass for 60 minutes.
Step 3: Wash the brass off with water and dish soap, and dry it with a clean, soft cloth.
Can you use toothpaste to clean brass?
One last household item that's a pro at cleaning brass is — you guessed it — toothpaste. The whitening effects of toothpaste also do a great job removing tarnish.
Step 1: Apply a thin layer of toothpaste to the brass item.
Step 2: Allow the paste to sit for just a few minutes.
Step 3: Wash the brass off with water and dish soap and dry it with a clean, soft cloth.
Your brass items add charm, character, and style to your home. When they age, though, they start to make the space look old and dated. Keep your lovely brass sparkling by employing one of the methods in this guide. Whether you go the route of chemical cleaners or use a natural solution, your brass will look brand new.


