
There comes a time in every homeowner’s life when drywall gets damaged. A doorknob punches a hole because the doorstop went missing, or the surface becomes marred when you remove a bathroom mirror during a remodel. Or, perhaps someone inadvertently steps through the ceiling while installing attic insulation.
Accidents happen, and luckily, drywall repairs are easy. With a few good YouTube videos, even a beginner DIYer can start refinishing walls like a pro, repairing any holes, cracks, and scuffs that come their way. Keep reading to learn how to repair drywall.
Tools of the trade
If you’re already a seasoned DIYer, you may have all the necessary drywall repair equipment in your toolbox. If not, you can collect all these items from your local hardware or home improvement store.
Tools
- Putty knife
- Drywall knives
- Drywall trowel
- Hammer
- Utility knife
- Drywall saw
- Cordless drill/driver with bits
- Hacksaw
- Painting equipment
Materials
- Lightweight spackle
- Lightweight joint compound
- Sanding sponge
- Dust mask
- Drywall screws
- Drywall patch kit
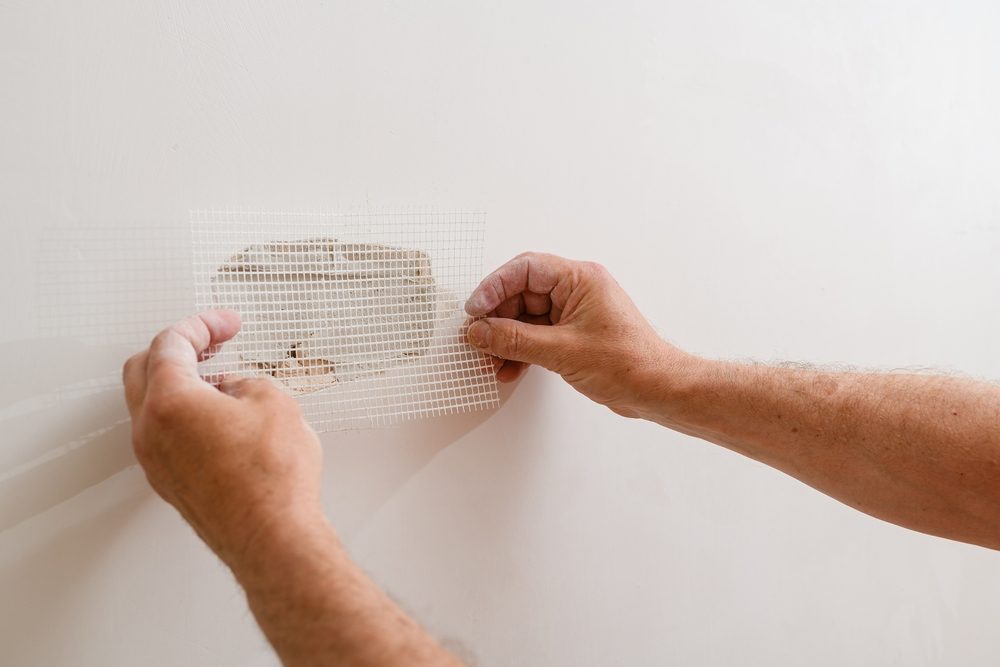
- Joint tape
- Construction adhesive
- Small piece of drywall
- Drywall corner bead
- 1 x 3 furring strips
- Shims
- Plywood squares
- 2 x 4 lumber
- Primer
- Paint
Spackle or joint compound
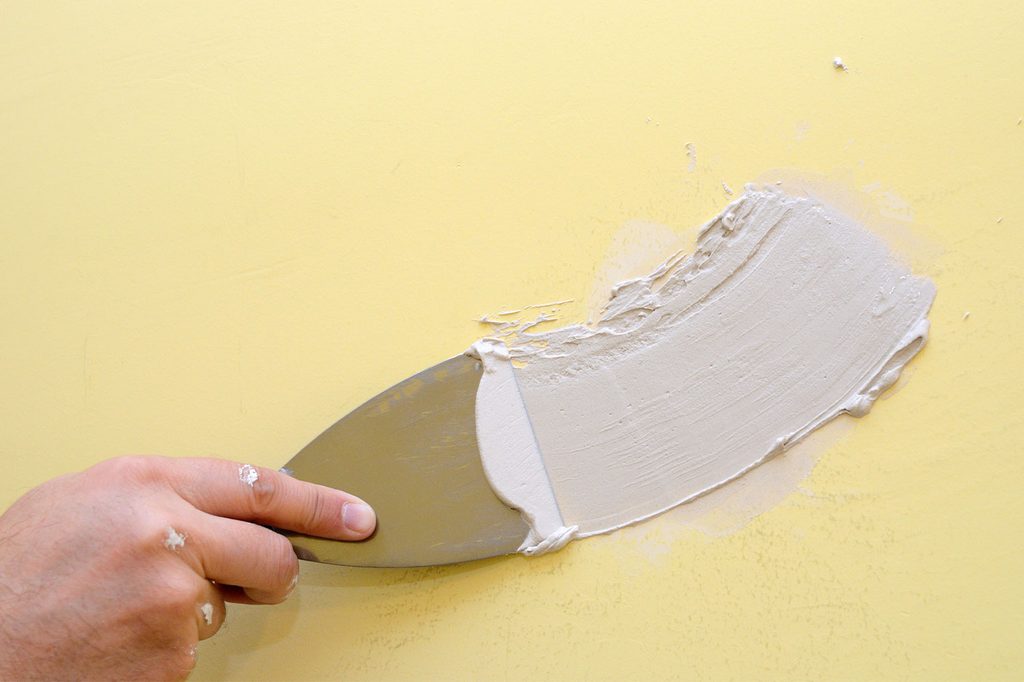
As you shop for drywall supplies, you’ll notice two kinds of patching materials: spackle and joint compound. These products are both widely used, often on the same jobs, but they actually serve distinct purposes. Most homeowners keep a small tub of spackle on hand for quick patch jobs, but it’s also helpful to know when a joint compound might be the better choice.
Joint compound, also known as drywall mud, is made of gypsum, limestone, and other mineral-based materials. It is typically sold in larger packages from 1-quart to 5-gallon tubs, either premixed or in a powdered form that you mix with water. It has a thin consistency that shrinks as it dries, making it a great method for covering and securing taped seams between separate pieces of drywall.
Spackle contains gypsum and a variety of binding agents. It has a toothpaste-like consistency and dries with little or no shrinkage, so it’s the go-to tool for filling dents and small holes up to the size of a nickel.
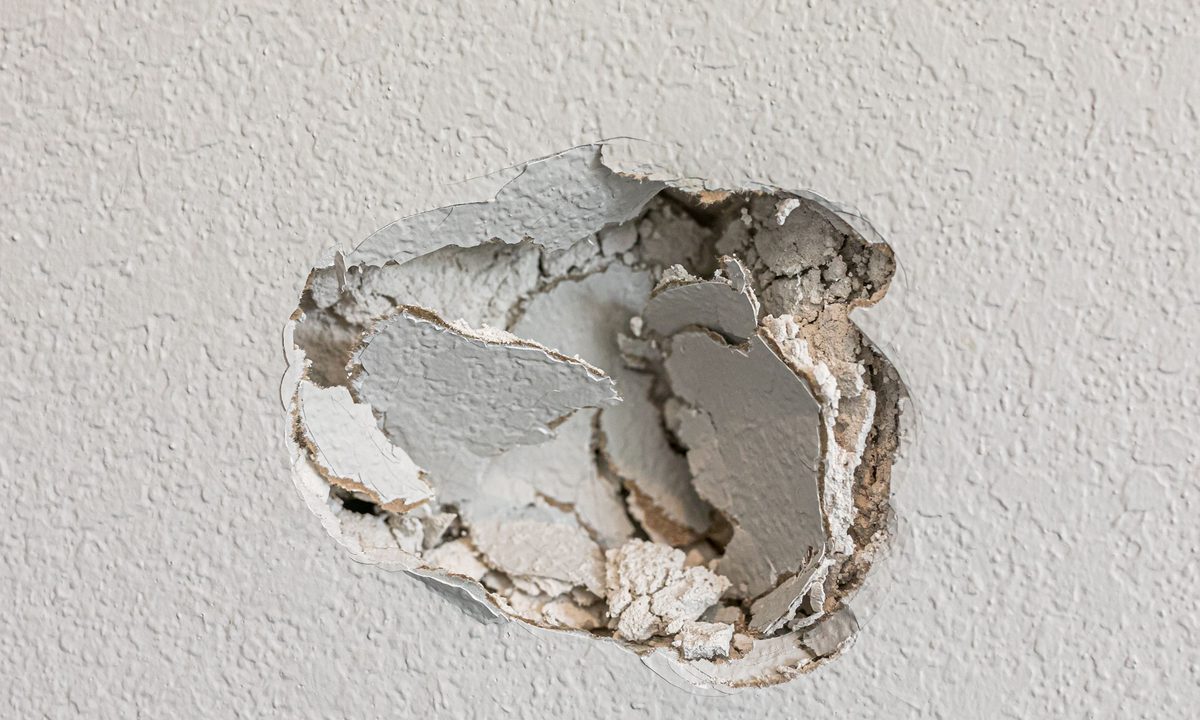
How to patch a hole in drywall
Holes are the most common kind of drywall damage. Ranging from small divots that don’t penetrate through the wall to large and irregular gaps, these holes are massive eyesores. With a few common tools and a little bit of patience, you can fix this damage so well that it will appear as if nothing ever happened.
The size of the hole determines the repair technique. The smallest punctures only require a quick smear of mud, while more expansive repairs require tape, hardware, and backer boards. You may even need to cut a larger hole to make the repair easier.
If you’re more of a visual learner, this helpful video from Lowe’s walks you through how to repair different kinds and sizes of drywall holes with a variety of techniques.
How to repair cracked drywall
To repair cracked drywall, many homeowners opt to remove the damaged section and replace it with a new wallboard. In some cases, however, repairing the crack could be less time-consuming and more cost-effective than replacing the drywall. In this video from This Old House, learn how to repair a large, deep drywall crack in just a few minutes using plywood backing.
How to fix damaged drywall paper
It’s just about impossible to remove glued-on bathroom mirrors or old wallpaper without damaging the surface of the drywall. Simply mudding or painting over the damage nearly always leads to unsatisfactory results like an uneven surface or bubbling of the paper backing. This video from carpenter Ben Degros shows the proper method of preparing and sealing damaged drywall paper so that the final result looks as good as new.
How to repair a damaged corner bead
Not all drywall damage happens on the flat part of the wall. Sometimes, corners, where one wall meets the next, get a few dents and scrapes that can become an eyesore. For example, you might have purchased some new furniture that presented a tight squeeze into one of the hallways. Maybe a table leg or sofa foot hit the drywall corner a little too hard, creating some damage. Whatever the situation, you can rest assured that repairing damaged corner beads is an easy task with the proper tools.
A corner bead is made of metal, paper, or vinyl and connects two pieces of drywall where they meet at the corner. To repair a damaged corner bead, you’ll have to cut horizontally above and below the damaged portion of the drywall using a hacksaw. Then, using a utility knife, cut vertically on either side of the damaged corner to connect the horizontal cuts and remove the damaged drywall.
Using a new piece of corner bead that you can find at the hardware store, cut it to size and follow the manufacturer’s instructions to attach it to the wall. Then, add joint compound to cover up the corner bead. If necessary, add an additional layer and sand everything down to smooth it out.
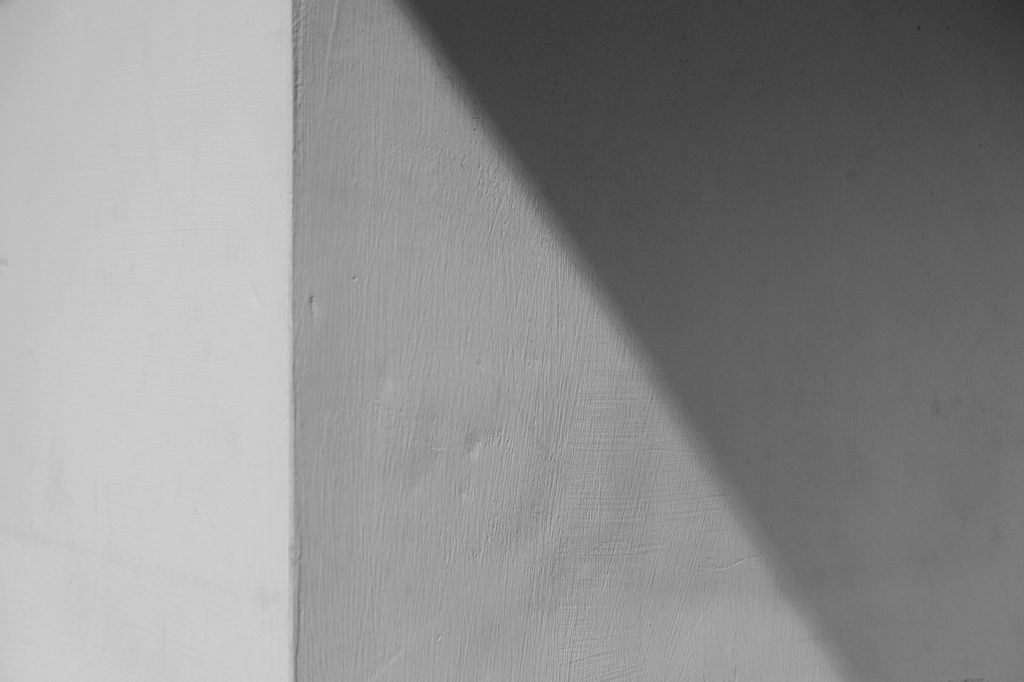
Prepare for painting with raking light
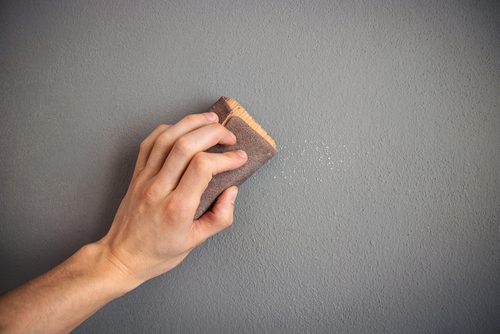
Once you seal all the holes, cracks, and divots, it’s time to paint the repaired section so it blends in with the rest of the wall. Before you begin, be sure to examine the area under a raking light first, setting up the bright work light so that the beam shines across the wall at a shallow angle. As the light skims the wall surface, the shadows will quickly reveal small divots and bumps. After a bit more filling or sanding, check the wall under the light again. If it looks smooth, you can go ahead with the painting process.
When to call in the pros

While small drywall repairs like nail holes, minor dents, and small cracks and holes can often be handled with a DIY approach, there are times when it’s best to call a professional. If the damage is extensive — such as large holes, sagging sections, significant water damage, or cracks that keep reappearing — it’s a sign that there may be underlying structural issues that need expert attention.
Professionals have the tools, materials, and experience to ensure a seamless repair that blends perfectly with the existing wall. If you’re dealing with ceilings, mold, or need precise texture matching, hiring a drywall pro can save time, frustration, and costly mistakes—giving you a clean, polished finish that lasts.
Life happens, and sometimes your walls will be damaged. These blemishes are nothing to worry about. With a few common tools and the proper technique, patching drywall can be a DIY-friendly project. With a little mud, sanding, and paint, your walls will look as good as new.


