21OAK may earn a commission when you buy through links on our site.

The best labels for storage bins to identify and organize your personal possessions

They might be reusable or universal or customizable or insertable, but labels for storage bins all do the same thing: identify what’s in or who owns the items in a container. The labels typically are easy to use, read and change. Plus, some are designed to stick to plastic, fabric, and other materials. To ensure you’re using one of the best available, consider getting one of these leading labels for storage bins.

As the number of storage bins sitting in your closet, basement or garage grow exponentially, it becomes extremely difficult to remember what’s in each one. Instead of working on your memorization skills, put that effort into labeling each bin. These helpful and easy-to-read labels for storage bins can make it much easier to identify a container’s contents.

ONUPGO Premium Chalkboard Sticker Labels

Best Reusable Option

Storage bin labels that are reusable are a very good option. The ONUPGO Premium Chalkboard Sticker Labels can be reused many times because the write-peel-and-stick labels can be wiped clean with a damp cloth, then be rewritten, repeeled and reapplied. Sold in a package of 196 stickers, the high-quality waterproof chalkboard labels are made from a durable vinyl material and feature a long-lasting, refrigerator-safe adhesive.

Avery All-Purpose Labels

Best Value

Need a good price and high volume as much as you need good storage bin labels? The Avery All-Purpose Labels have you covered value-wise with an affordable price, 128-count package, and simply designed but highly useful multipurpose stickers. The white labels have a permanent adhesive that’s engineered to keep them securely in place.

AUSTOR Hanging Chalkboards Signs

Best Decorative

Perhaps storage bin labels that are as attractive as they are functional would interest you. AUSTOR Hanging Chalkboards Signs resemble cute mini chalkboards and are double-sided, erasable and reusable. Sold in a 14-pack, the labels are ideal for use on wedding items, kids crafts, party favors, and gifts, or for help with decorating, labeling, reminders, and memos.

There’s good help out there to keep track of what’s in all of your storage bins. These highly useful and highly reusable storage bin labels might be all the help you need.

21Oak Contributor
21Oak Contributor
How to remove stripped screws without any hassle
Unlock our best solutions for this common DIY woe
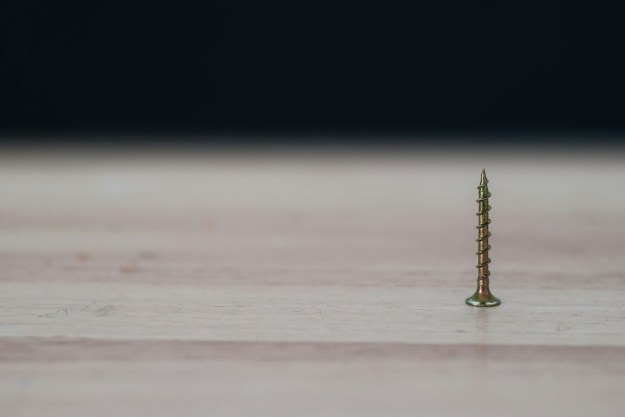
Single screw pointed up on a wood surface

Stripped screws can be a frustrating obstacle that can easily halt the progress of your DIY building or repair project. However, with the right methods and a bit of patience, you can tackle this problem effectively. Let's explore the various techniques for how to remove stripped screws, ranging from simple tricks to more advanced solutions for those severely stripped screws.
How to remove stripped screws: Initial methods to try
Here are a few simple methods to employ when the screws aren't too much of a problem.

Remove the screw with pliers
One of the simplest methods involves using a pair of pliers. Grip the head of the screw firmly with the pliers and slowly turn it counterclockwise. Apply steady pressure to prevent slipping and gradually loosen the screw from its position.
Use the rubber band method
If the screw head has enough grip left, place a rubber band over the head before inserting the screwdriver. The rubber band fills the gaps and provides extra friction, enhancing your grip on the screw. This method works particularly well for smaller screws like those on old wood furniture or screws with shallow stripping.
Try using a different screwdriver
Sometimes, the head of a stripped screw may still have one or two slots that can accommodate a different type or size of screwdriver. Experiment with various screwdrivers in your home toolkit, such as switching from a Phillips to a flathead screwdriver or adjusting the size of the screwdriver to fit the remaining slots.
Next steps: Take your removal method up a notch
Here, we have some more advanced options when the job isn't so simple.

Read more
How to get rid of that hideous water stain on the ceiling and beautify your home
Try this quick stain removal method before jumping into major ceiling repair
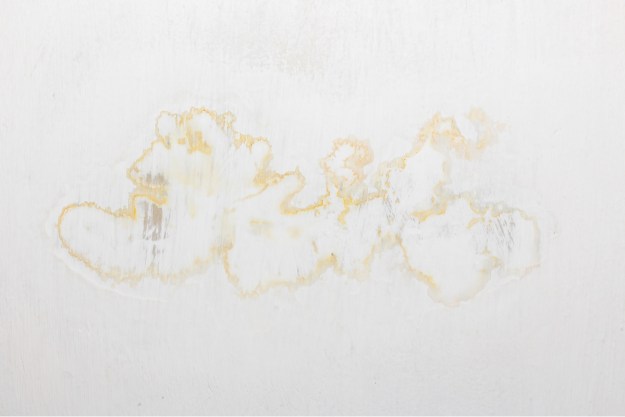
Water stain on the ceiling

When you’ve worked hard to keep your home clean and you've decorated your space perfectly, plumbing leaks or flooding can be frustrating. Not only does water destroy drywall, but it also leaves behind nasty stains on your ceiling, creating an eyesore in your otherwise pristine room.

The good news is that you may not have to replace the drywall or take on a huge painting project to get rid of that water stain on the ceiling. Try this easy stain removal method instead and clean up your space without breaking the bank.

Read more
How to clean glass shower doors the right way (say goodbye to streaks)
The natural way to get a sparkling, clear shower door — without all the chemicals
Shower with a glass door

Glass shower doors add a touch of elegance to any bathroom, but they can quickly lose their sparkle because of soap scum, grime, and pesky streaks. Fear not! With the right cleaning techniques and a few simple ingredients, you can restore your glass shower door to its pristine condition. Let's explore effective methods for how to clean glass shower doors without leaving behind streaks.
What is the best thing to use to clean glass shower doors?

When it comes to cleaning glass shower doors, you have two primary options: DIY natural cleaners or commercial glass cleaners. DIY solutions are often cost-effective and environmentally friendly, while commercial cleaners may offer convenience and specialized formulas for tough stains.
White vinegar and dish soap for cutting grime
For a powerful yet natural cleaning solution, mix equal parts white vinegar and water in a spray bottle, adding a few drops of dish soap. Spray the solution onto the glass surface and let it sit for a few minutes to loosen the grime. Then, scrub gently with a sponge or microfiber cloth and rinse thoroughly with water. However, exercise caution when using vinegar on surfaces like natural stone, as it can cause damage.
Baking soda and dish soap instead of vinegar solution
If you prefer to avoid vinegar, a mixture of baking soda and dish soap can also effectively tackle grime on glass shower doors. Create a paste by mixing baking soda with a small amount of dish soap, then apply it to the glass using a sponge or cloth. Scrub gently in circular motions, focusing on areas with stubborn stains, before rinsing thoroughly.
Lemon and lemon oil to kick streaks to the curb
Harness the power of citrus to banish streaks from your glass shower doors. Simply cut a lemon in half and rub it directly onto the glass surface, focusing on areas with visible streaks. The acidic properties of the lemon help dissolve residue while leaving behind a fresh, citrusy scent. For added protection against future water marks, lightly coat the glass with lemon oil after cleaning. Your glass won't streak again for a long time!
Tips for keeping your glass shower doors clean and streak-free

Read more