Maybe you just moved into your first apartment. Perhaps you bought your first house, or you have decided to redecorate your existing living space. Whatever your circumstances are, you should know how to hang pictures so that they give you the enjoyment you’d expect from them.
If you’ve ever walked into someone’s home and their art looks perfect, you should know that it didn’t happen by accident. Conversely, have you ever walked into a house, and the decor just looks … off? Often that is because the occupants didn’t know how to hang their pictures properly.
There are three steps to hanging a picture correctly: Understanding your wall material, positioning your art, and hanging your art. These are also the order that you should use when embarking on your picture hanging.
What you’ll need
- Measuring tape
- Pencil to mark your target
- Electric drill
- Stud finder
- Picture hangers, wood screws, or drywall anchors with screws
Understand your wall material
Your home will have walls made of plaster or drywall. The reason you need to know the difference is that the methods for picture hanging differ significantly. It’s easy to knock an unsightly hole in a plaster wall accidentally, and if you don’t hang your picture correctly, you could ruin both your wall and your art.
If your home was built before 1960, your walls are likely made of plaster. Renovations are nearly always done with drywall because of the cost of plasterwork. There is no sense in guessing, though. One simple way to determine your wall covering is to find a hidden area and try to make a little cut with a sharp utility knife or box cutter. If the knife cuts easily, your walls are made of drywall.

Positioning your art
You may have heard that it’s appropriate to hang pictures at eye level. But whose eye are they talking about? It’s an average of everyone. The general rule is to position the center of the art between 57 and 60 inches above the floor. Fifty-eight inches is the standard to which museums around the world adhere, but if you’re tall, you may want to raise the height to 60 inches.
Once you have decided how high you want your picture, you need to do some math to make sure it hangs in the right place. Before we get into that formula, let’s talk about the hardware on the back of your art. You will have picture wire, a D-ring hanger, or a sawtooth hanger on the back. Part of the formula is the distance between the top of the hanger and the top of the picture frame, called the drop. Here are the steps to calculate your eye level:
- Measure the picture height and divide it by two. We’ll call this the picture center. For instance, if your picture is 20 inches tall, your picture center is 10 inches.
- Add the picture center to the eye-level height you have chosen. For simplicity’s sake, we’ll use 60 inches for eye level.
- Measure your drop and subtract it from steps one and two. If your picture uses wire, gently pull the wire toward the top of the picture and measure the distance between that and the top of the frame. For simplicity’s sake again, we’ll use a 4-inch drop. We have 60 inches for height plus 10 inches for picture center, giving us 70 inches. Our picture drop is 4 inches, so the nail or screw will be at 66 inches from the floor. 60 + 10 – 4 = 66.
Hanging your art
Have you figured out what kind of wall material you have? There are different techniques to use, depending on whether your walls are drywall or plaster. You also need to take into account the weight of your artwork.
How to hang pictures on plaster walls
You will need an electric drill with a variety of drill bits, and screws or classic picture hangers.
- Use a magnetic stud finder to find a wall stud.
- Carefully drill a hole just smaller than your screw or nail in the direction that it will be used to hang the art.
- Then, tap the nail in or use the drill to insert the screw into the hole, leaving a gap between the screw head and the wall to accommodate the picture wire.
- For heavy artwork, use a wood screw, and for other artwork, the picture hangers will do the trick.
How to hang pictures on drywall
If you performed the knife test, you know how soft drywall is. Hanging anything on drywall will require drywall anchors and screws, and for heavy artwork, you’ll want to screw into a wall stud.
- Once again, use your drill to drill a hole just smaller than the drywall anchor.
- Gently tap the anchor into the hole.
- Then, use your screwdriver to insert the screw, leaving just enough of a gap between the screw head and the wall to accommodate the picture wire or hanger.
- If you’re hanging something heavy, use a long wood screw and go directly into a stud. The studs will run anywhere between 16 and 24 inches apart, and it’s best to use a stud finder to ensure that you’re setting the screw into the center of the wood, says Hunker.
You’re all set
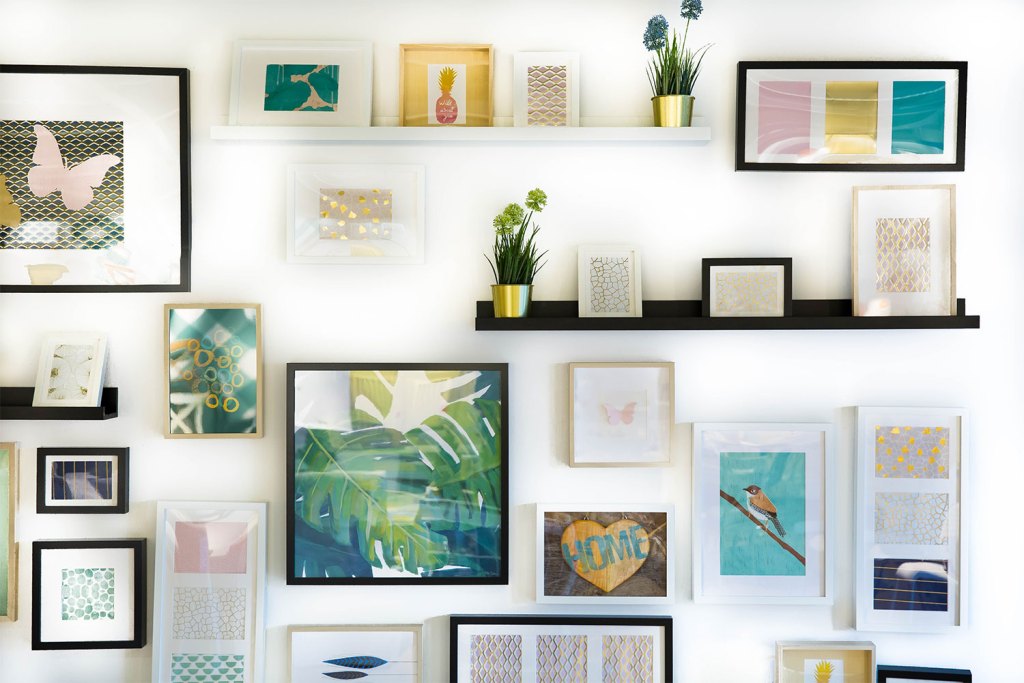
If all of this seems like too much for you, don’t despair. There are several creative ways to display art that don’t require measuring or drilling. You can always lean the art on a mantel or on a shelf. In fact, there are shelves made just for this purpose called picture shelves. Another way people display art is to install a picture rail. Install once, and you have a permanent way to display your art and change it out easily.
Lastly, no matter what you’ve decided to display, make sure you use a level to check that it’s straight once you have hung it. There are apps for that and some phones have them built in. You don’t want to go through all that only to have a houseful of crooked art.
Editors' Recommendations
- How to hand-wash clothes (so you don’t ruin those special garments)
- How to clean glass shower doors the right way (say goodbye to streaks)
- This is how much it really costs to replace the windows in your home
- If your apples are next to these fruits and veggies, you’re ruining your produce
- How to wash a weighted blanket in 4 simple steps


